Léon

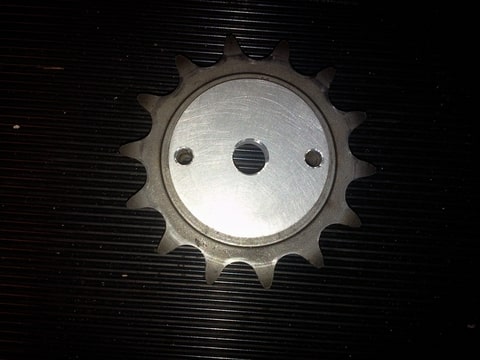
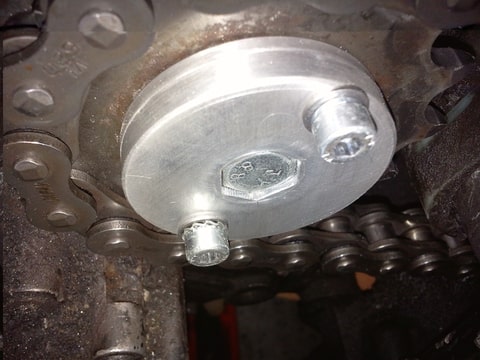


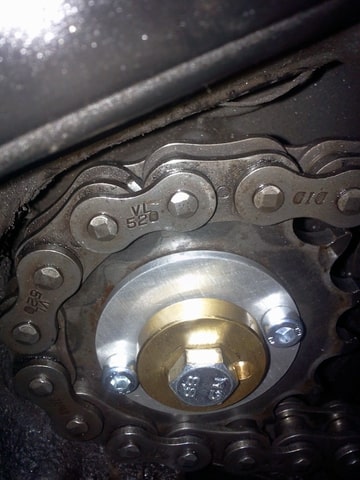
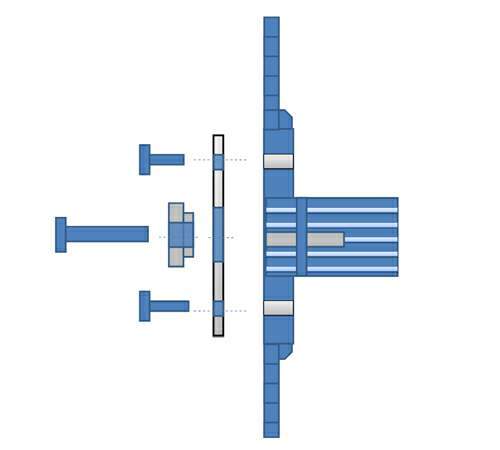
Cause the previous construction didn't had any axial freeplay at all, I've made something else. The first plate (see first picture on top of this page) is used to mount the sprocket and it touches the axle for the desired offset. The center hole of this plate I've milled allot wider. In this hole there is another bushing fitted, but approx 0,3mm thicker than the first plate. It is not "connected" to eachother, but it'll keep the first plate in place. I've used loctite 2701 to be sure it won't come off.paso750 wrote:Hi, you`re better off replacing those toothed washers with normal ones and using Loctite instead.
Those things are ok for electrical connections but not for much else. Most of the toothed or spring washers will already be squashed at only 5% of the bolt`s preload force so they become ineffective long before the proper torque is reached.
Also it makes no sense putting them between a bolt and a washer.
Never mind, just want everyone to be and stay safe.
G.
PS: does the front sprocket still have play ? There should be about 0,3mm if my memory serves me well.
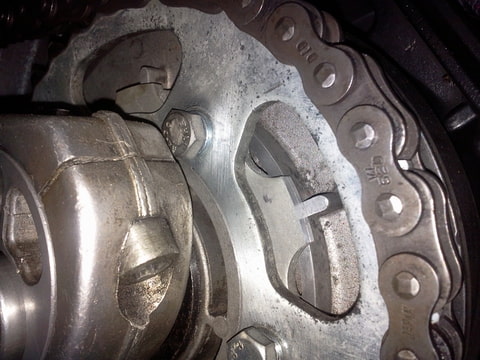
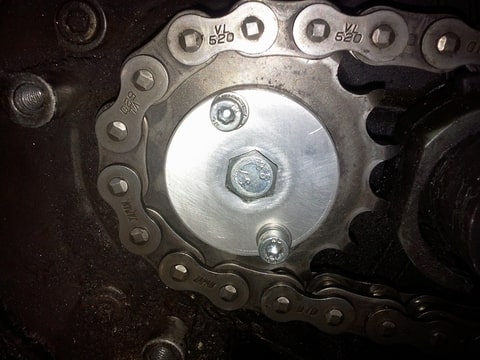
No, what he did was the combination of 2 things. Leon used a sprocket with less offset and moved it to the end of the drive shaft.It looks as if you put the 5mm spacer between the sprocket and the engine.
Thats it!paso750 wrote:No, what he did was the combination of 2 things. Leon used a sprocket with less offset and moved it to the end of the drive shaft.It looks as if you put the 5mm spacer between the sprocket and the engine.
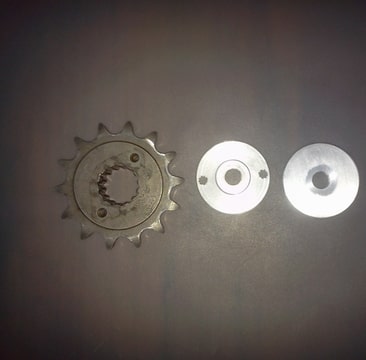
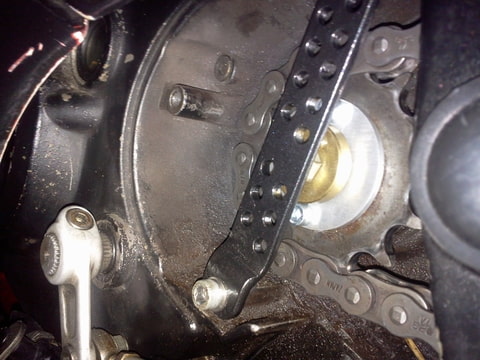
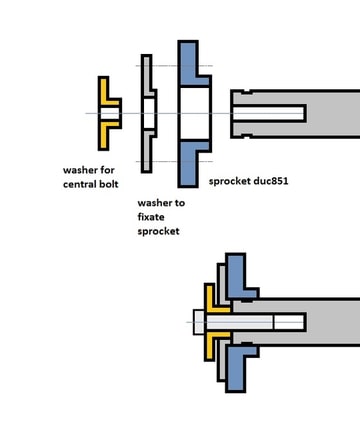
It`s basically this:
The bigger plate has a center hole that`s smaller than the driveshaft diameter so it doesn`t allow the sprocket to move inwards. The smaller part sits in the bigger plate and is mounted to the driveshaft by the center bolt. This prevents the sprocket to come off the driveshaft and still lets the sprocket its required axial play.
G.