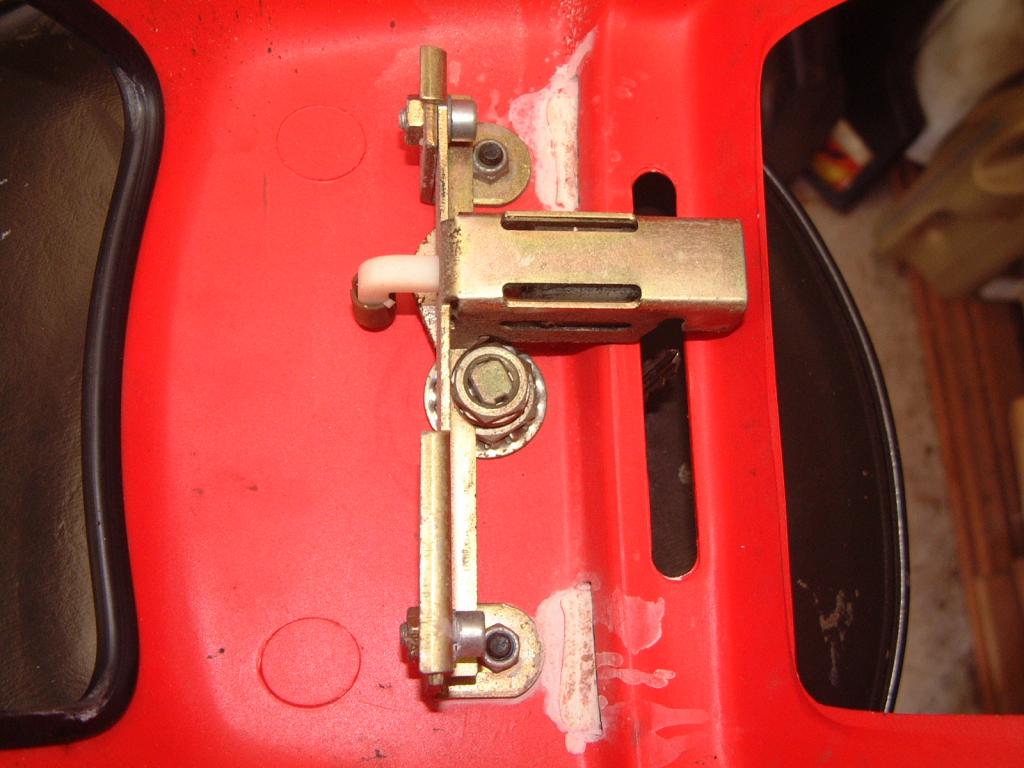
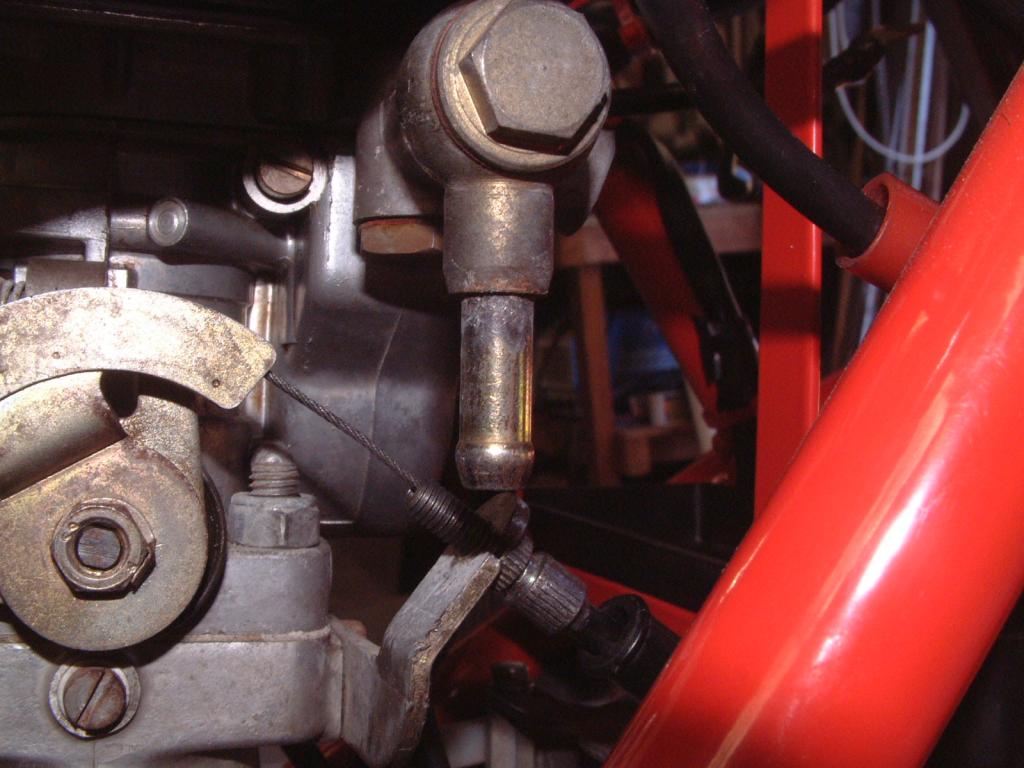
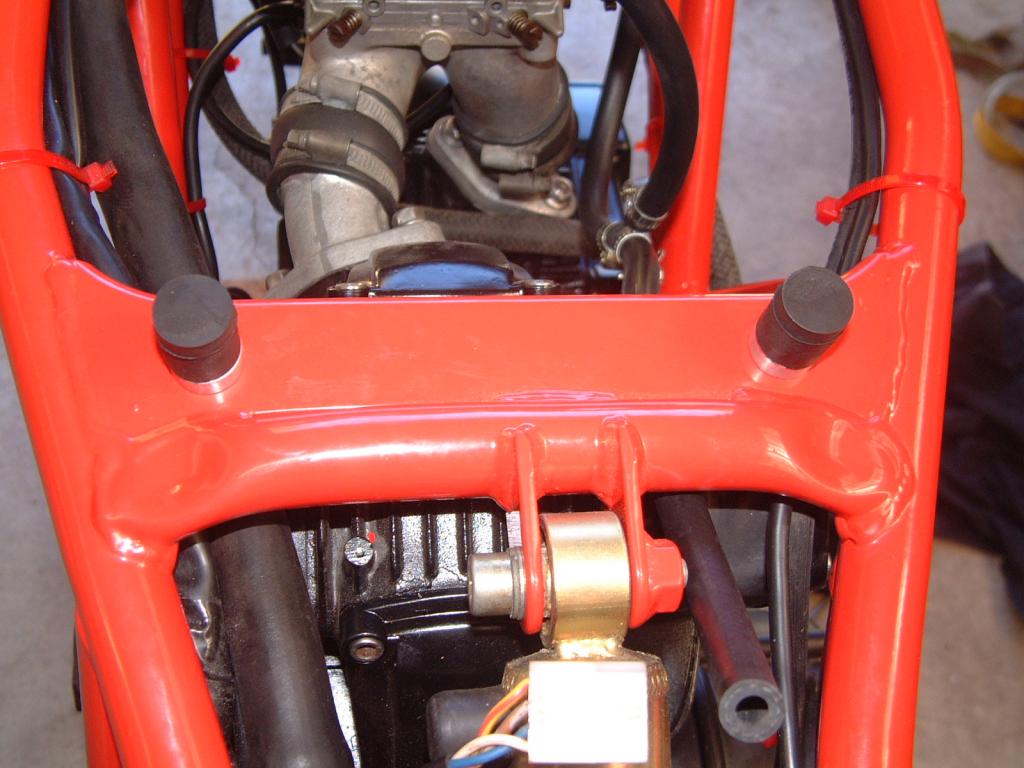
So today I started on the fuel lines.

These have seen better days

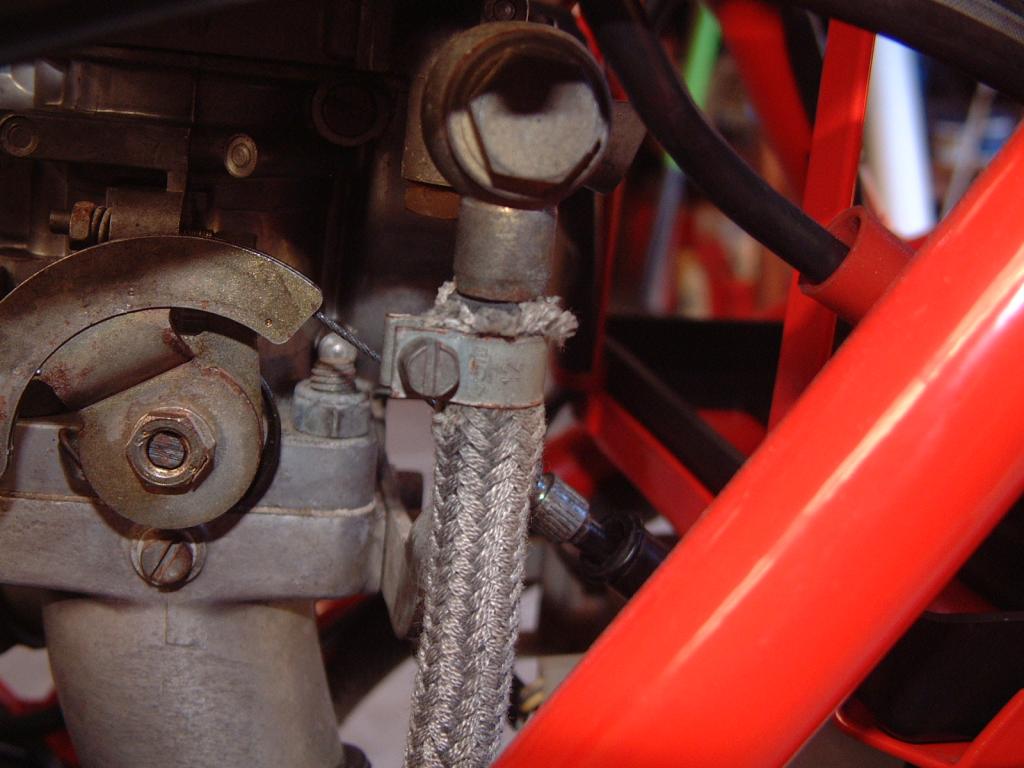
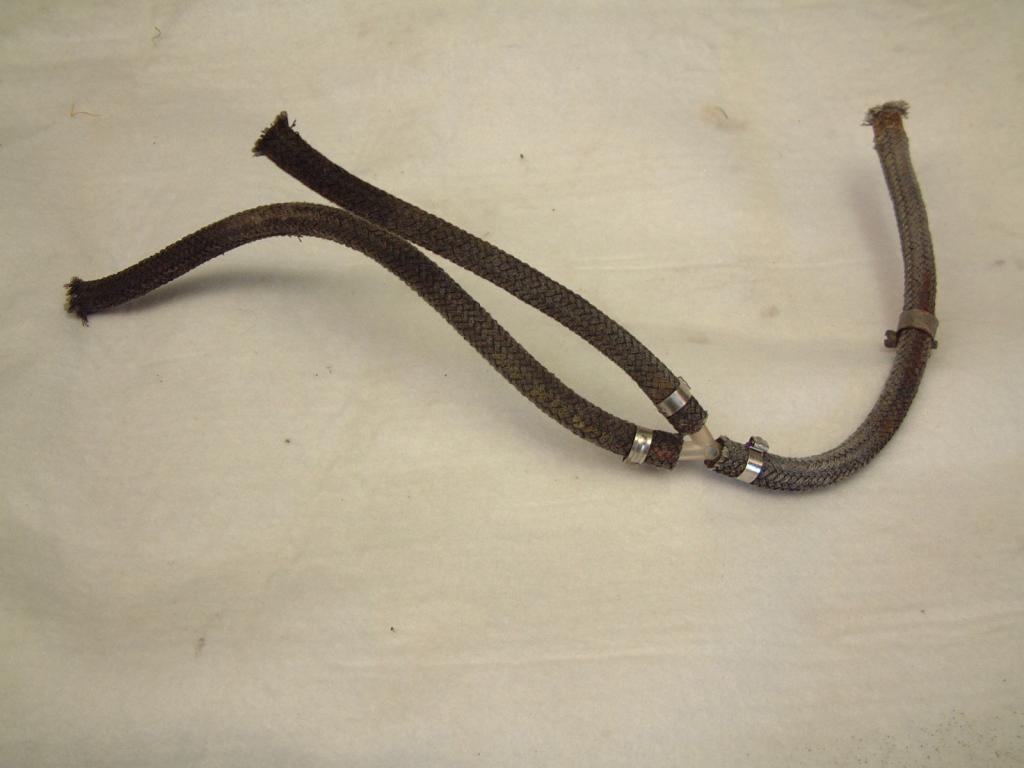
So off they come.
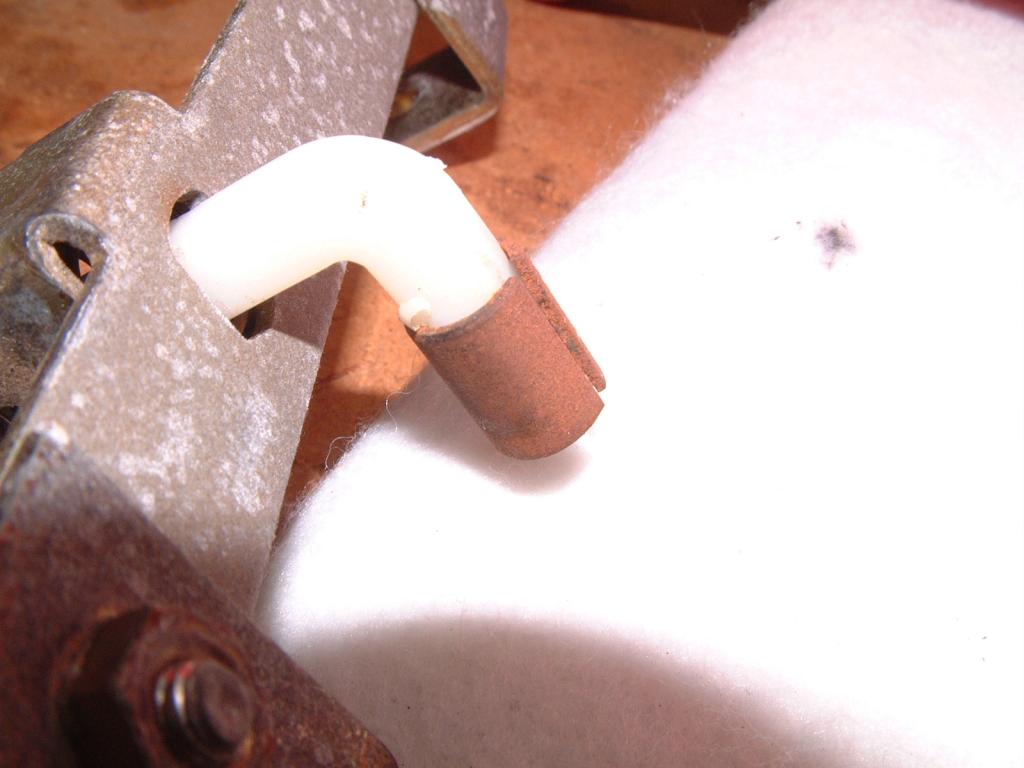
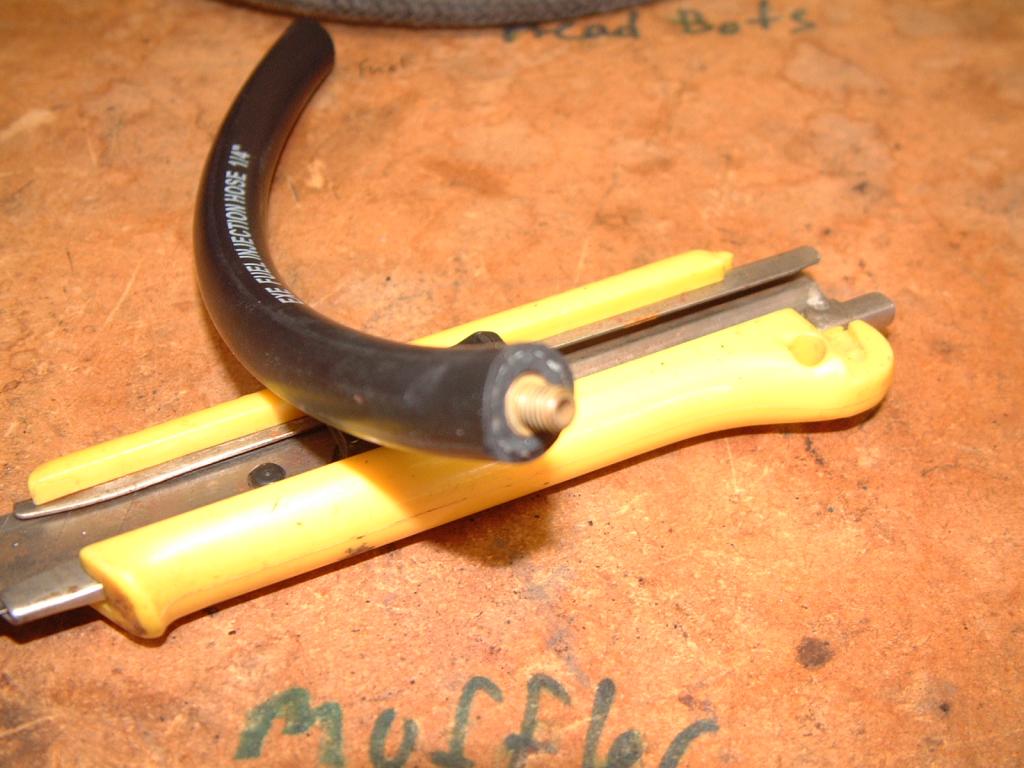
You can see how hard they are.
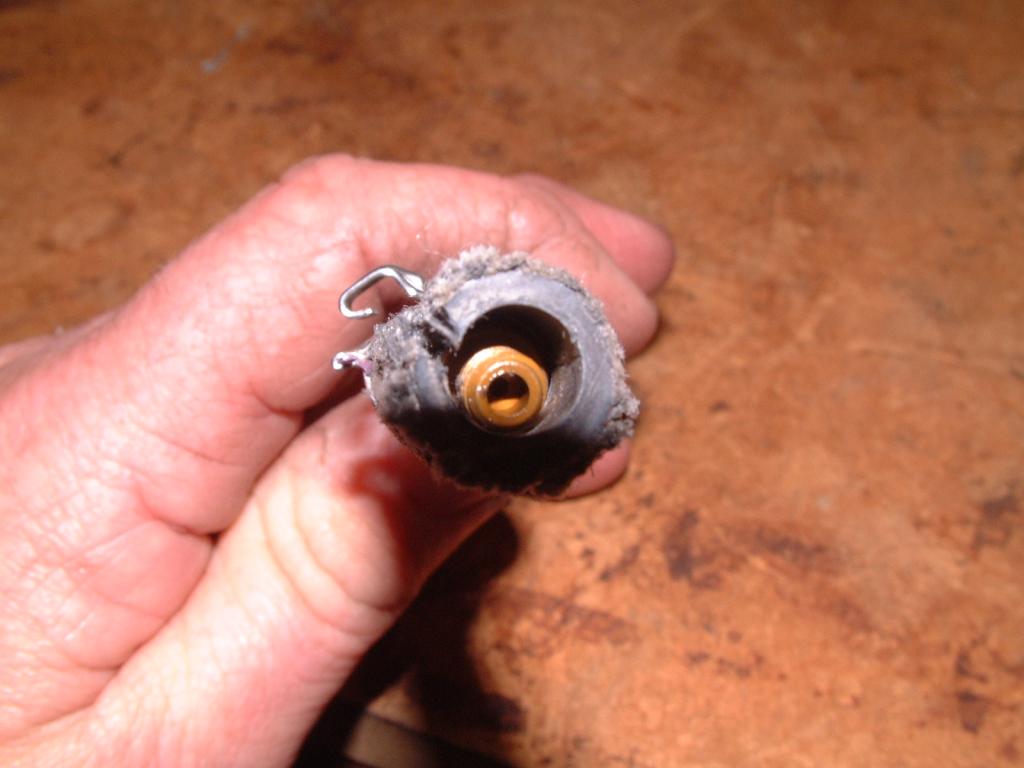
And they were hard to get off the Y piece.In the end I had to cut them off.Oh lloky,a main jet.
That would be a 120.
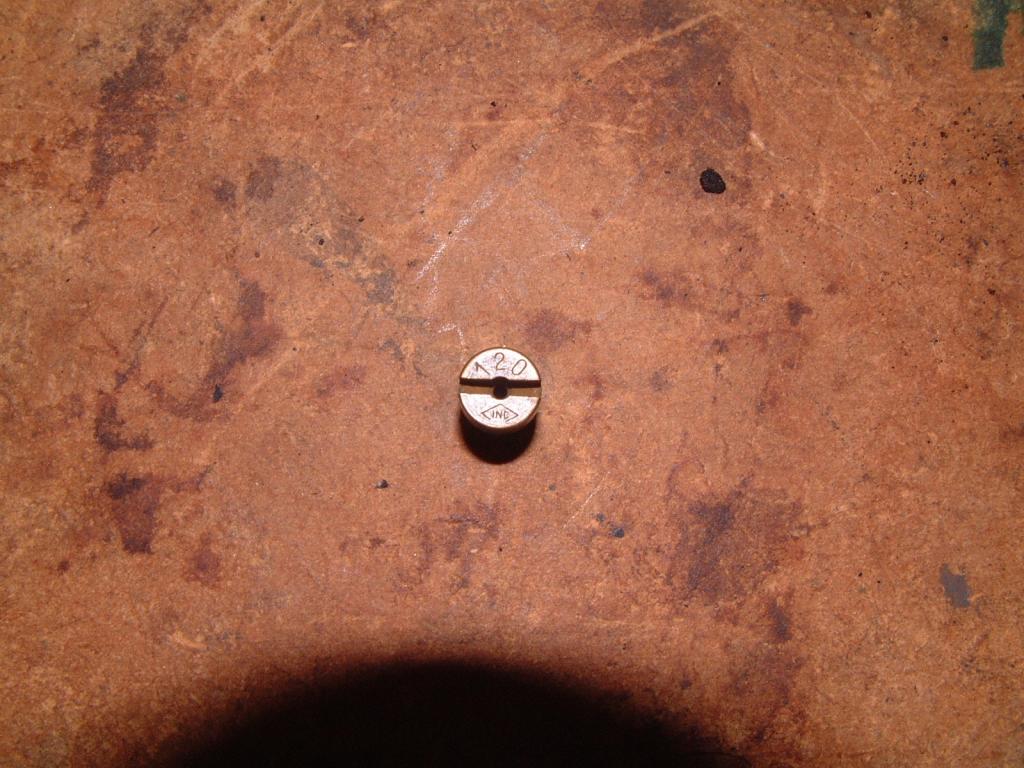
Put it back in the new line.
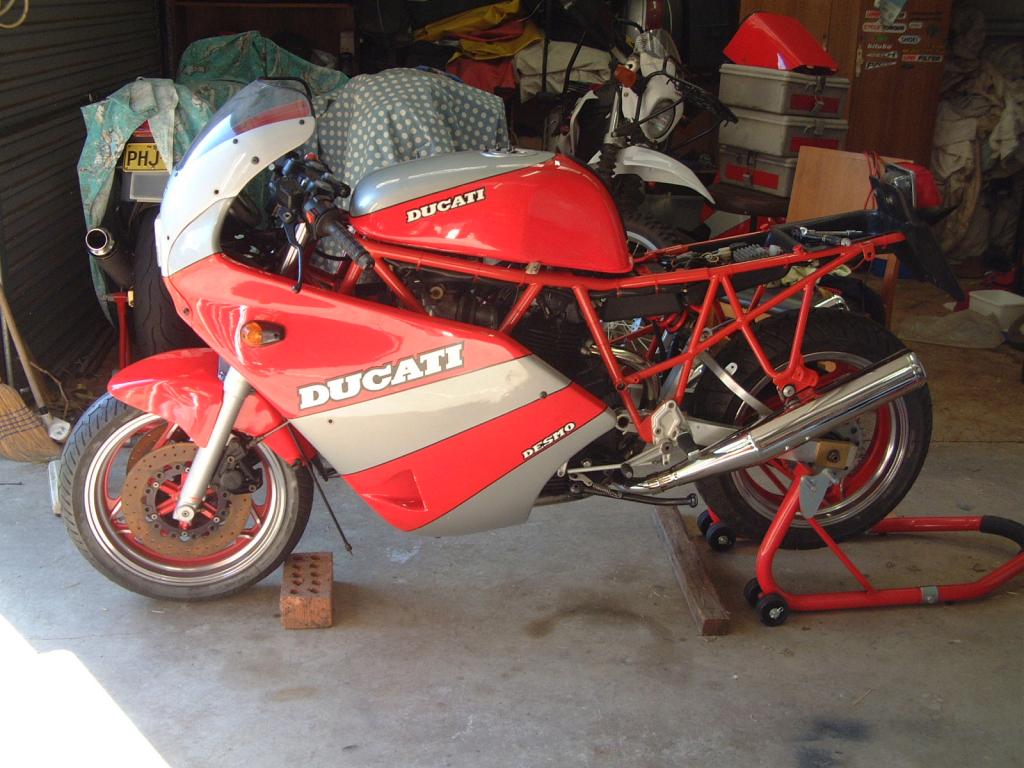
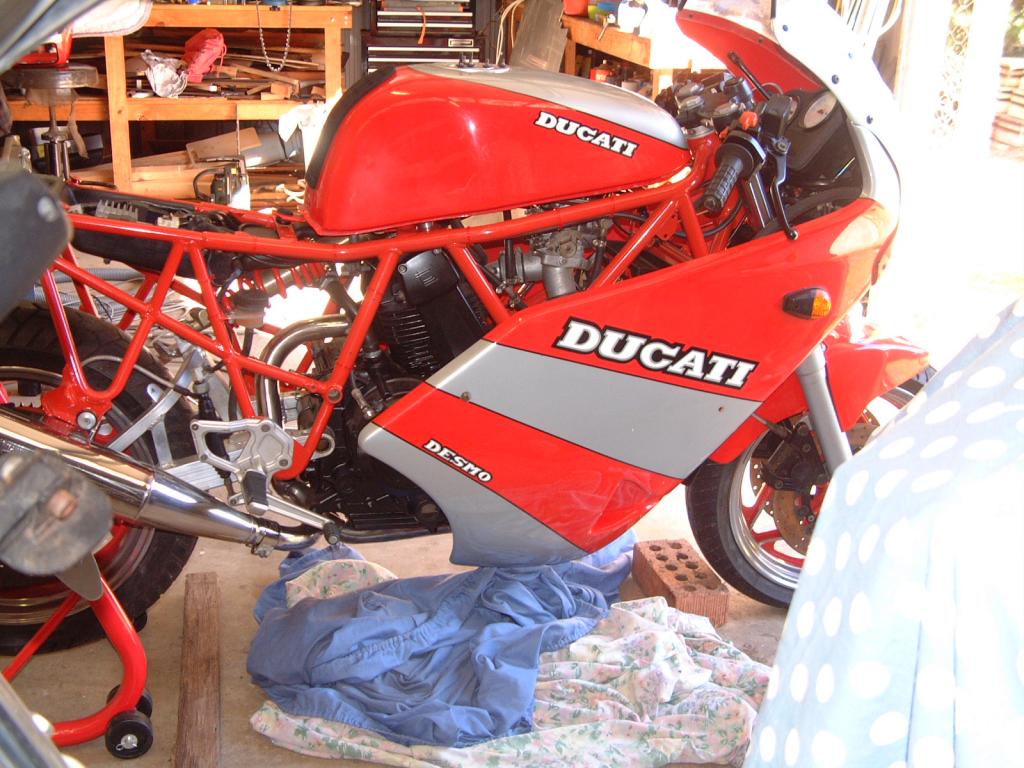
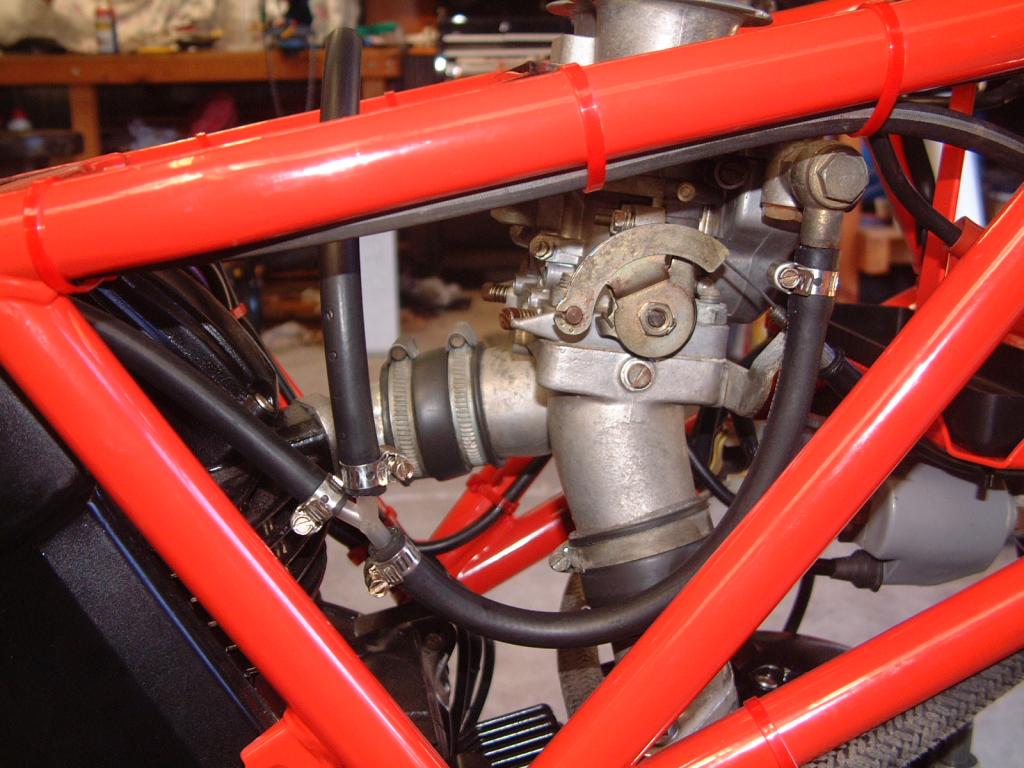
Then put it all back together.
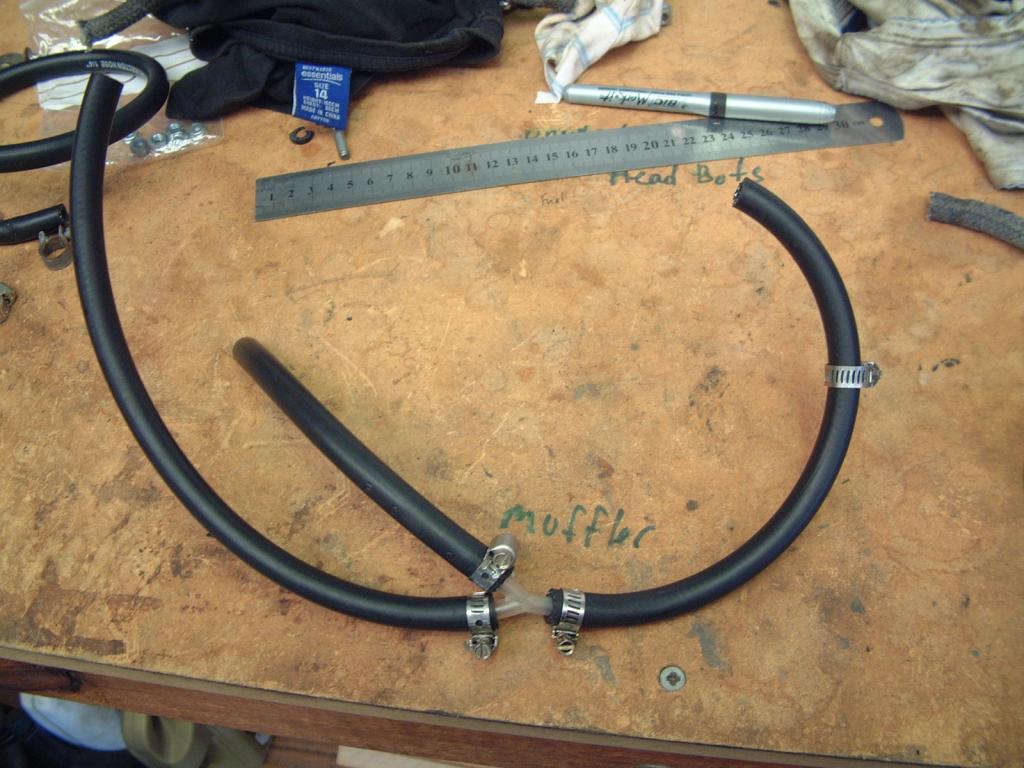
Much better.I'm going to put some quick disconnect couplings on the lines eventually.
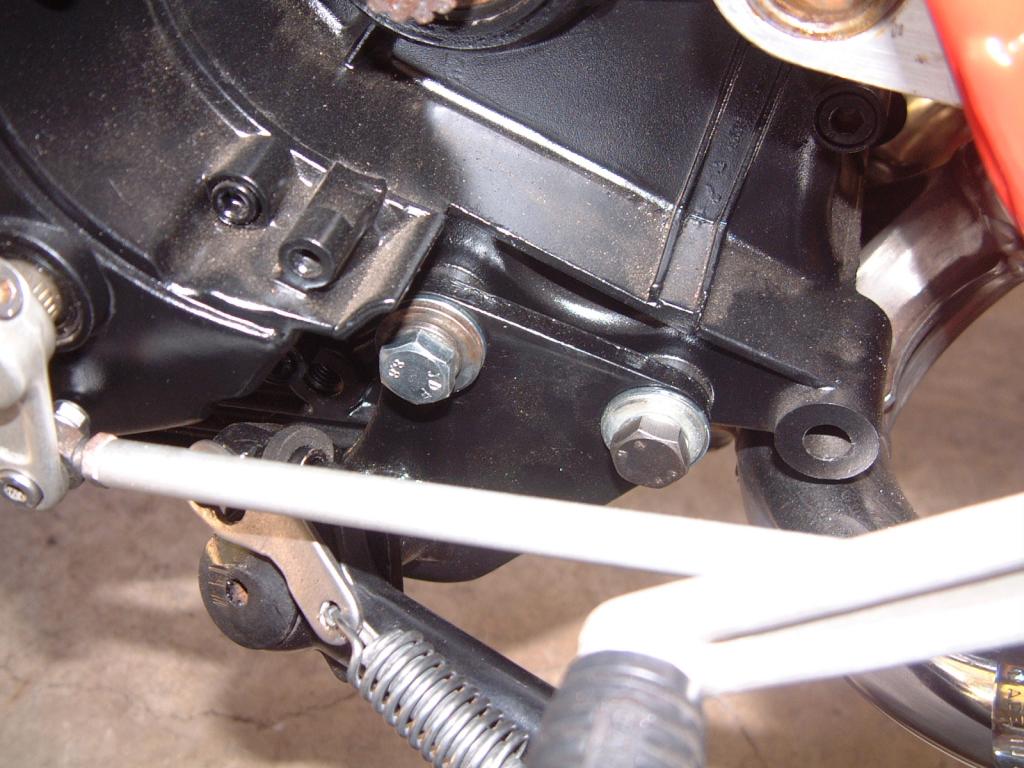
I put in a new bolt for the sidestand mount due to a dodgy thread.
The tank supportd were a right bugga to put on.I should have done it earlier.I don't know how they got a nyloc nut on them with only the rubber to hold onto on one end.Anyway I put a nut and split washer on instead and trying to put it on from underneath with one finger was a nightmare.
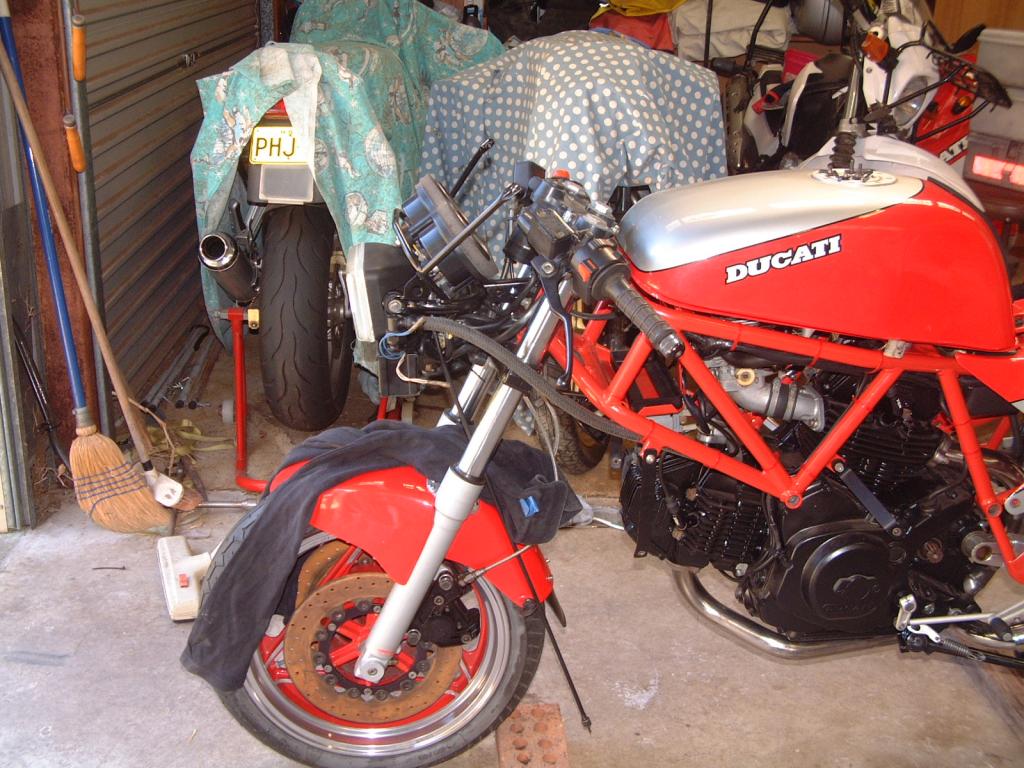
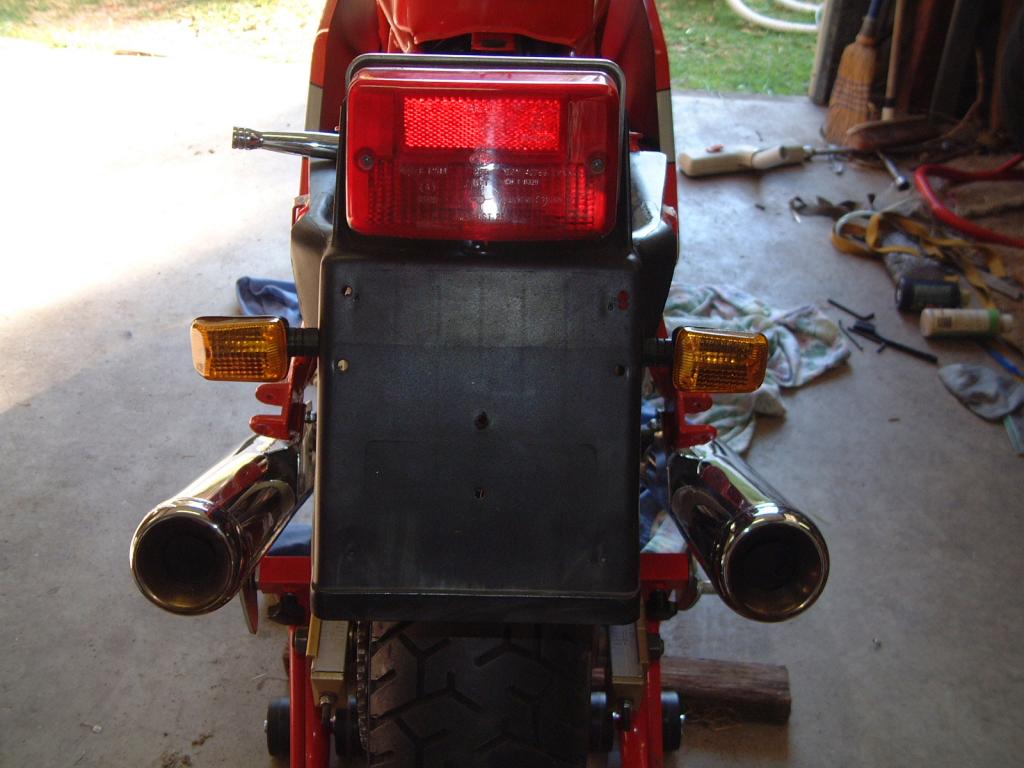
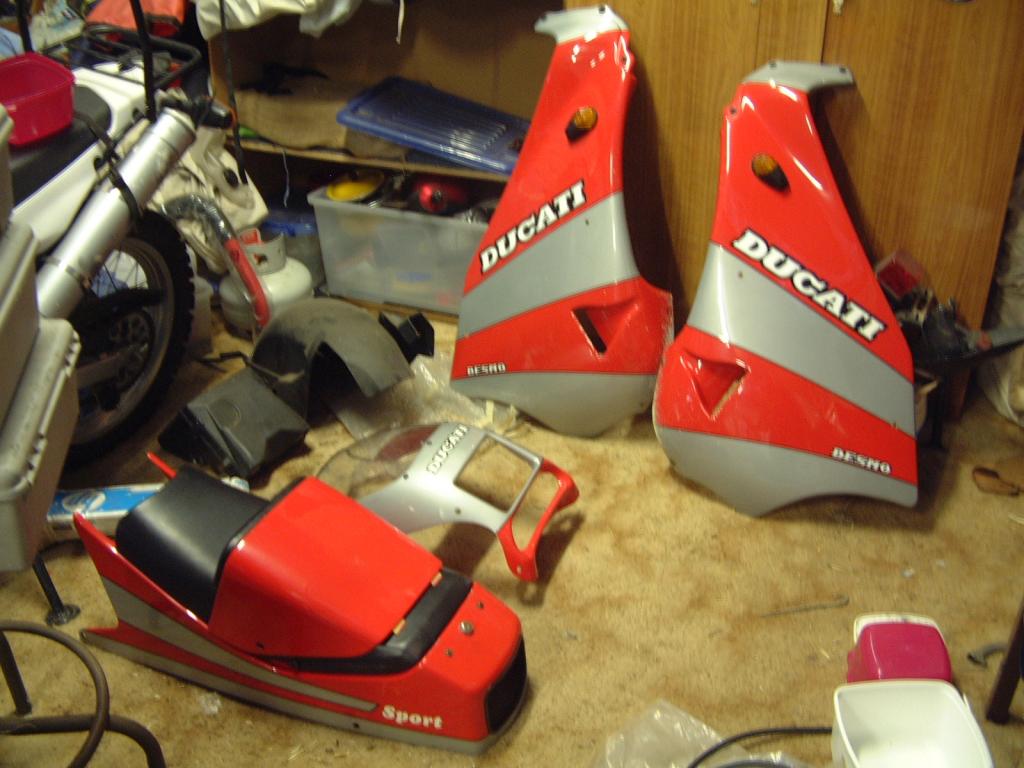
I couldn't help myself again and put the seat unit on before I cleaned it.
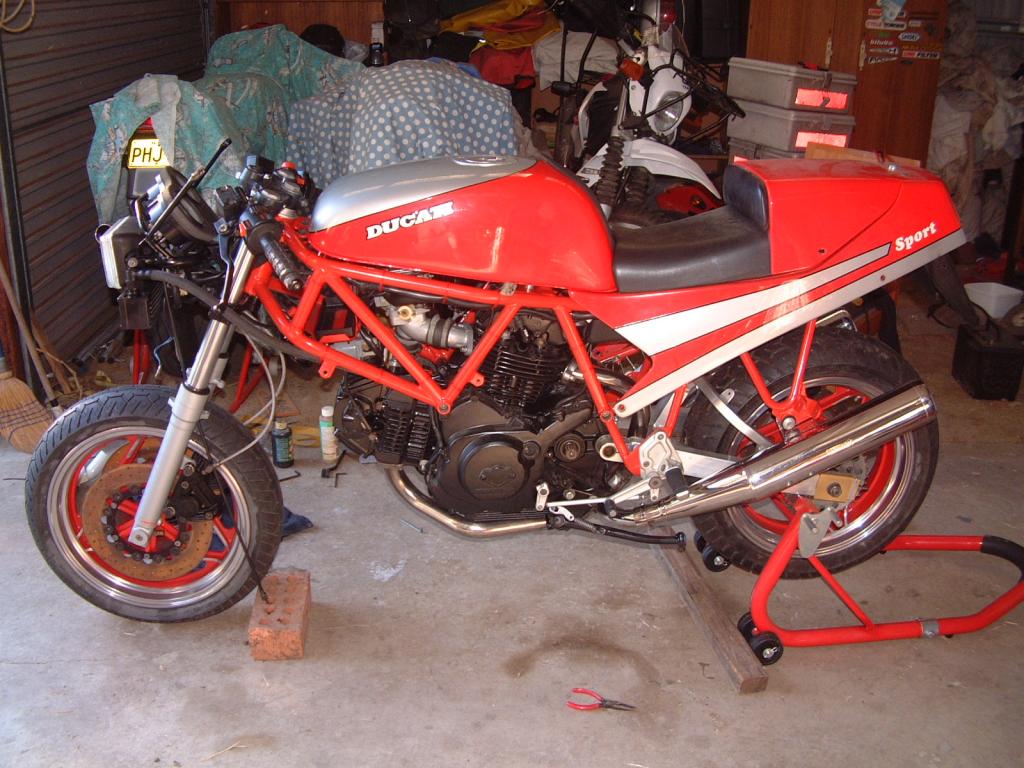
I took it off to clean though.
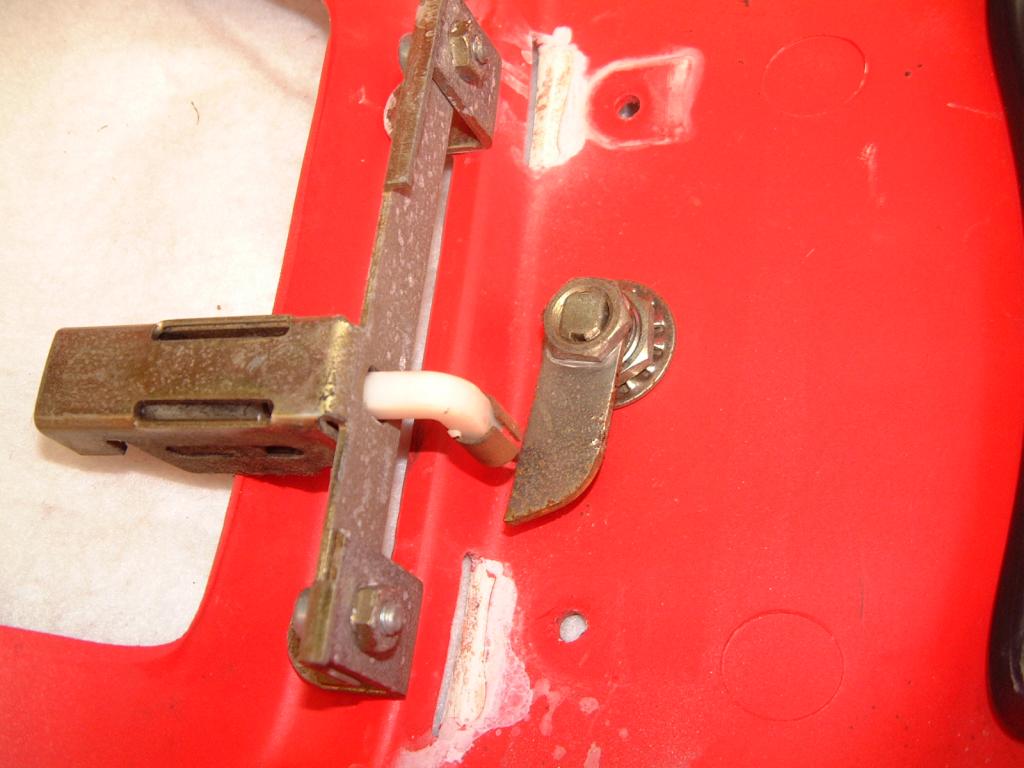
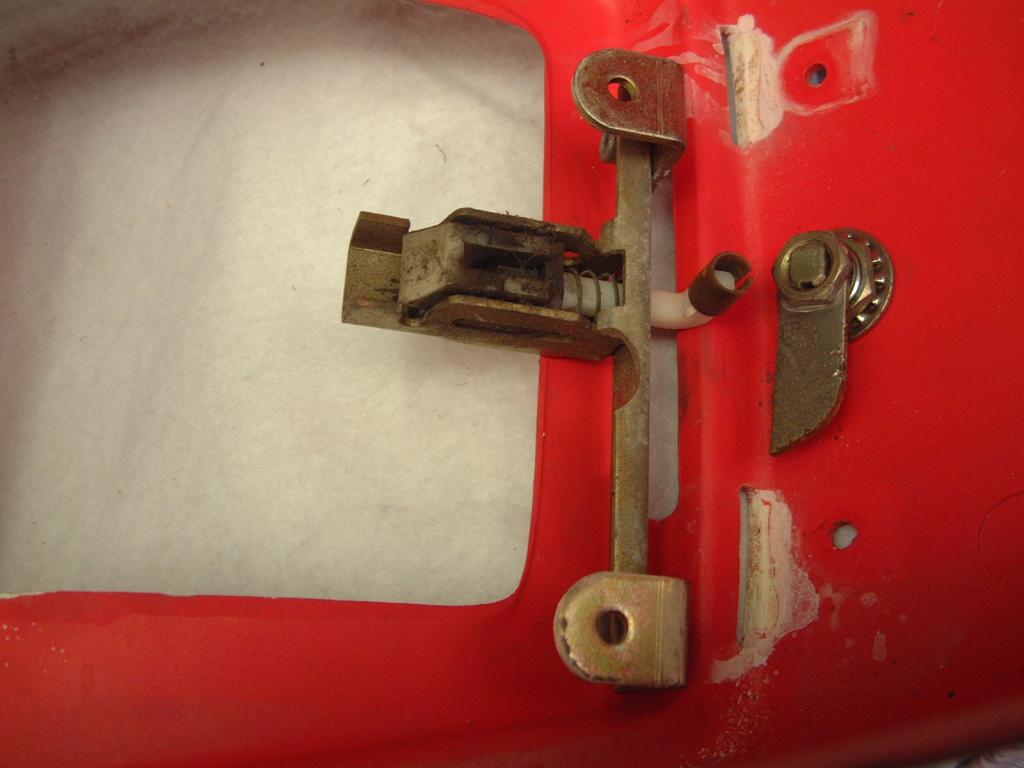
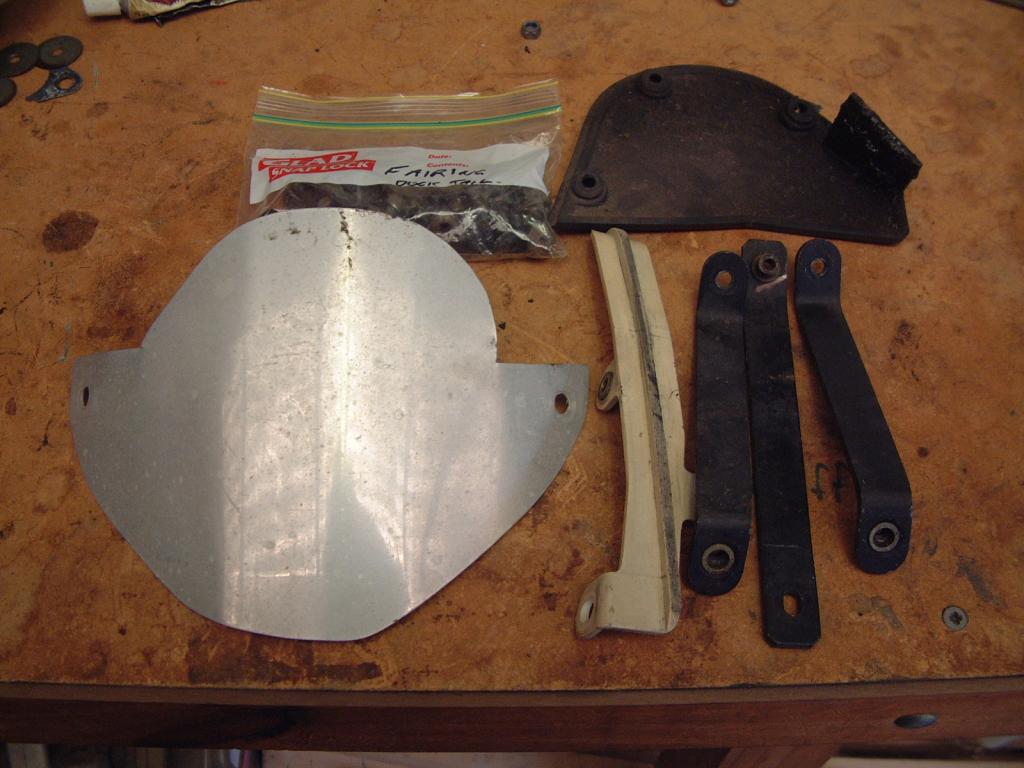
Bugga,more cleaning.It's these little things that are really slowing me down.Never mind,it's got to be done.Does anyone have any idea what the homemade tin thing on the left might be for?.
Cleaner.I thought I might not have the sprocket cover but it was hiding in a cupboard.
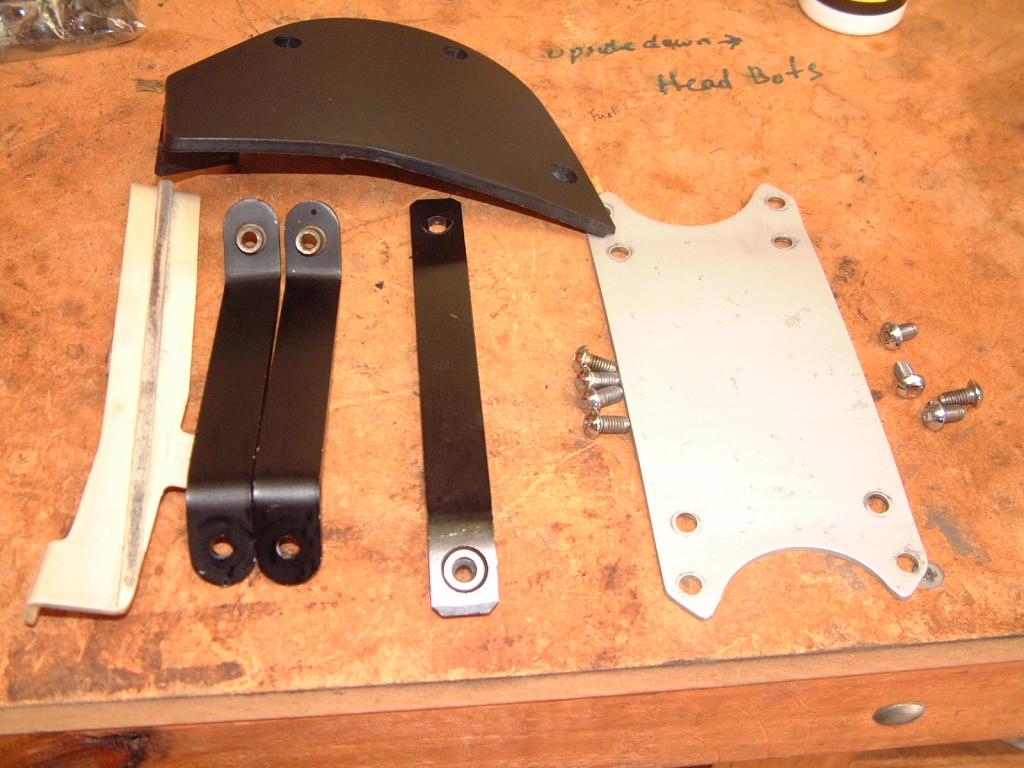
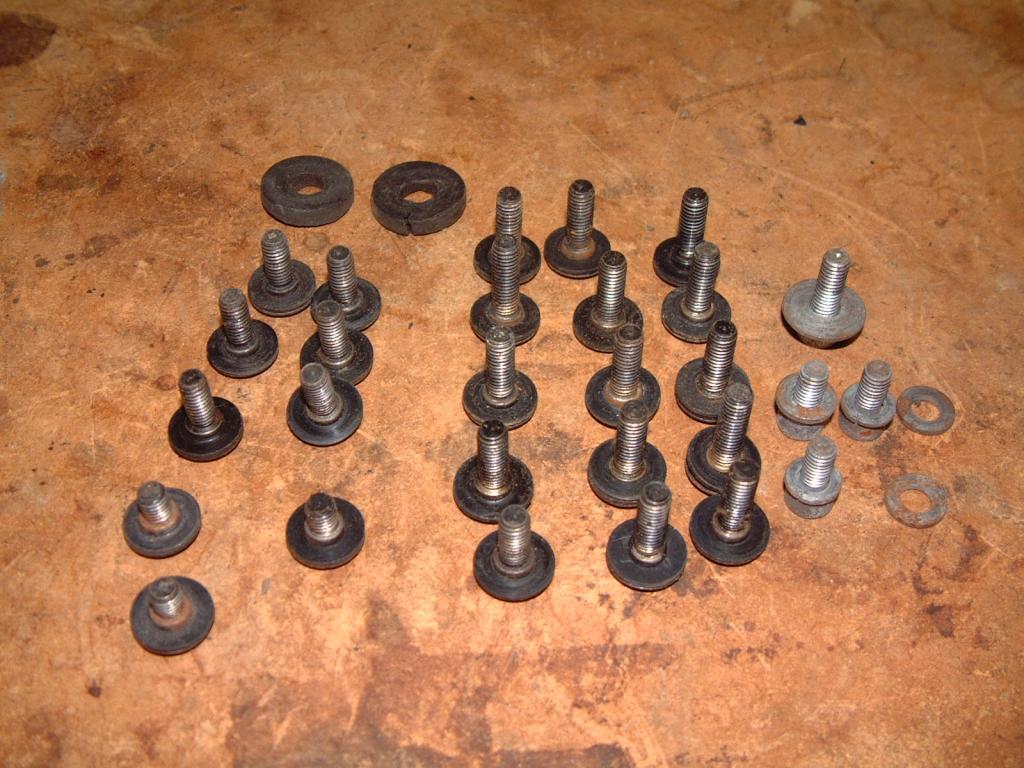
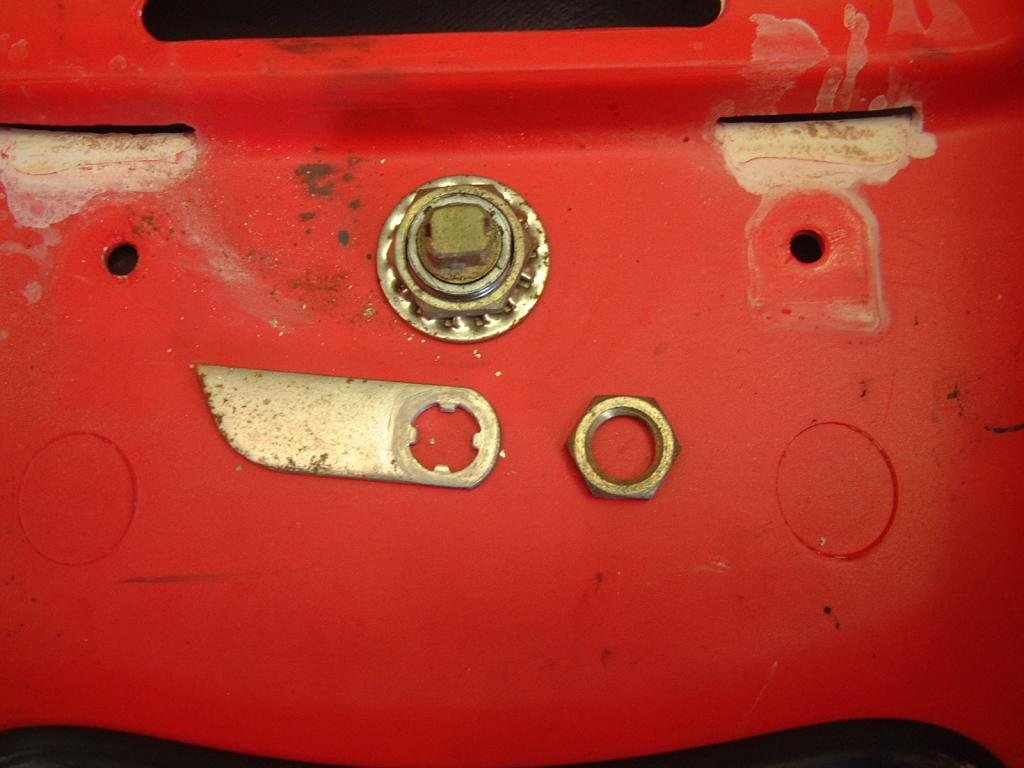
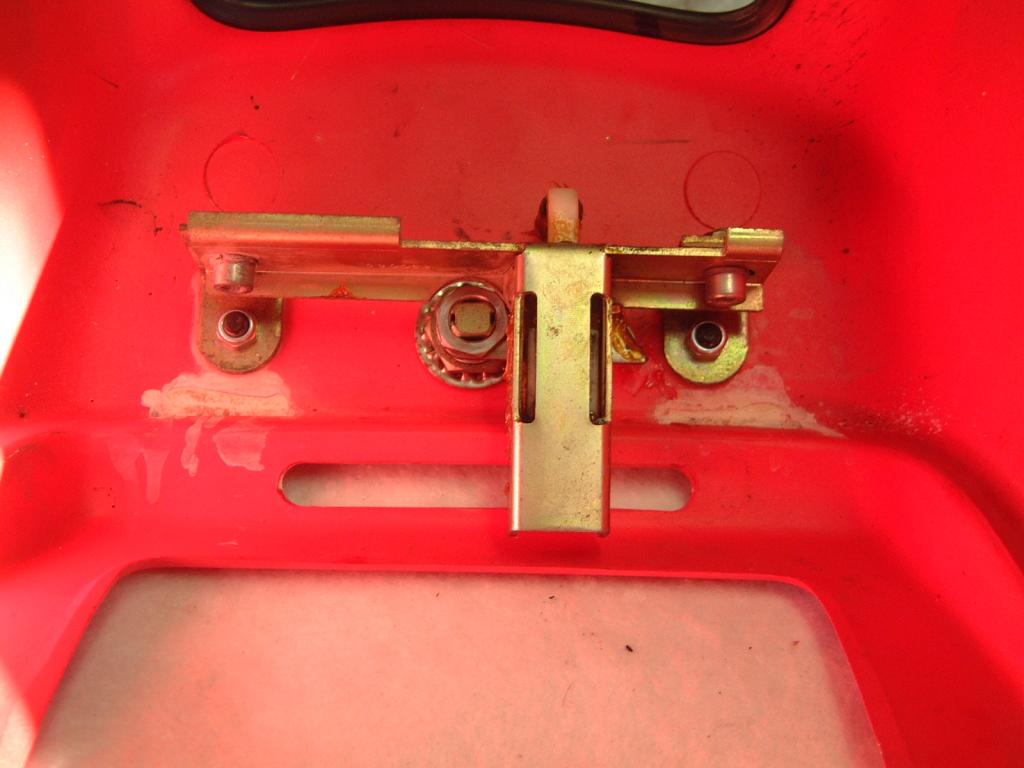
These will have to be replaced...

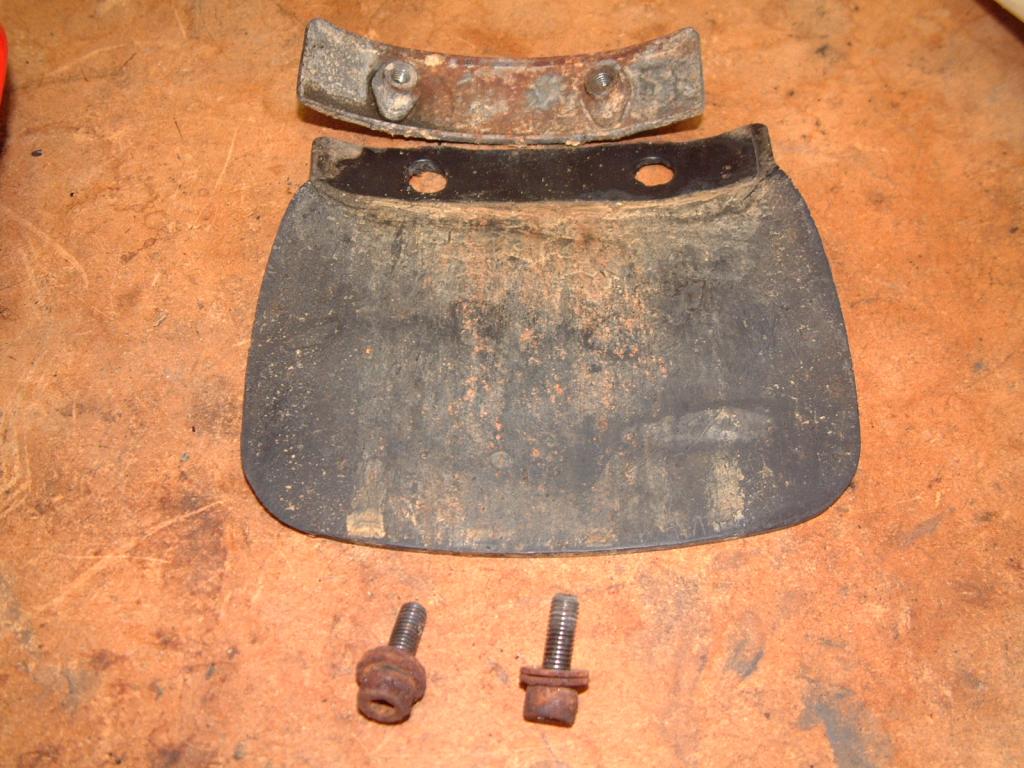
...but for now a good clean will have to do.
Time to put the front guard on but first a ( all together ) clean
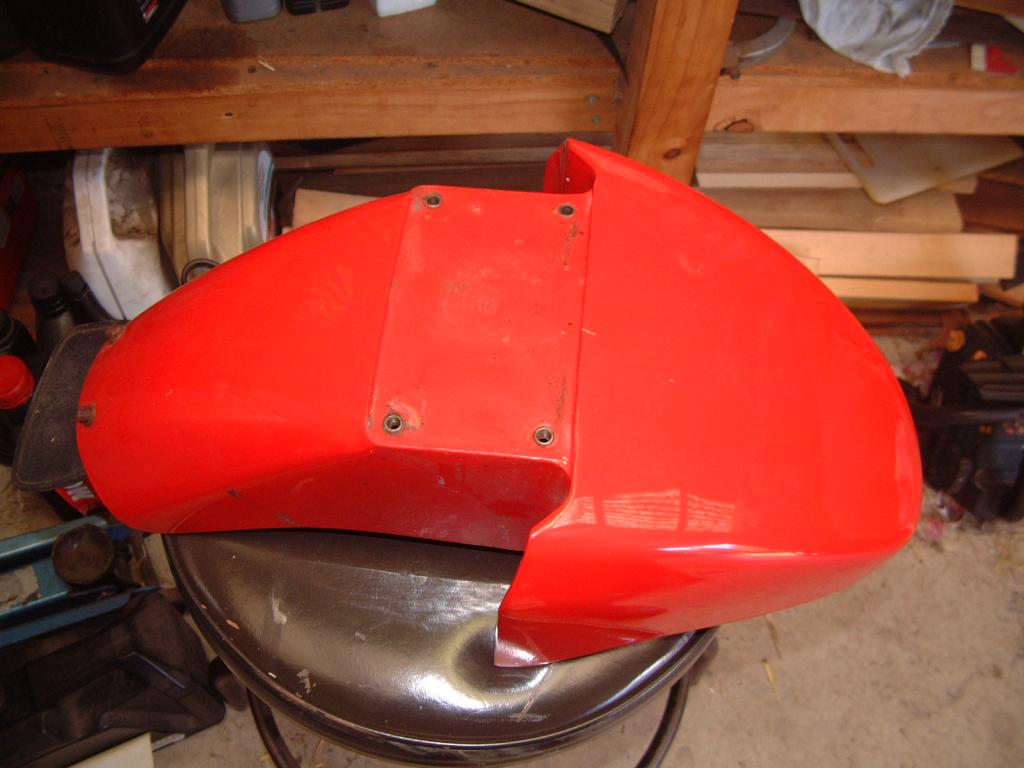
[
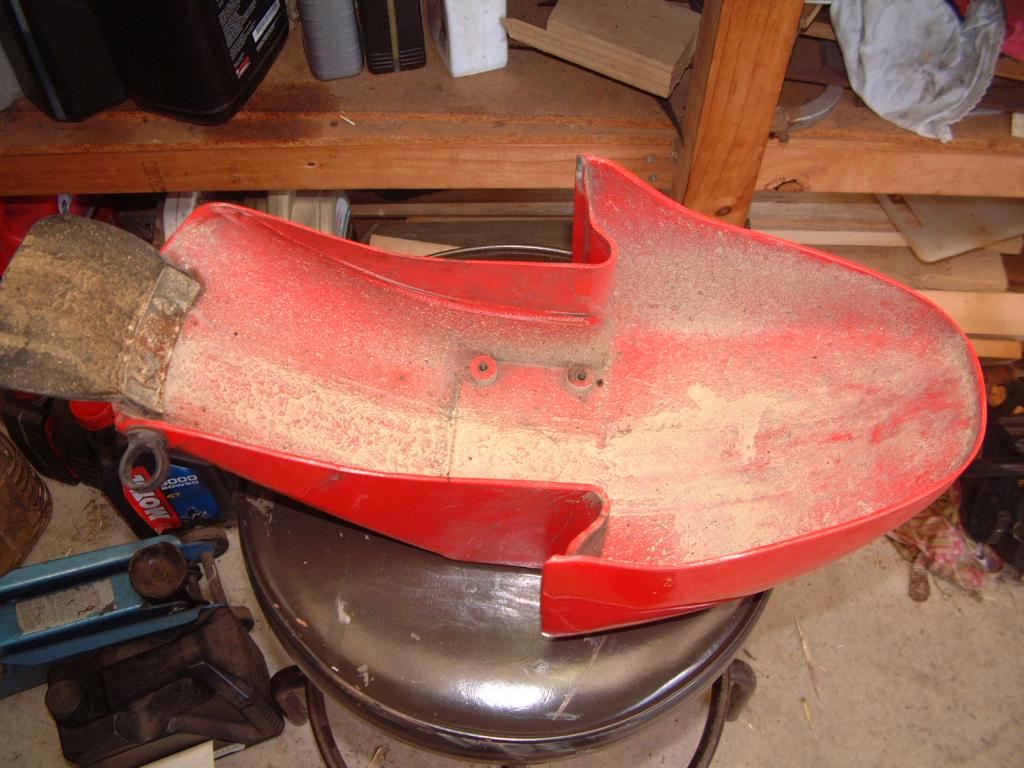
I put some clear contact where there was obvious signs of rubbing.And on she goes with some thread locker for the fork brace.
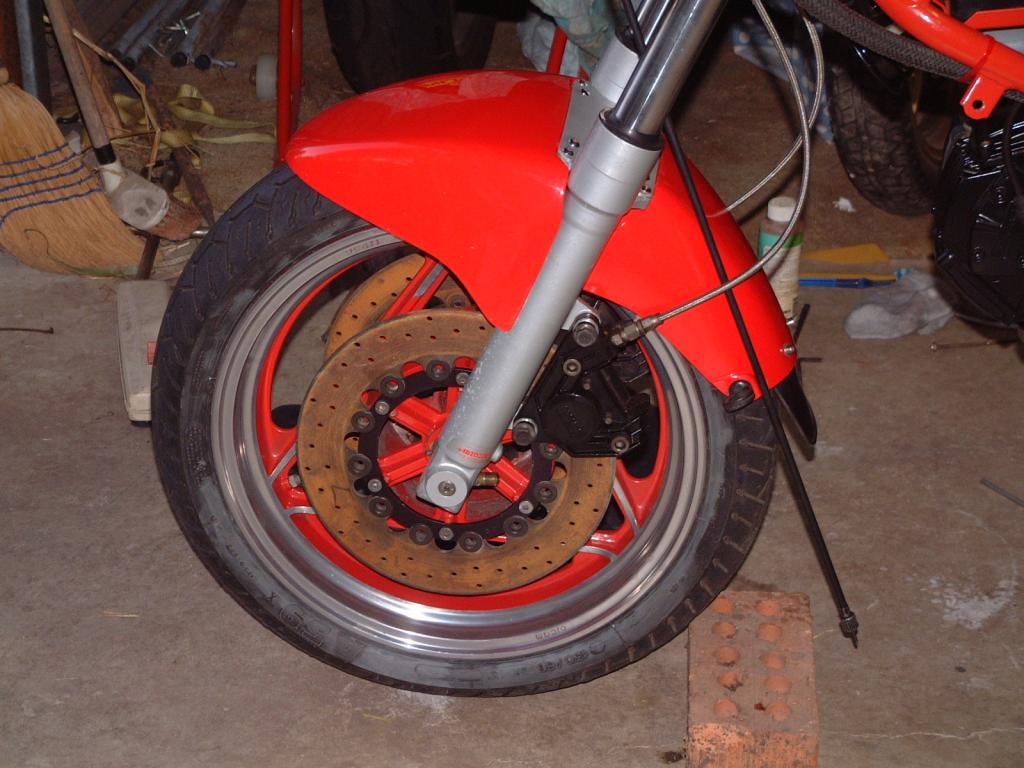
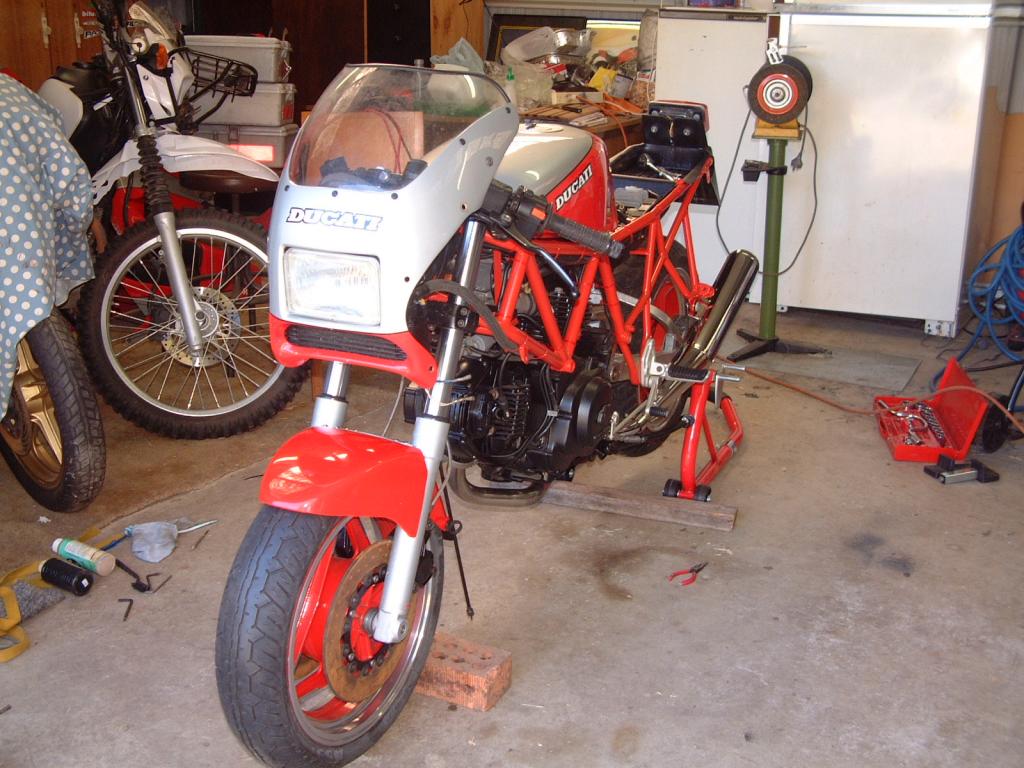
Ooh...that's blurry.You'll just have to trust me that it's all been washed.
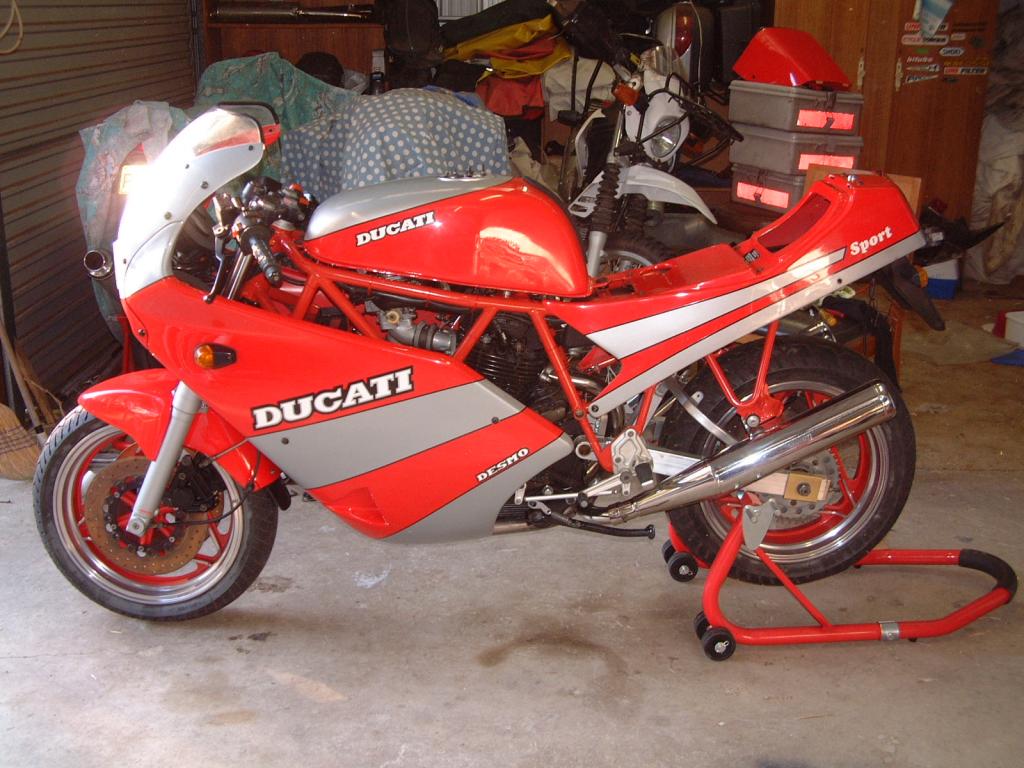
Tomorrows jobs are to adjust the steering head bearings,tighten the remaining bolts up the front and just maybe fit some bodywork.I'll be leaving the tank off for the moment as I have a new air filter ordered.Once I'm happy with it all I'll be removing the lower bodywork and changing the fluids.
Cheers
Andrew