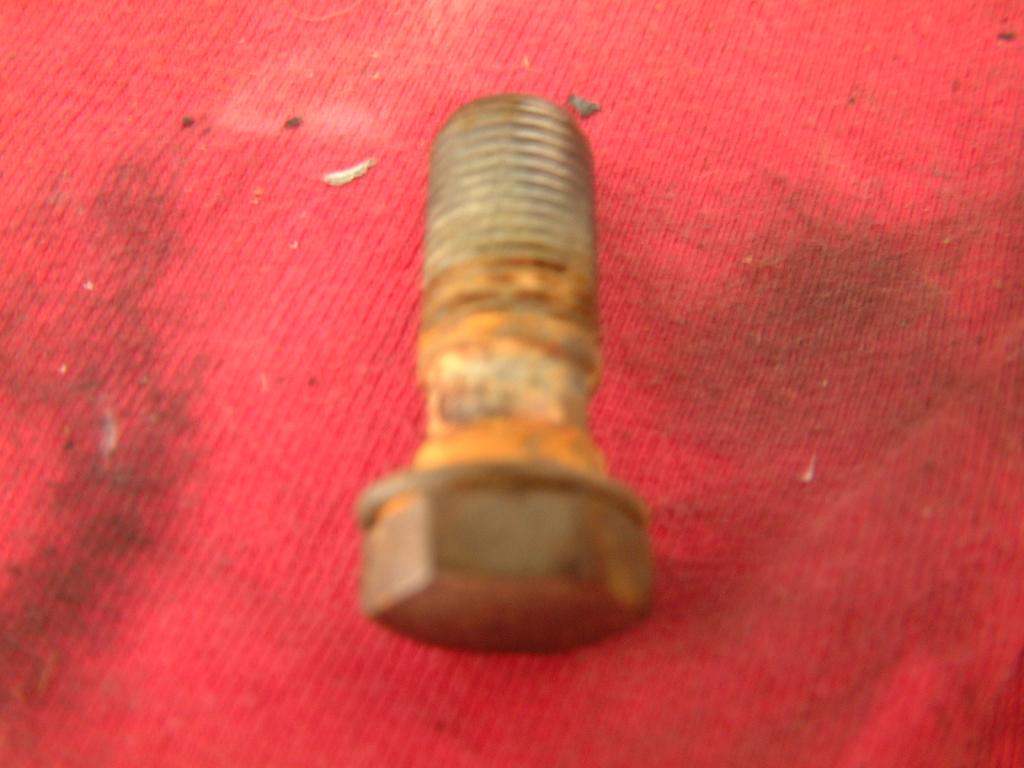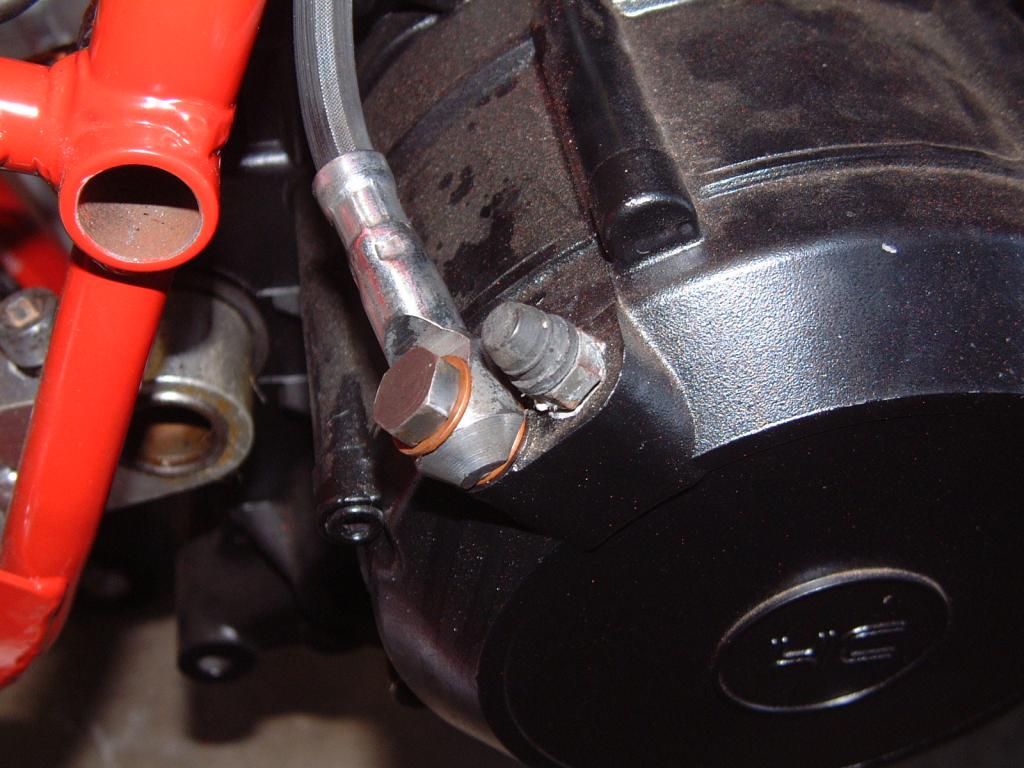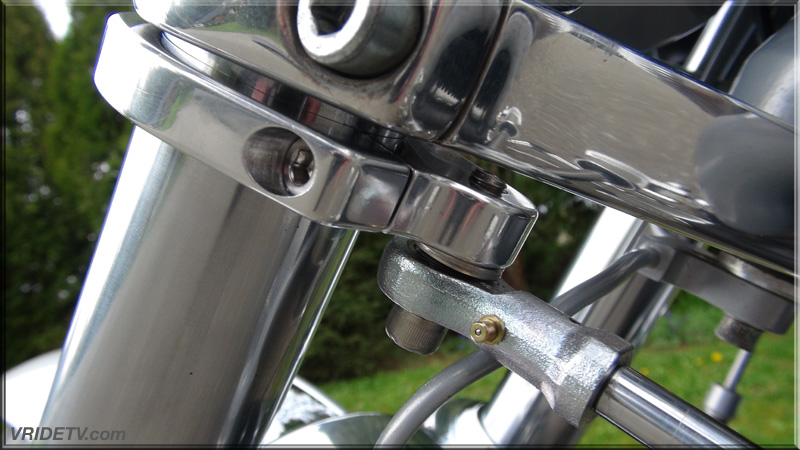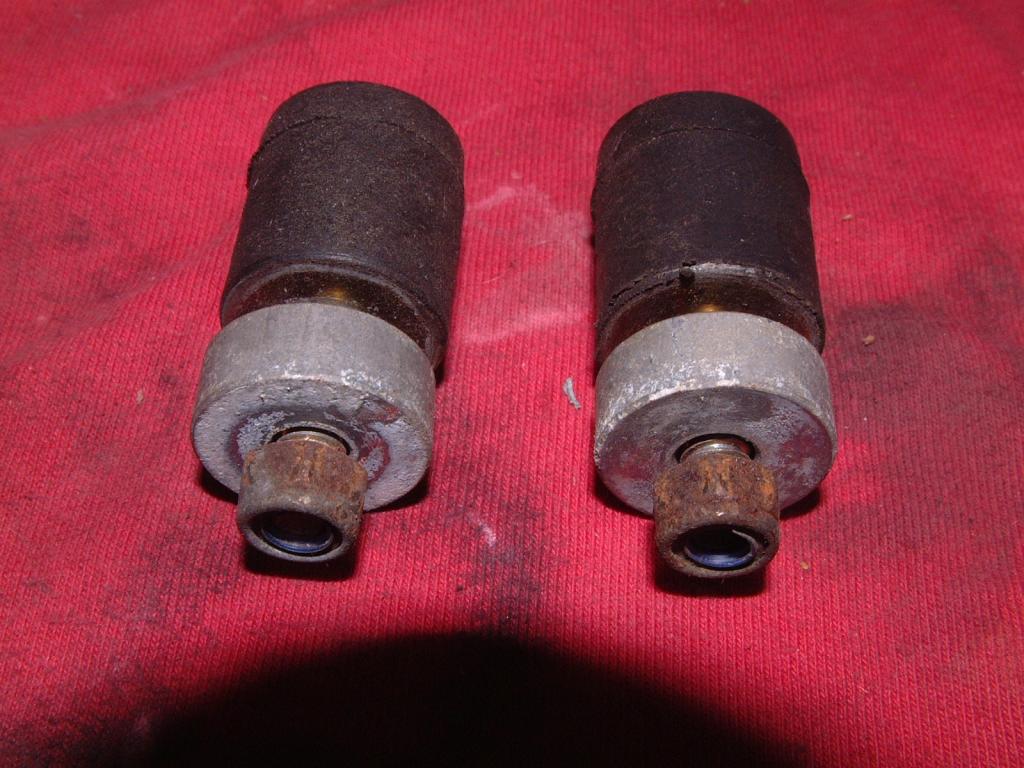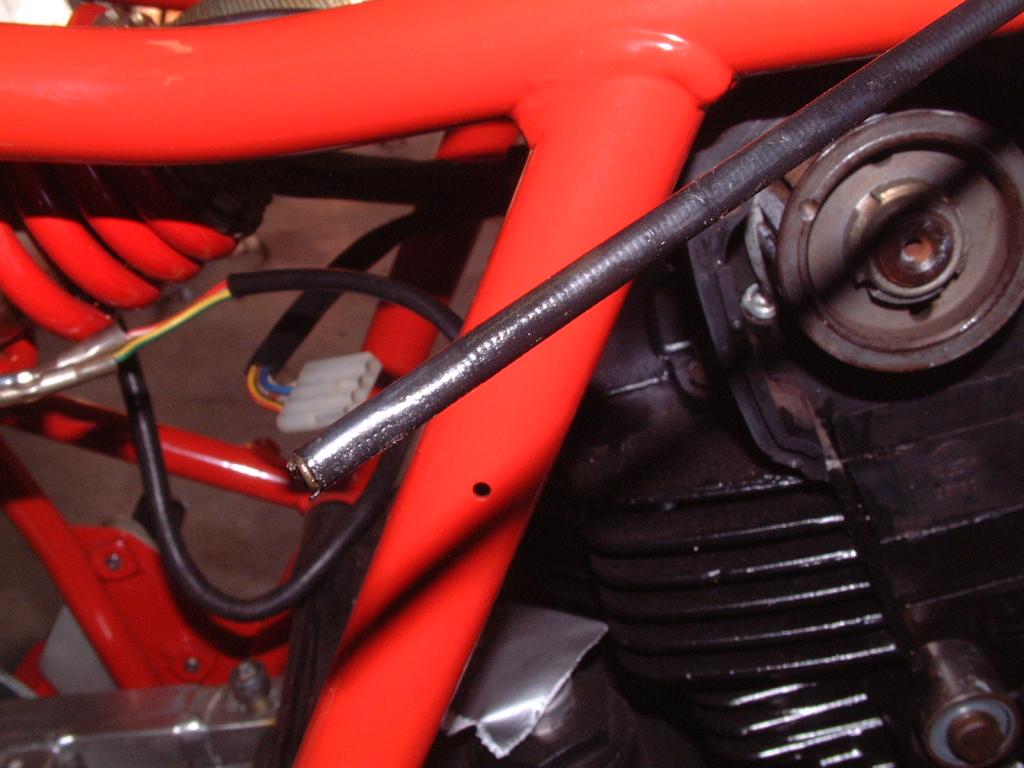
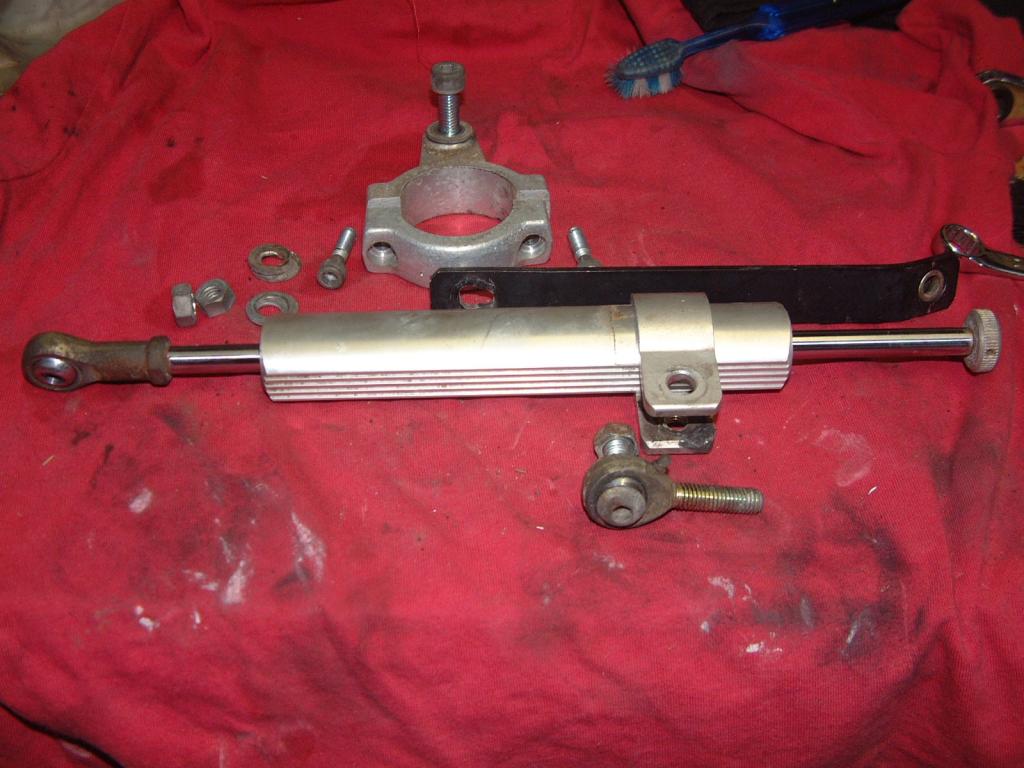
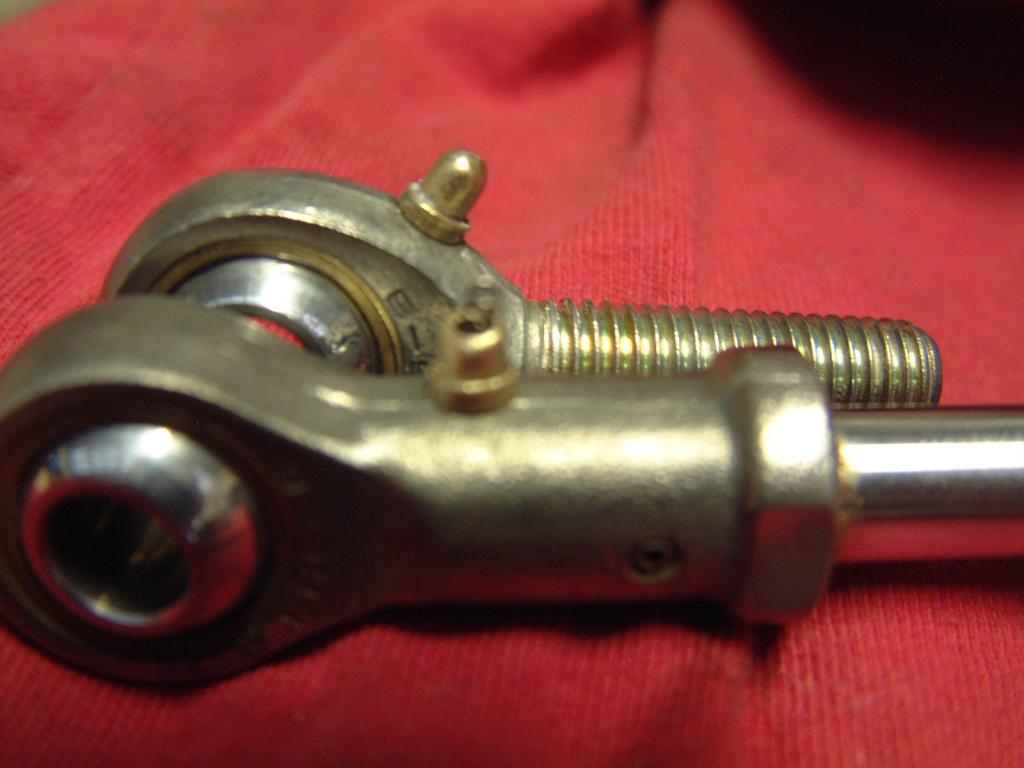
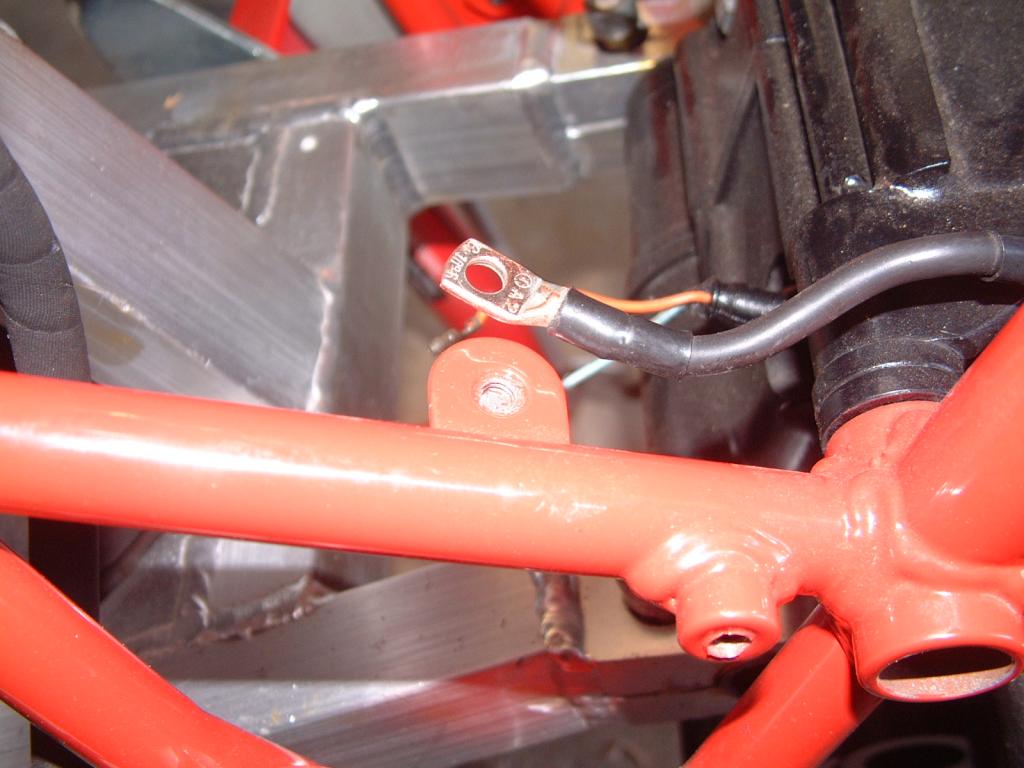
Next up the steering damper.
You can see the rust at the very end of the shaft.I'll remove as much as possible but I don't think it will effect the damper anyway.
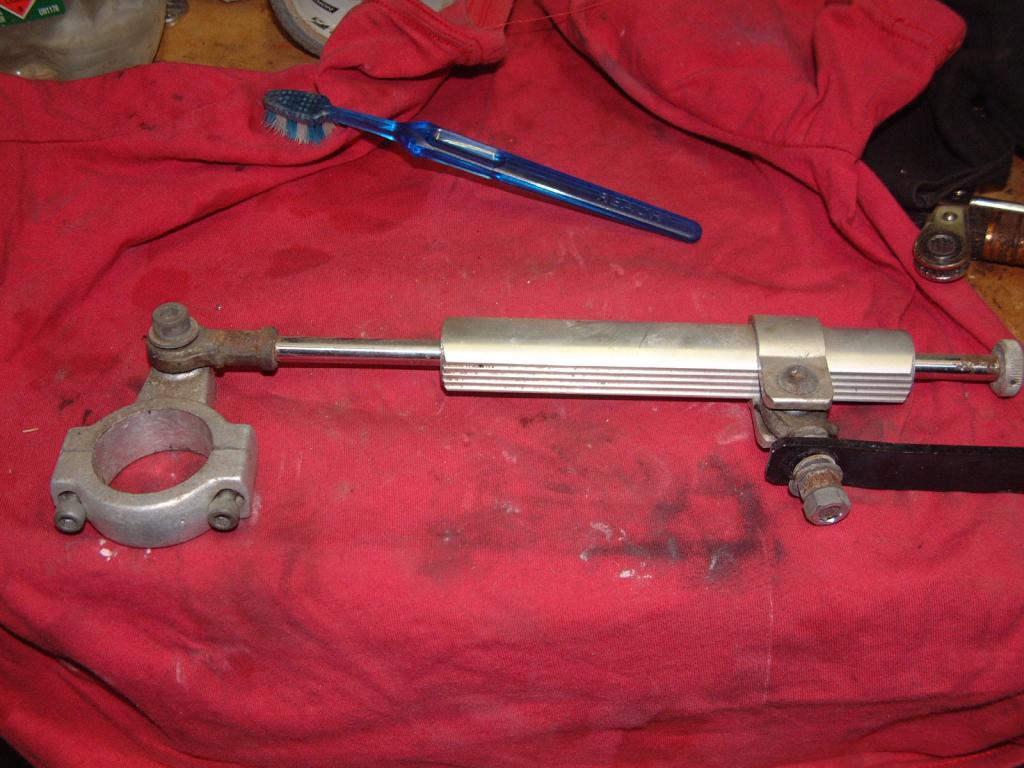
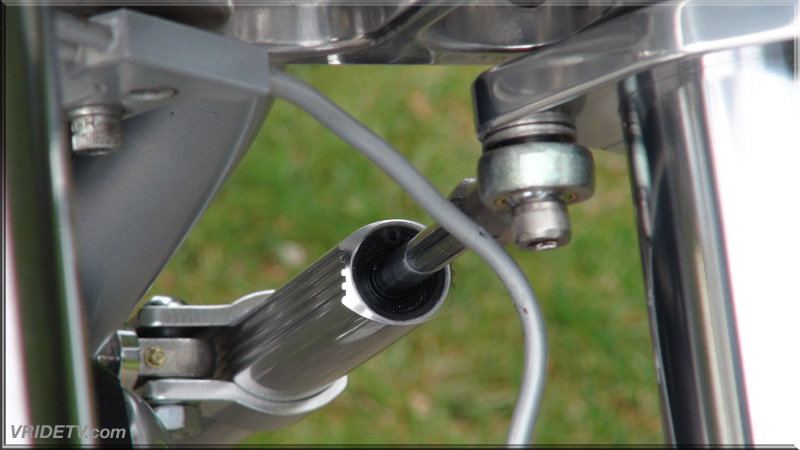
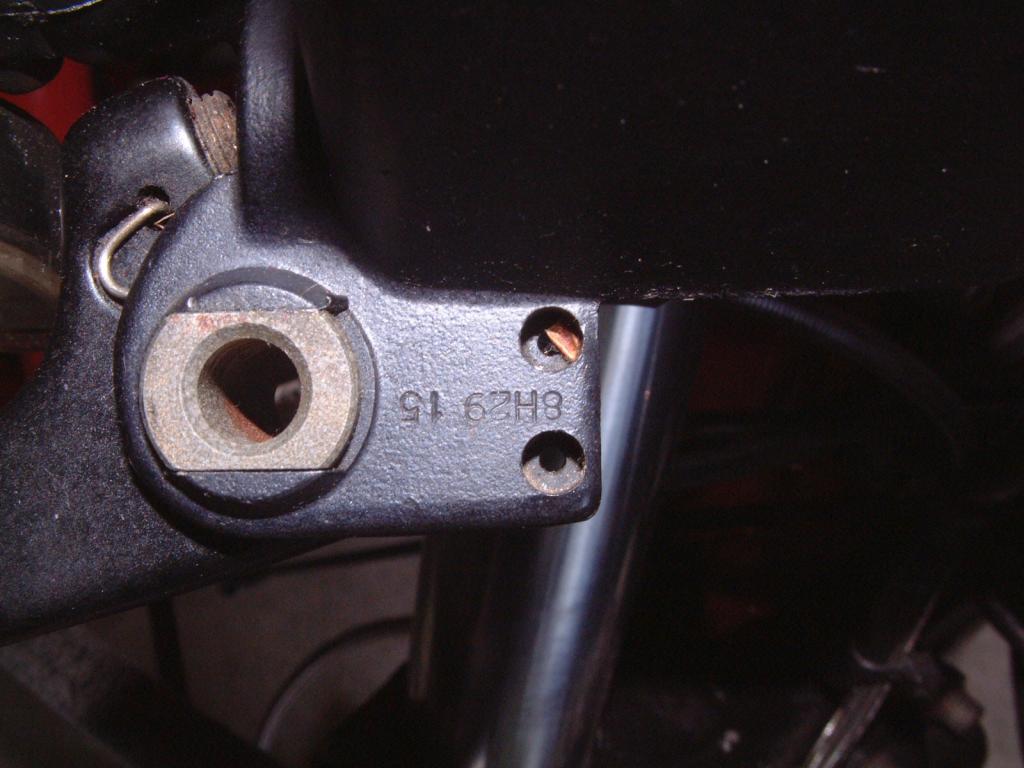
I still have to look at the rust on the shaft but it's better...
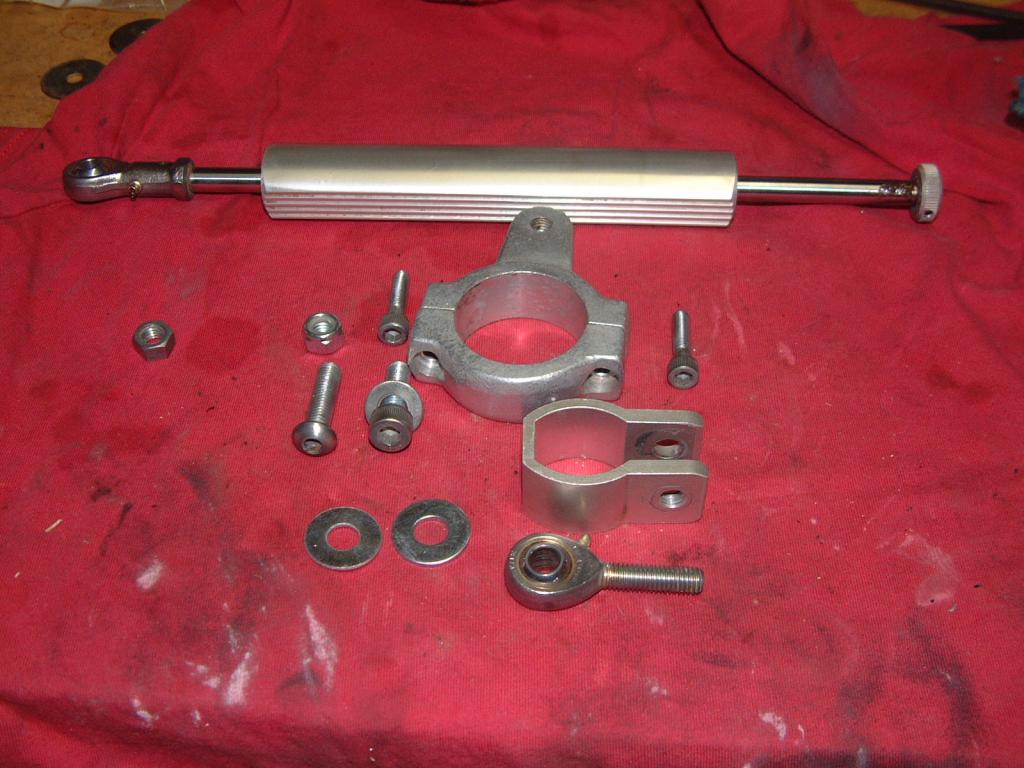
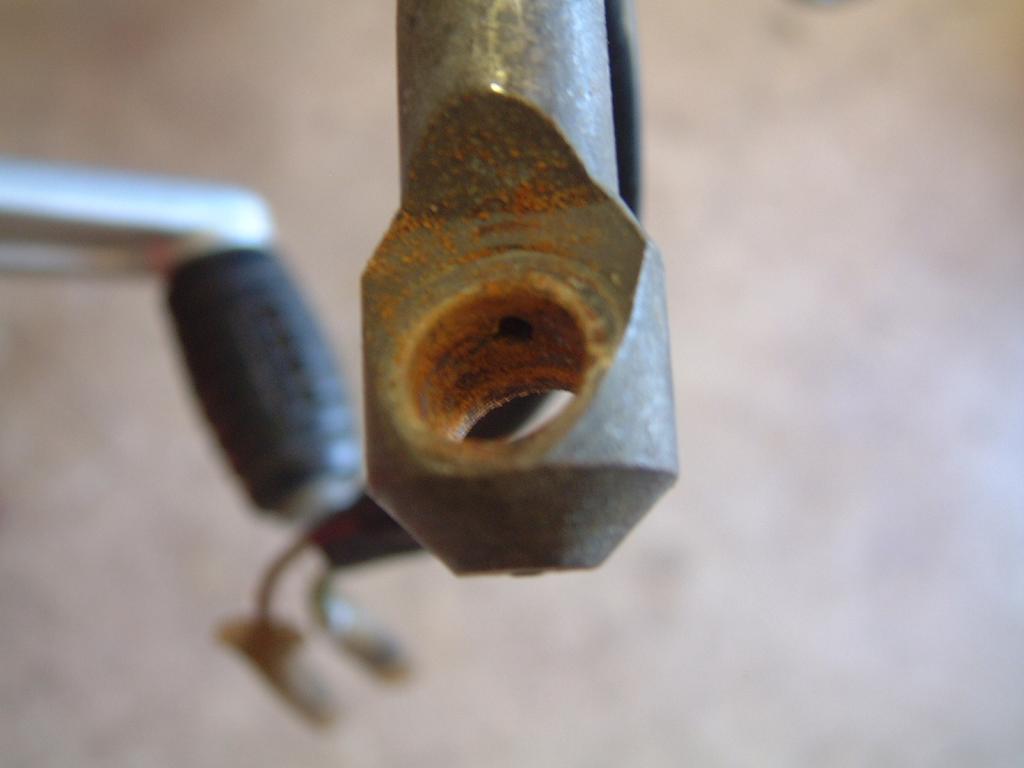
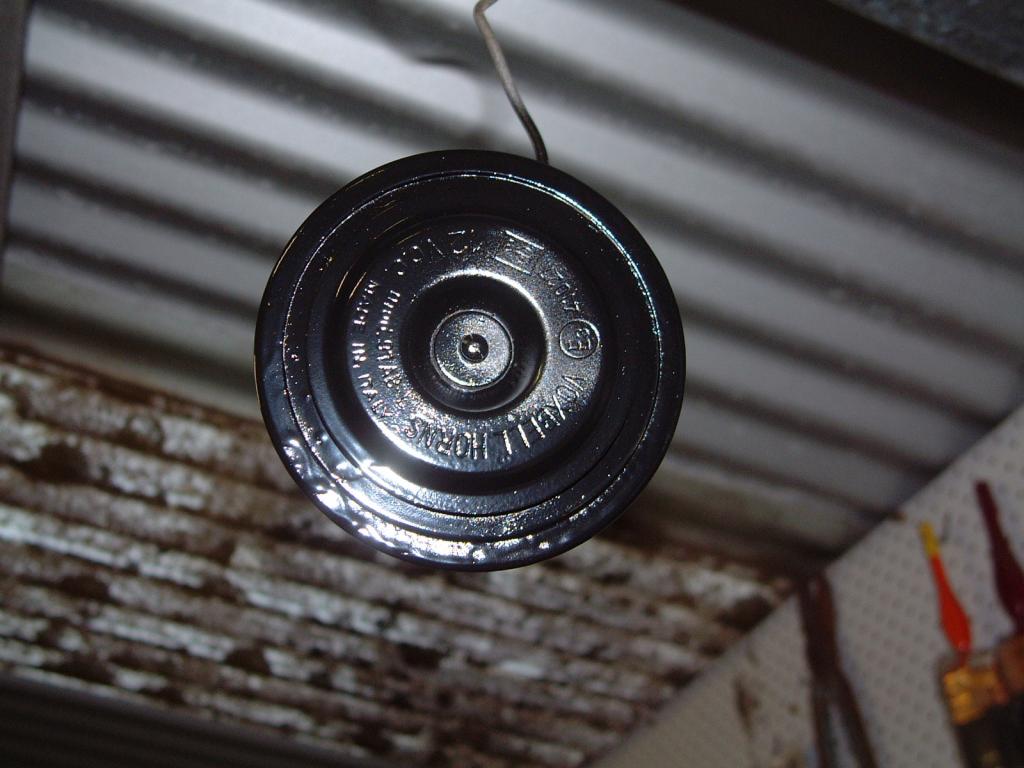
...except this.
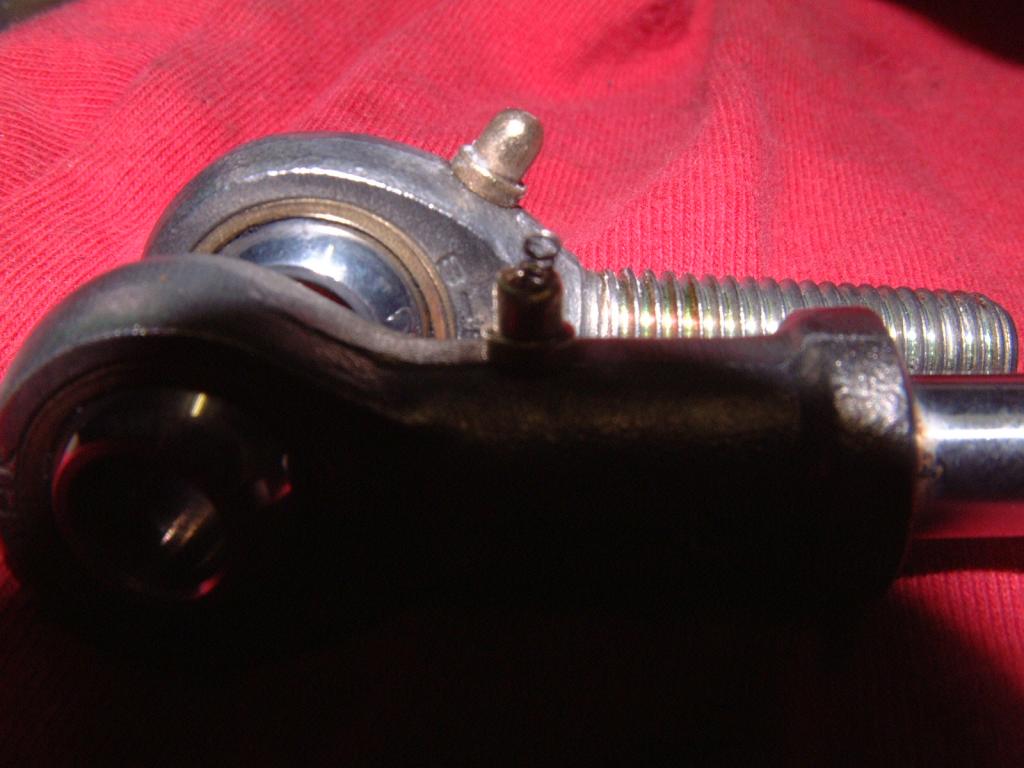
It's a bad photo but basically I got over excited with the wire brush and wore through the brass? cap and out pops a spring."So what does the spring do" and how can I repair it.A dab of solder ( not sure if solder would stick to brass ).Find another cap.I would'nt even know where to start looking for a cap.
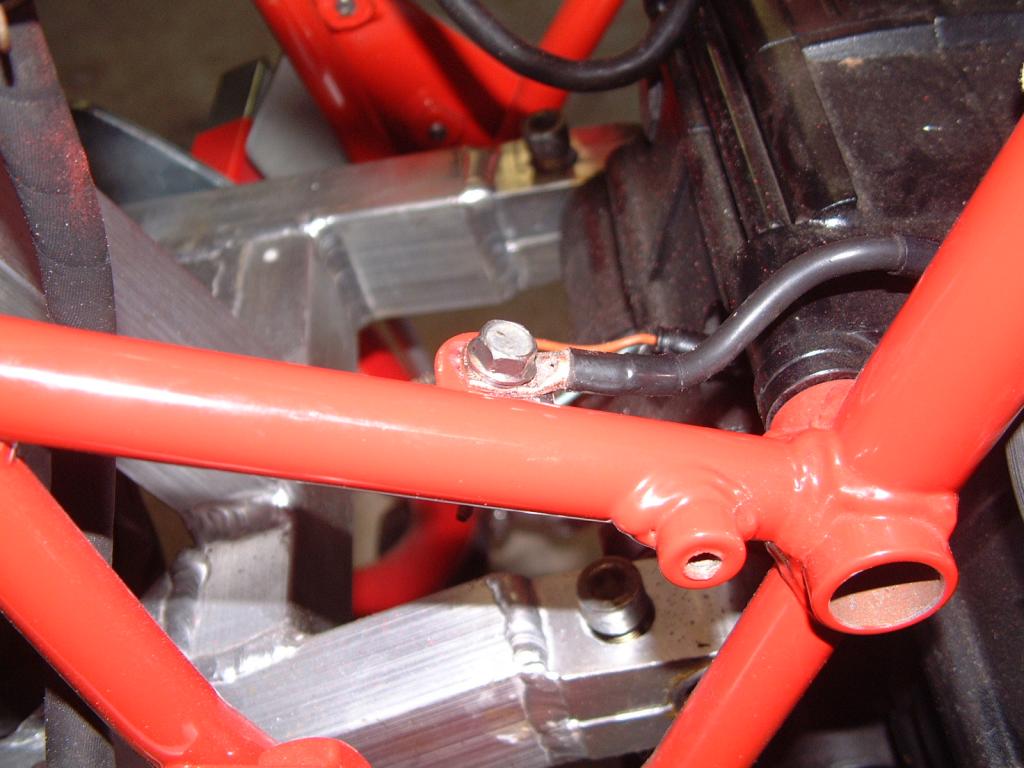
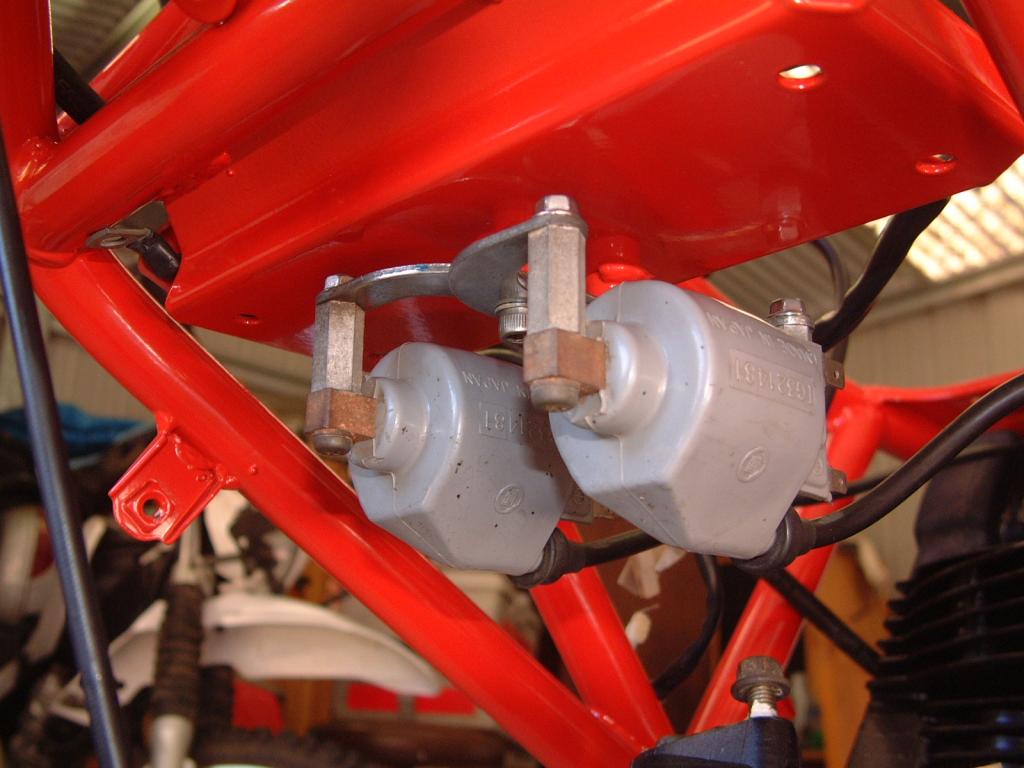
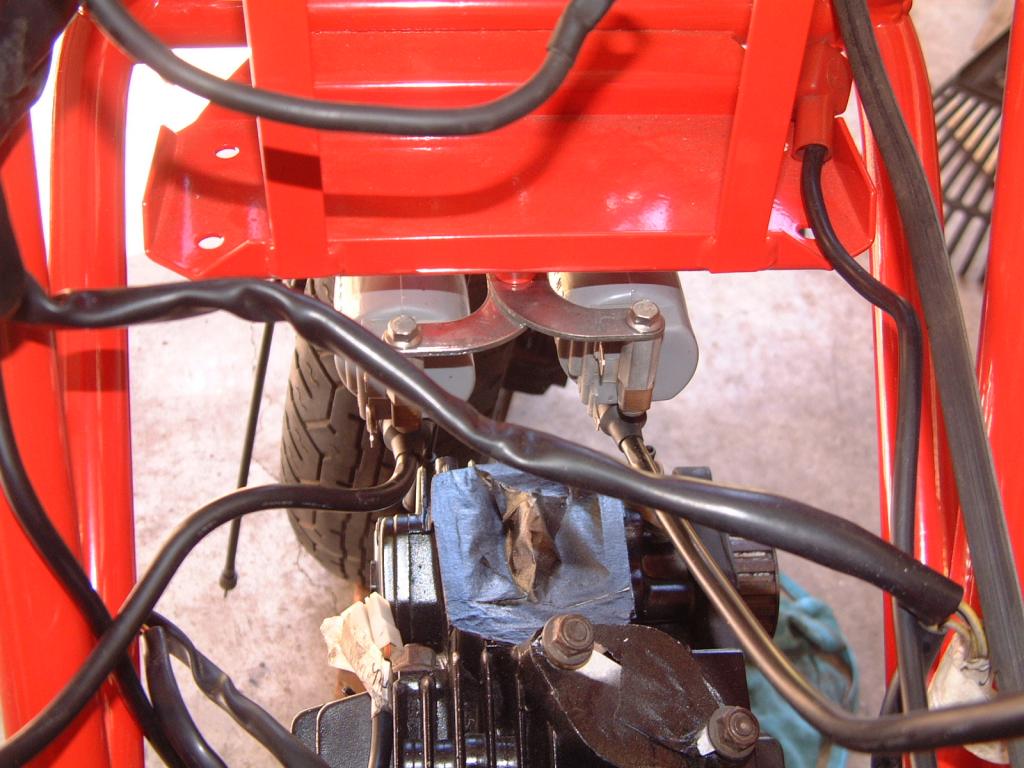
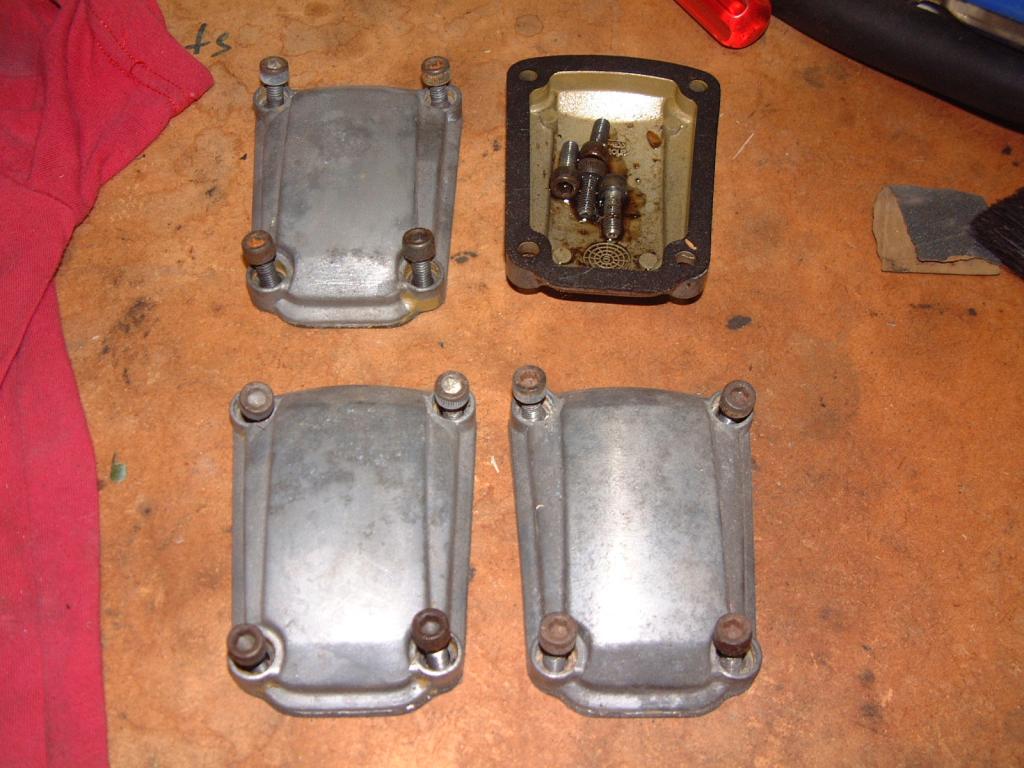
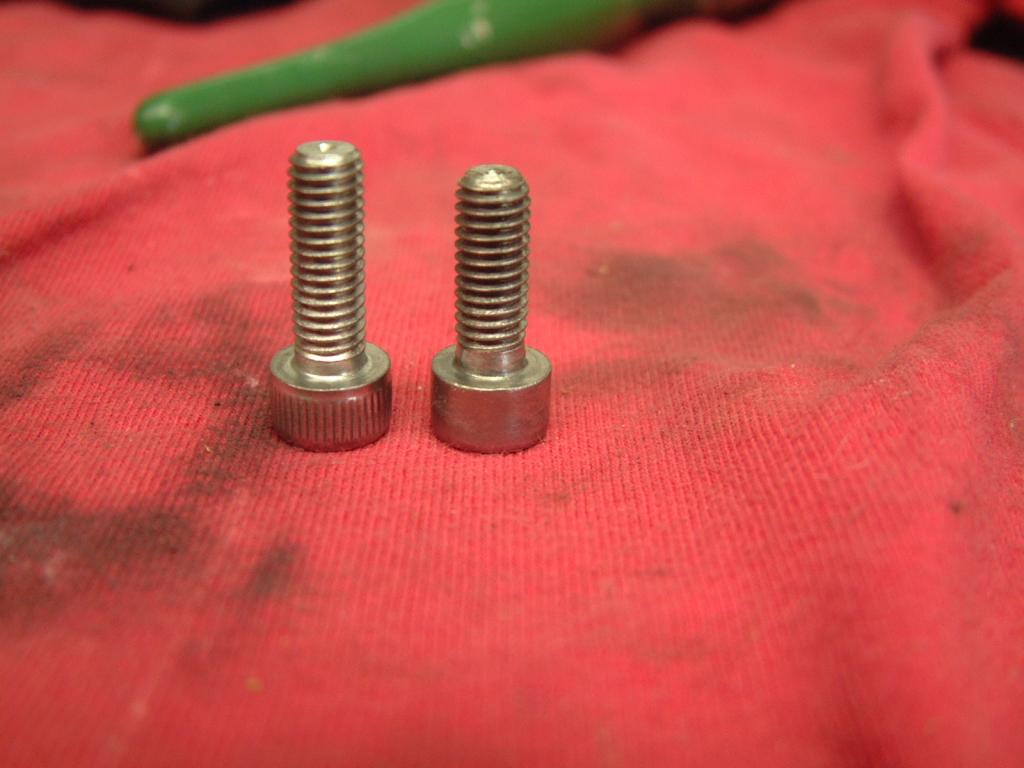
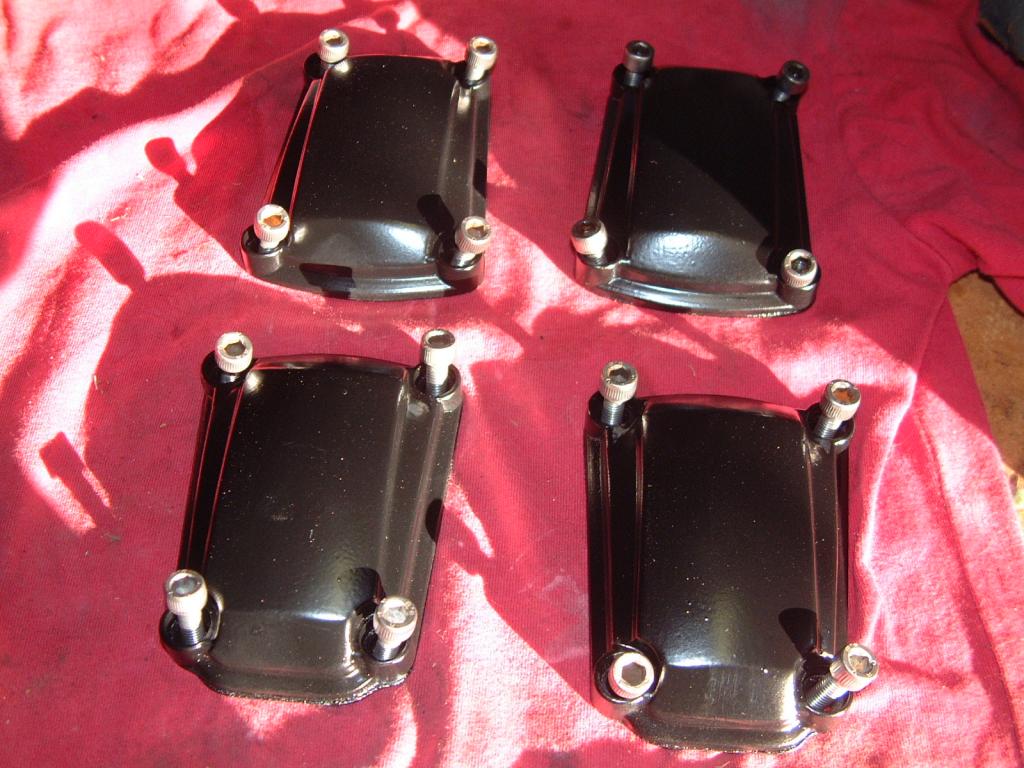
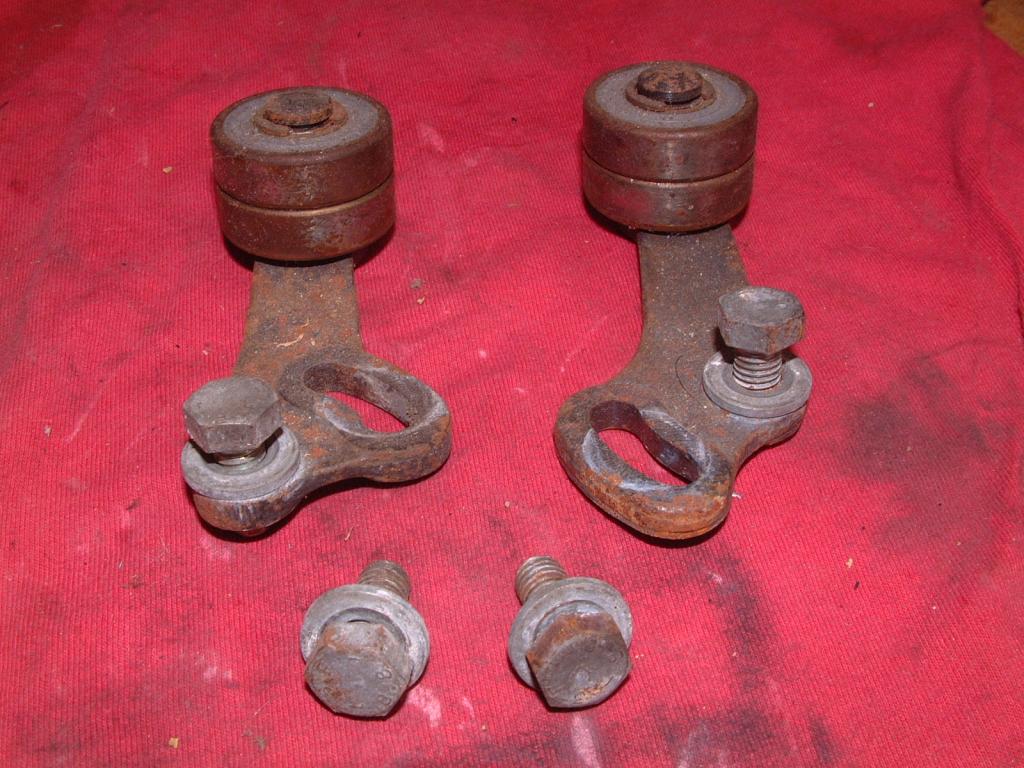
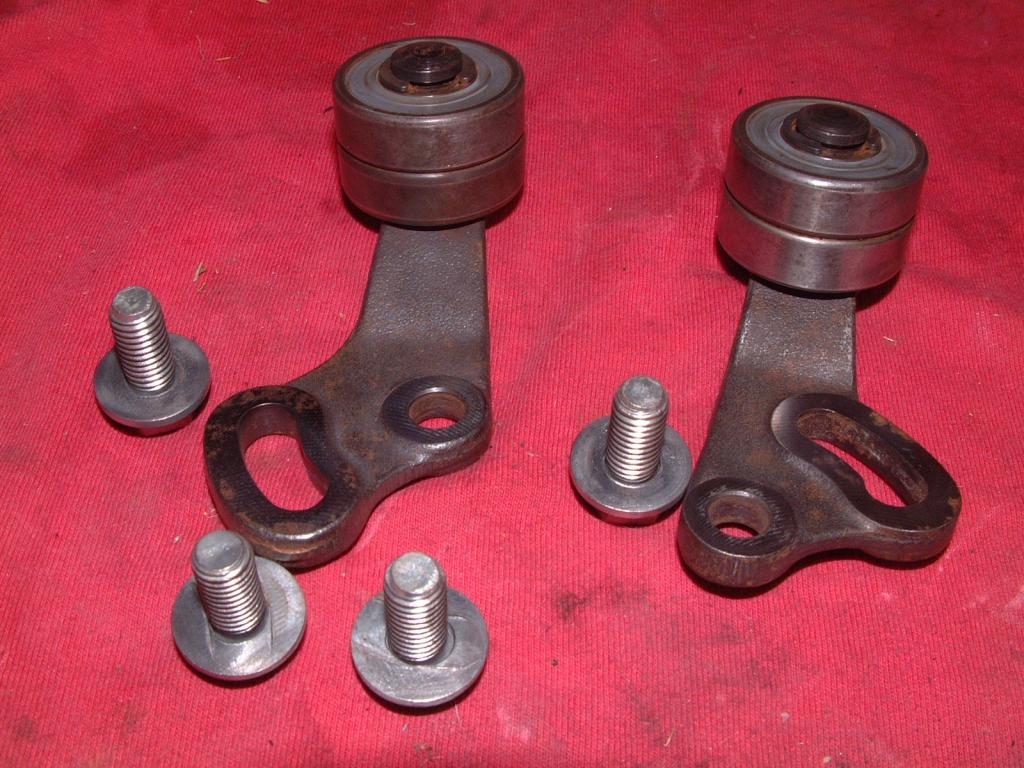
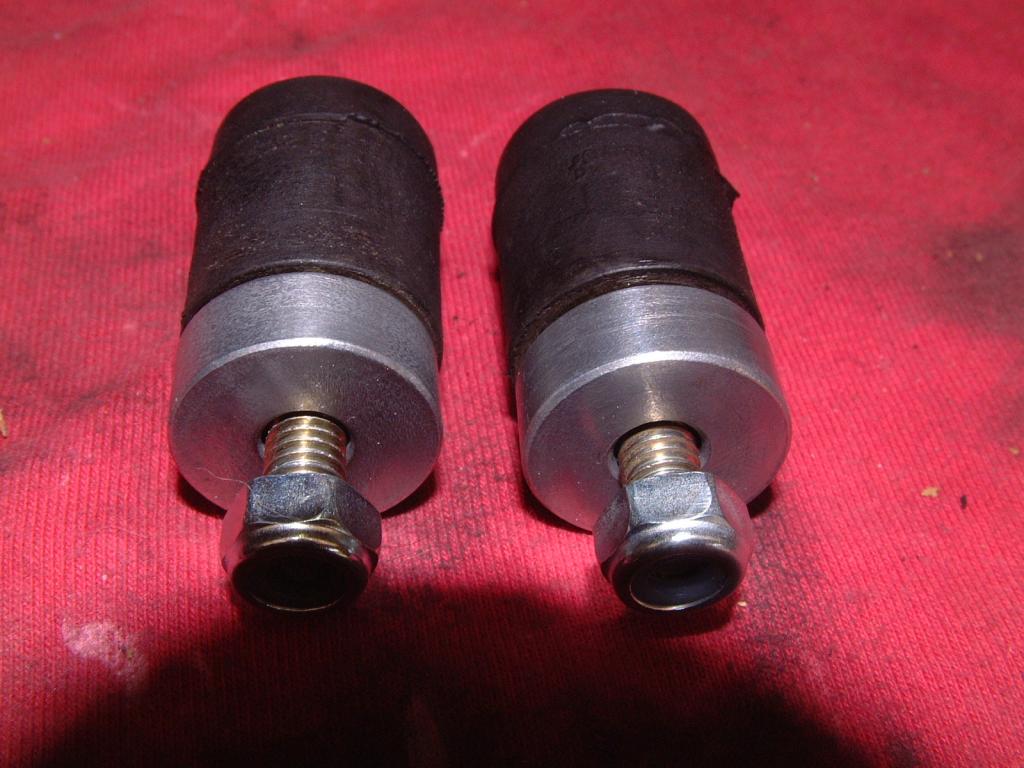
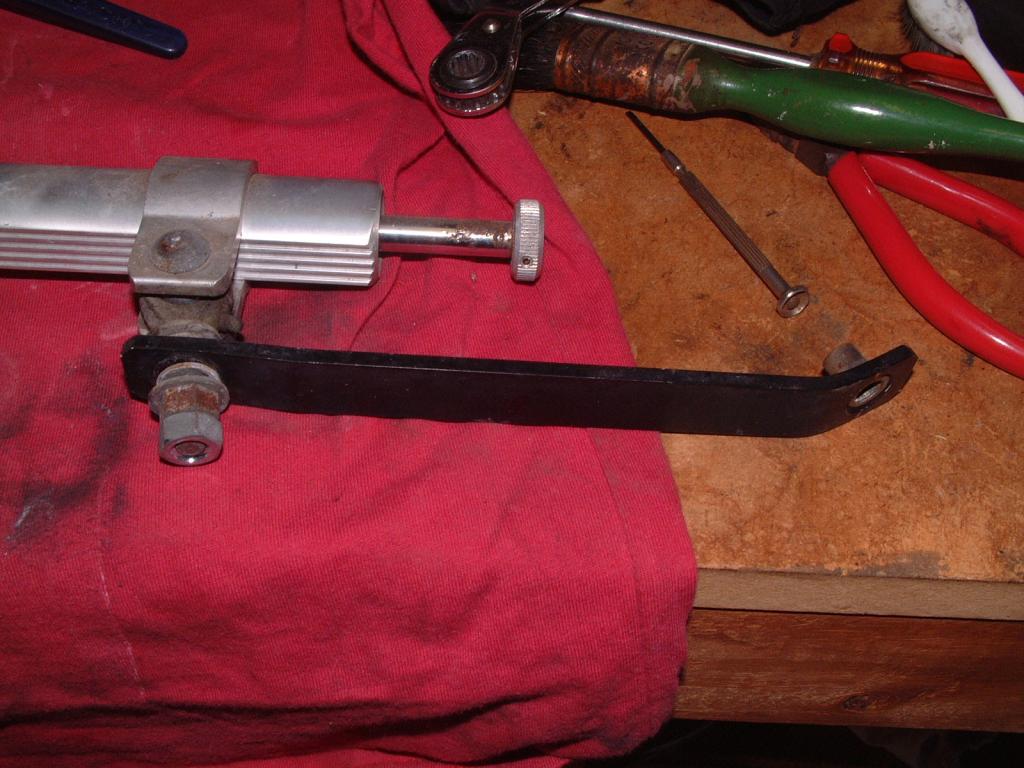
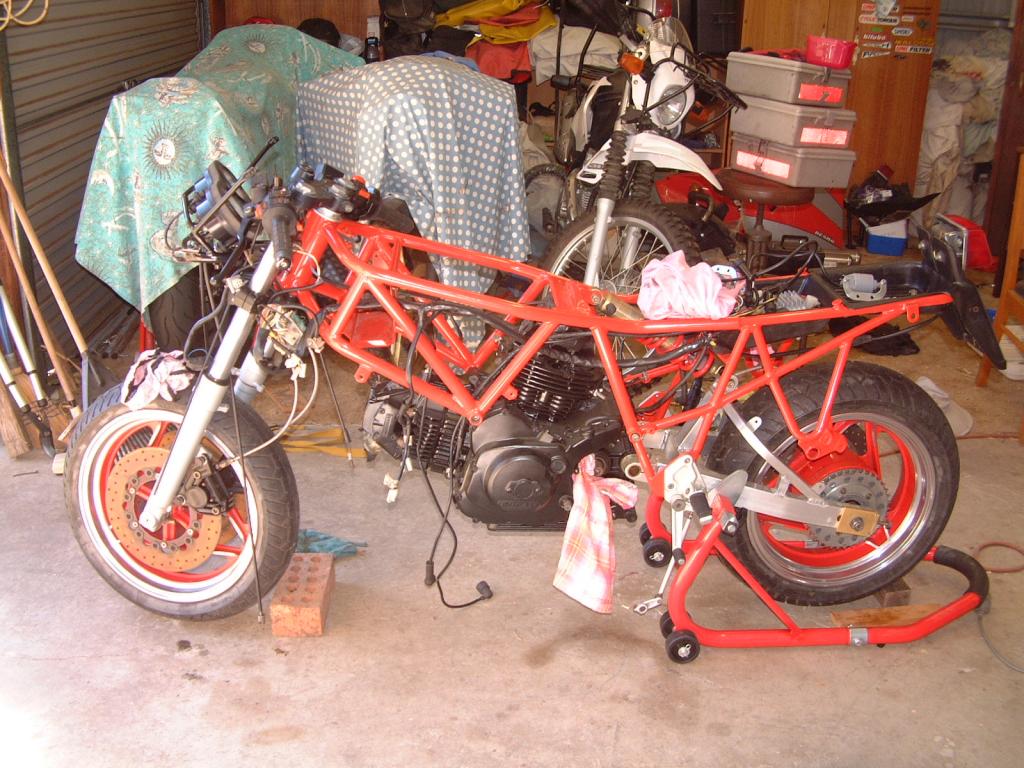
Next job is cleaning these.
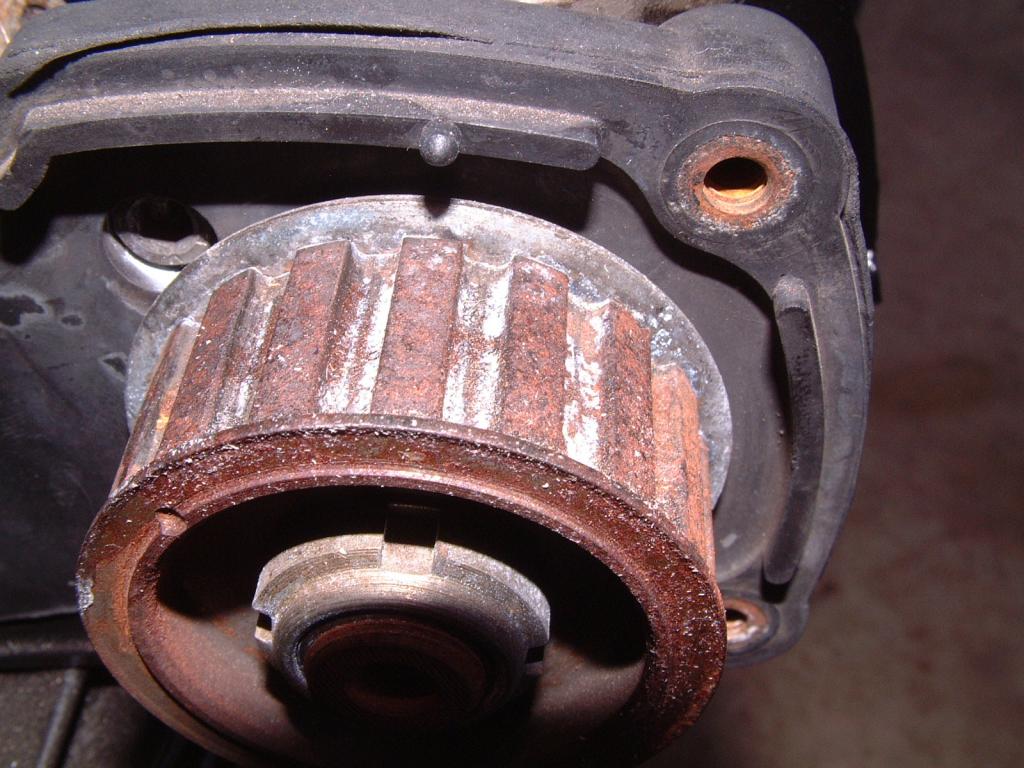
I don't want to remove them so I'll have a crack with the dremel and wire brush tomorrow.
Cheers
Andrew
 [/url]
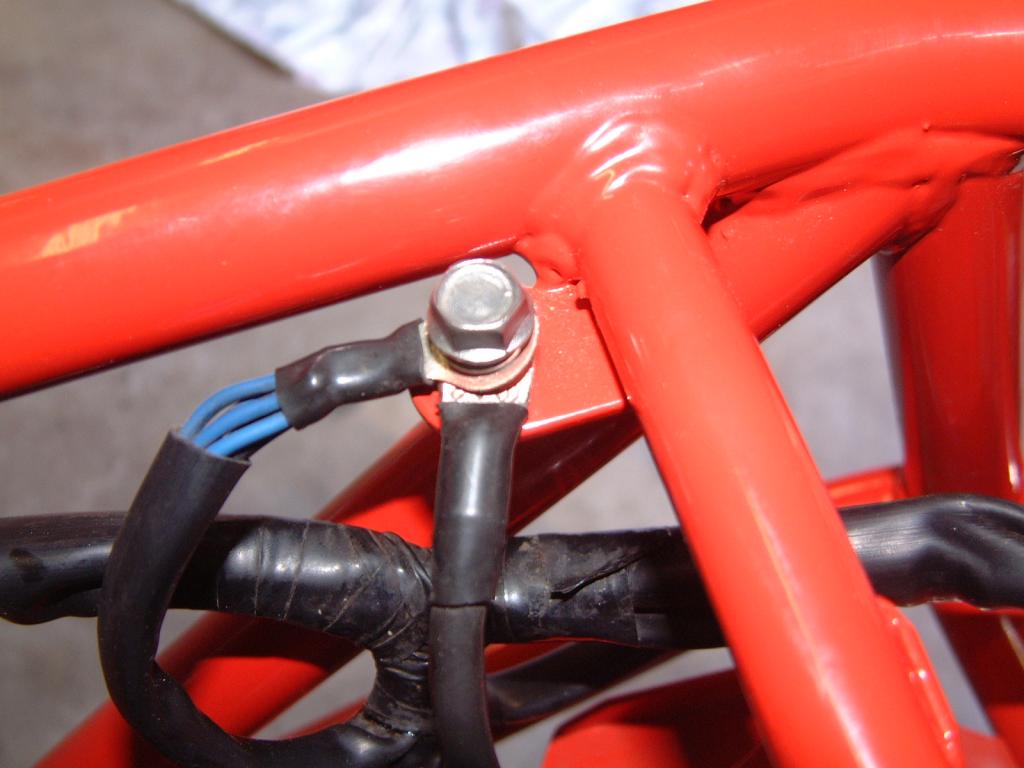
 [/url]