Page 2 of 3
Posted: Tue May 08, 2007 1:01 am
by jcslocum
You really can do some of this yourself to save some bucks. The valve adjustment will combine some things so you might as well leave that to them. Valve and Belts that's combined.
I don't know if they have to remove or move the radiator which will require it to be drained. If so then let them change the coolant. If not, do it yourself. You are in Florida so you need not worry about freezing!!
Fuel filter is going to be easy when doing the valves so it's probably left to them. It may be in the tank ( I don't know for sure).
Plugs, oil change and flushing the brakes and clutch system are very easy so save your funds and do it at home.
Posted: Tue May 08, 2007 9:14 am
by persempre907
jcslocum wrote:Fuel filter is going to be easy when doing the valves so it's probably left to them. It may be in the tank ( I don't know for sure).
I can confirm the fuel filter is in the tank and it's quite expensive.
Ciao
Posted: Sun May 13, 2007 8:25 pm
by Ducman
I think the filter is the same as BMW which is cheaper

Here's what I read:
How to remove your in-line filter -- 750ss & 900ss & sl, 851 variants, 750 & 906 Pasos & 907ie, and assorted unnamed rubberbandheads.
by Michael Nelson, (
nelson@seahunt.imat.com)
Predicament:
"With my recent flaky engine response and poor idling, I would like to look at the contents of my in-line gas filter. My manual shows one INSIDE the gas tank. Anybody play with these before? Any way to take it out for a look/replace?"
Yes. If it's like the 851's, you have five or six 4mm allen screws that hold the cap assembly in place. Remove them (only three of them actually hold it in place... the ones at 12 o'clock, 4 o'clock, and 7 o'clock when viewed from the seat... the others are dummies and don't need to be removed). Lift that sucker off. BTW, I'd disconnect the battery (to avoid sparks) before starting on this job, and do it in a well ventilated area with no nearby flame sources (water heater pilot lights, etc.). Around the perimeter of the aluminum casting that remains in the tank, there are a series of 2mm or so Allens. Back each of them out so you can see about 1/8" of threads. You don't need to remove them completely, but if you do, stuff a rag in the hole first so you don't drop the little buggers in the tank.
When you get them all loosened, the aluminum fitting will be held in by tension from the black rubber o-ring and the green rubber o-ring lower on the fitting. Pull up firmly on it 'til it comes out, and then underneath there will be a drain hose. Loosen the clamp and pull it off. Remove the aluminum casting and set it aside.
Now you just reach down into the tank and the gasoline and feel around. There will be numerous rubber fuel lines in there. Feel down toward the bottom of the tank near the seat. That's where the fuel pump lives. The fuel pump can be identified by feel because there are two wires going to it as well as a couple of fuel lines. The fuel pump is mounted in a rubber collar and is just a slip/tension fit in the collar and a bracket in the tank... you can just pull it out. Once you pull the pump out, you'll be able to pull the whole shebang including the lines and filters out above the big hole in the tank where it is easy to loosen the clamps on the fuel hoses.
Nifty cost-saving tip: the BMW K-bike filter is the same as the Duck one at a considerably lower price. Went over to the BMW dealer in SF and picked one up... $12.00. And yes, it's the same as the one Ducati sells for more than twice as much. It's BMW part number
"13 32 1 461 265"
Remove the old filter, plug in the new one, reconnect the hoses and re-tighten the hose clamps. Push the fuel pump back into its mounting, and reassemble everything in the reverse order. It all sounds complicated but it's a lot harder to describe the procedure than it is to actually do it.
Posted: Sun May 13, 2007 9:59 pm
by Cybermunster
Wow! thank you all for the help and tips...keep 'em coming as I need all the help I can get on this...

rgrds..

Posted: Wed May 16, 2007 9:50 pm
by Cybermunster
Ok, here's my plan;
I'll do:
1) The radiator, brake and clutch flushing.
2) Check/replace radiator hoses.
3) Install braided brake & clutch hoses.
4) Replace the cam belts and plugs.
5) Change oil & filters
The "shop" will do:
1) Adjust/shim valves.
2) Adjust/set fuel injection.
3) New fuel filters.
4) Flush/recondition fork.
Anything else I might be missing?
Anything to look out for in particular?
I'm also getting a new set of Michelin Pilots and new battery just to be on the "safe" side.
Rgrds,
Cyber
Posted: Thu May 17, 2007 10:02 am
by persempre907
It seems me OK!
I've done quite so. I'll have to do only a fork service.
Ciao
Posted: Wed May 23, 2007 10:46 am
by Finnpaso
Cyber, remember to drive hardly engine with high rpms, before U take it to valve check! Engine(valves) must be very clean from shit...
Posted: Wed Jun 06, 2007 1:59 am
by Cybermunster
Ok, I'm almost ready to start working on the bike.
I printed the shop manual that's posted but unfortunately it's missing the pages (or I can't find them) :ugh: to the cooling system service.

I heard it's a pressurized system and it has to be "bled" after flushing/renewing the coolant, so, anyone knows the procedure to "bleed" the cooling system?
Actually if any of you "gurus" have serviced your cooling system and can point me in the right direction I will greatly appreciate it!!
Thanks!!
Posted: Wed Jun 06, 2007 5:37 pm
by persempre907
The service of the cooling system is in the owner manual.
You have to drain the water unscrewing the bolt on the water pump.
When all the water is off, you fill the system by the reservoir.
A tip: because the reservoir is not the highest point of the system you have to remove the reservoir, raising it while you add the coolant.
Good work
Ciao
Posted: Wed Jun 06, 2007 6:55 pm
by Finnpaso
To get more water to system and air out, press rubber hoses around thermostat regularely after starting engine and filling expansion tank. That way air goes out quite easily... At least that function in my engine...
Posted: Wed Jun 06, 2007 9:08 pm
by Cybermunster
Thanks for the tips!
I'll also check the owner's manual.
Rgrds,
Cyber
l
Posted: Tue Aug 14, 2007 12:31 am
by Cybermunster
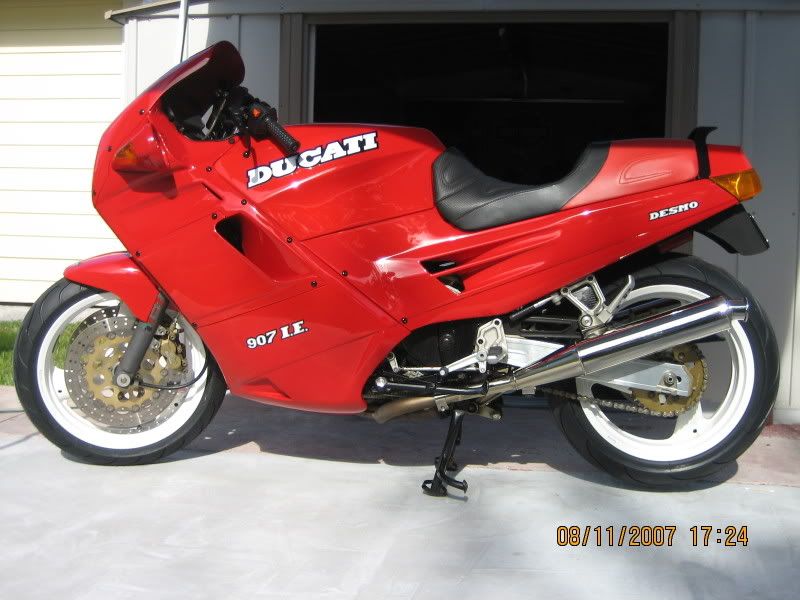
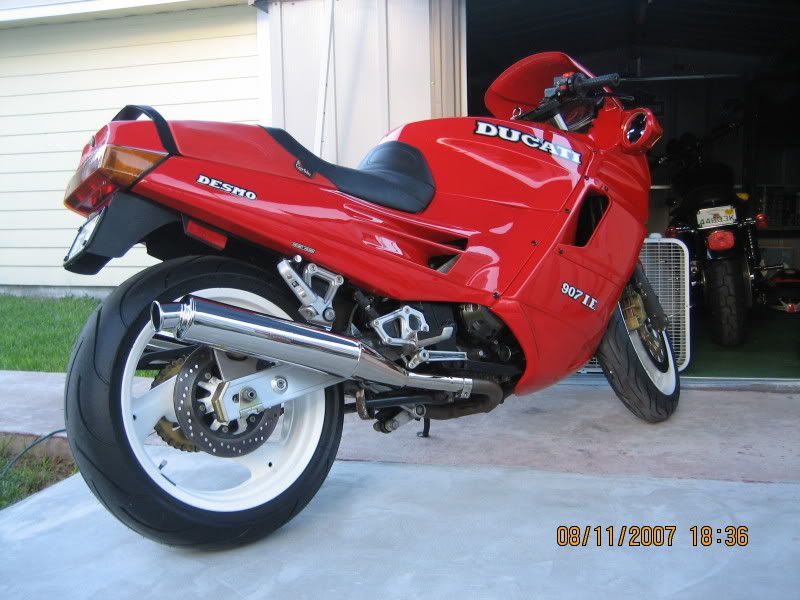
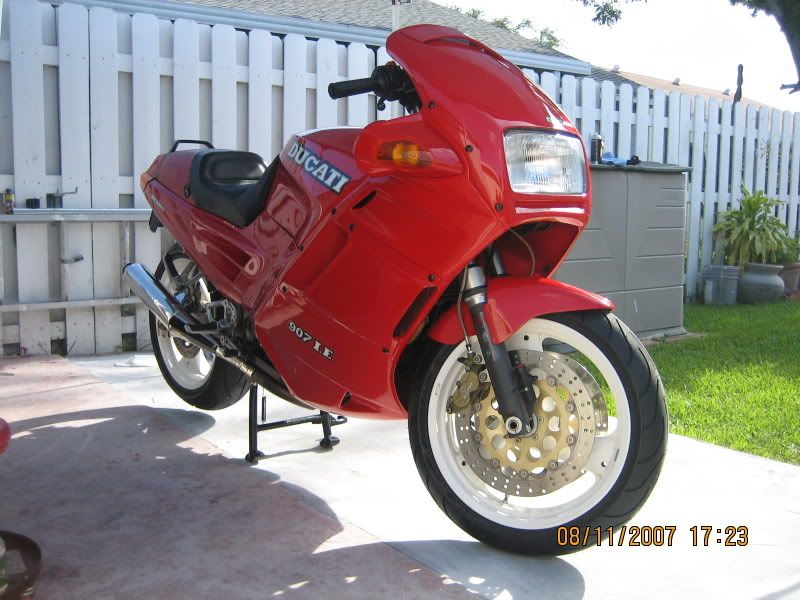
IT'S DONE!! THE BIKE IS FINISHED!!
Couldn't be happier, found a excellent local indy who did all the work; valves shimmed, belts replaced, FI & computer checked and tuned, fork, shock, brake, clutch and coolant systems serviced, new braided lines(all), new EBC sinthered front and rear brake pads, new clutch lower cylinder, new clutch springs and bolts, plugs, fuel filter, in tank fuel hose replaced, new starter solenoid replaced. Two new Michelin Pilot mounted & balanced (120 front / 180 rear)
All this for $822.00!!!
Plus he picked up and delivered the bike to my house, I mean it can't possibly get any better.
If anyone is in the South Florida area and you need a guy for your bikes I definitively recommend him 110%.
Otalora Racing - Willie @ (305) 971-4721 or (305) 342-5068
just tell him the guys with the 907 and the 900SS sent 'ya.
Nice, clean shop and a very responsible, courteous, professional guy.
Needless to say from now on he works on all mine and my brother's bikes ....

Laterzzz...
Posted: Tue Aug 14, 2007 1:23 am
by Cybermunster
Posted: Tue Aug 14, 2007 12:17 pm
by Tamburinifan
Beautiful bike!
What cans are those?
Posted: Tue Aug 14, 2007 4:45 pm
by Cybermunster
Thanks for the compliment..

They're polished Staintunes...luv them!!
Soon to come the FIM chip even though it's running beautifully, no complaints..
