Page 18 of 38
Re: 750 Sport restoration project
Posted: Mon Aug 04, 2014 2:23 pm
by redpaso
Certainly not a boring restoration thread Andrew. Very informative & very interesting.
Any thought to aerating that clutch cover to get the full dry clutch rattle happening? I initially drilled Holes around the edge of mine on Paso & then cut the bottom off the cover completely. Sounds great (if you like that " is she about to blow?" look from novice bystanders. I reckon the rattle would suit the Sport.
Cheers
James
Re: 750 Sport restoration project
Posted: Mon Aug 04, 2014 11:28 pm
by Andrew2
Thanks guys.Sometimes when you post for days and don't hear any feedback you start to wonder whether your putting everyone to sleep


.I know it's not a nuts and bolts rebuild and a lot of it is just cleaning and painting etc.
James,I think I might just leave it standard at this stage.I used to like the rattly clutch but I must be getting old or something
Anyhow it's out to the garage to do some more on the Sport.I've got to make the most of my holidays ( not that the wife agrees though
)
Cheers
Andrew
Re: 750 Sport restoration project
Posted: Tue Aug 05, 2014 5:09 am
by Andrew2
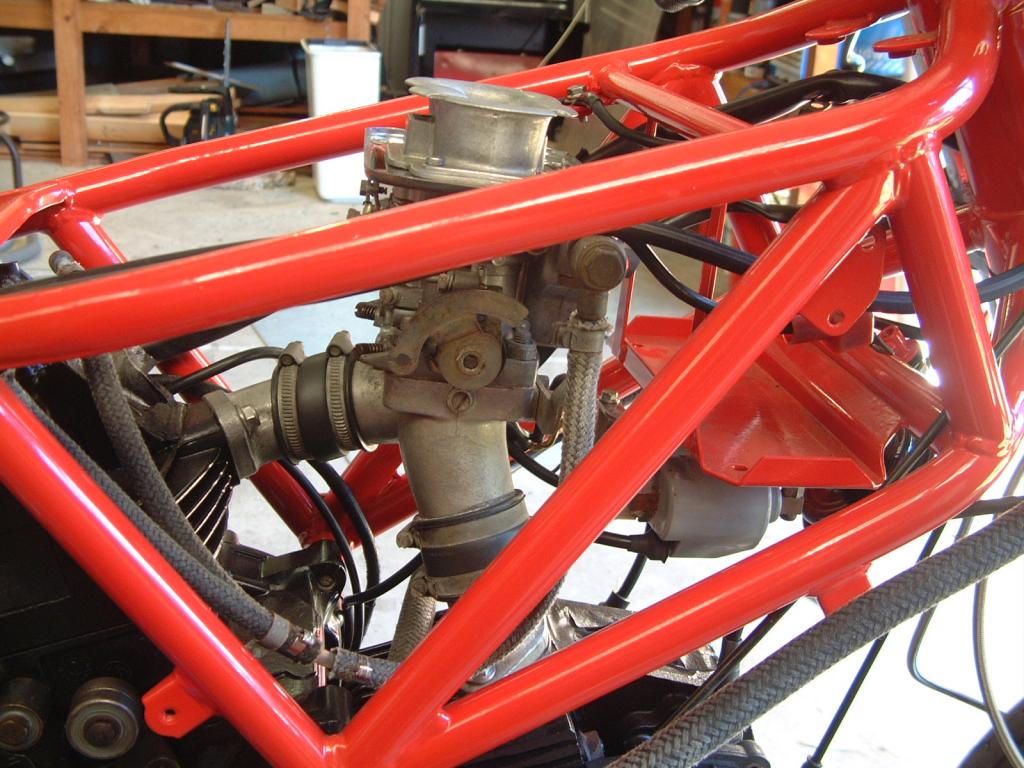
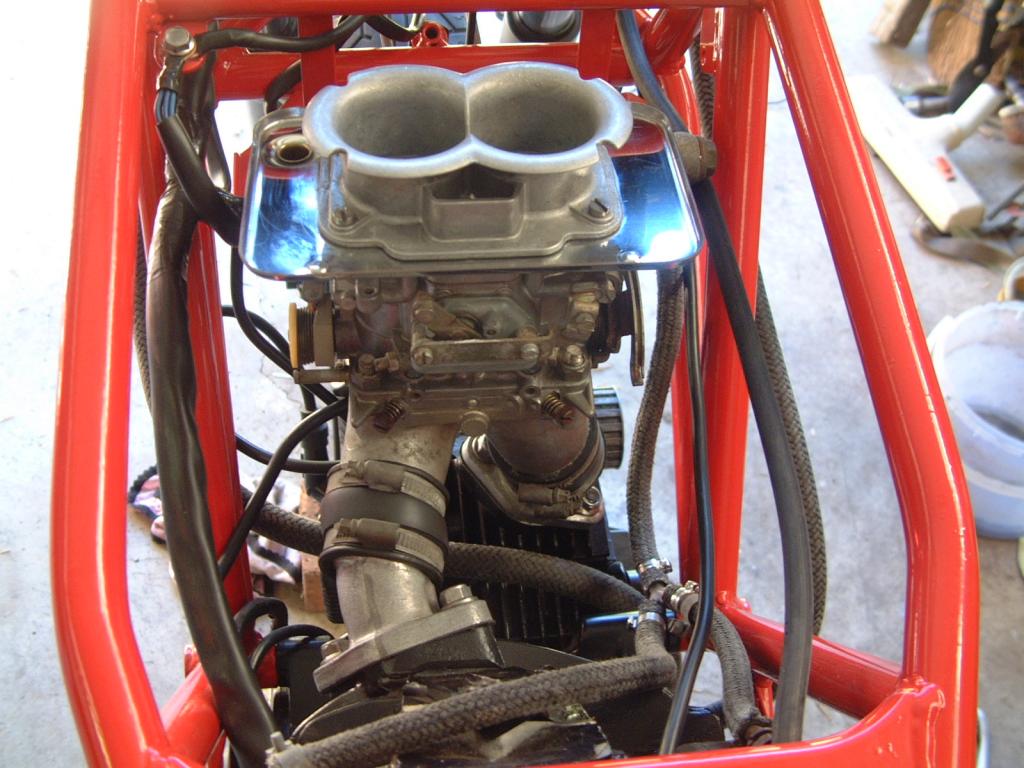
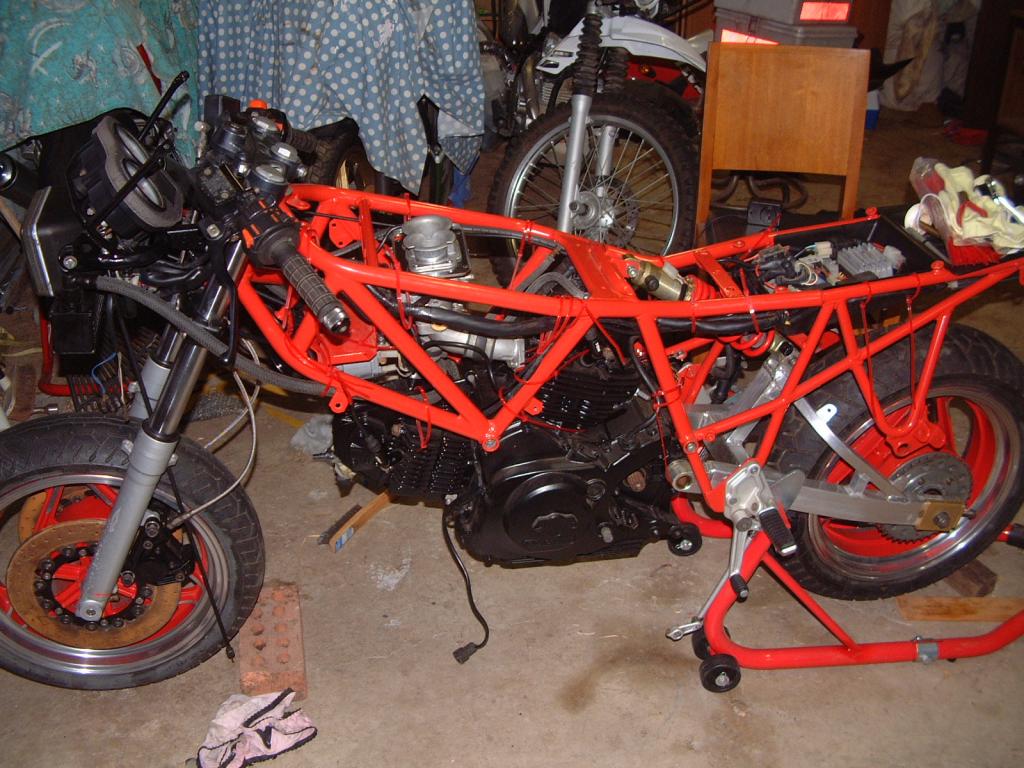
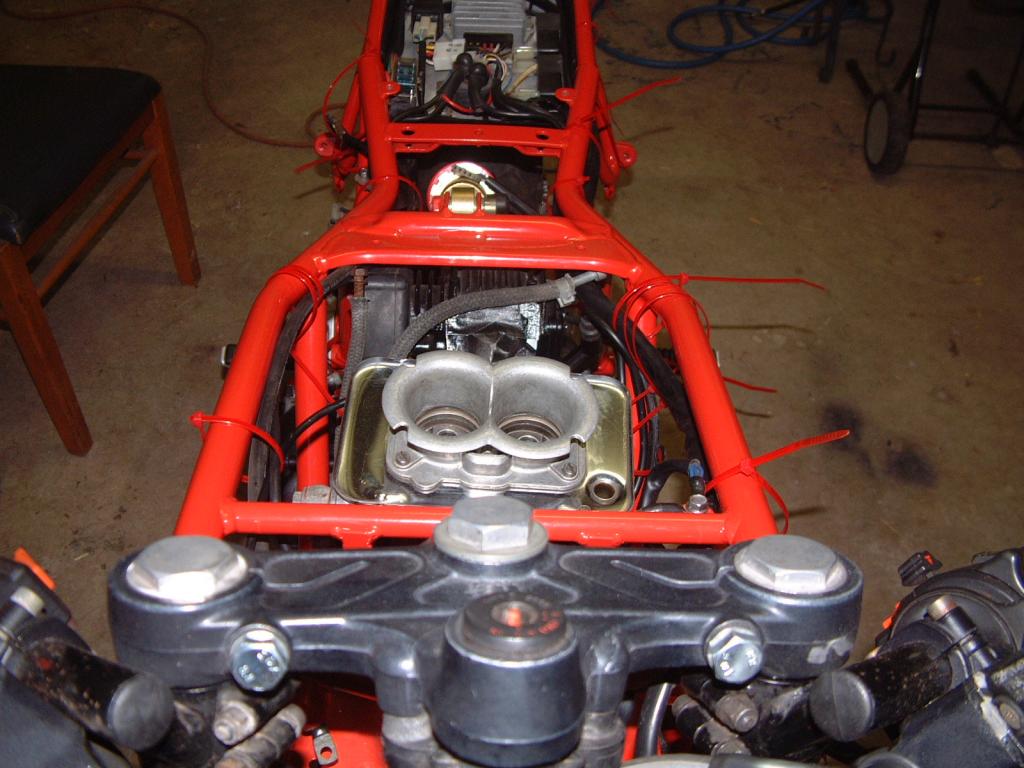
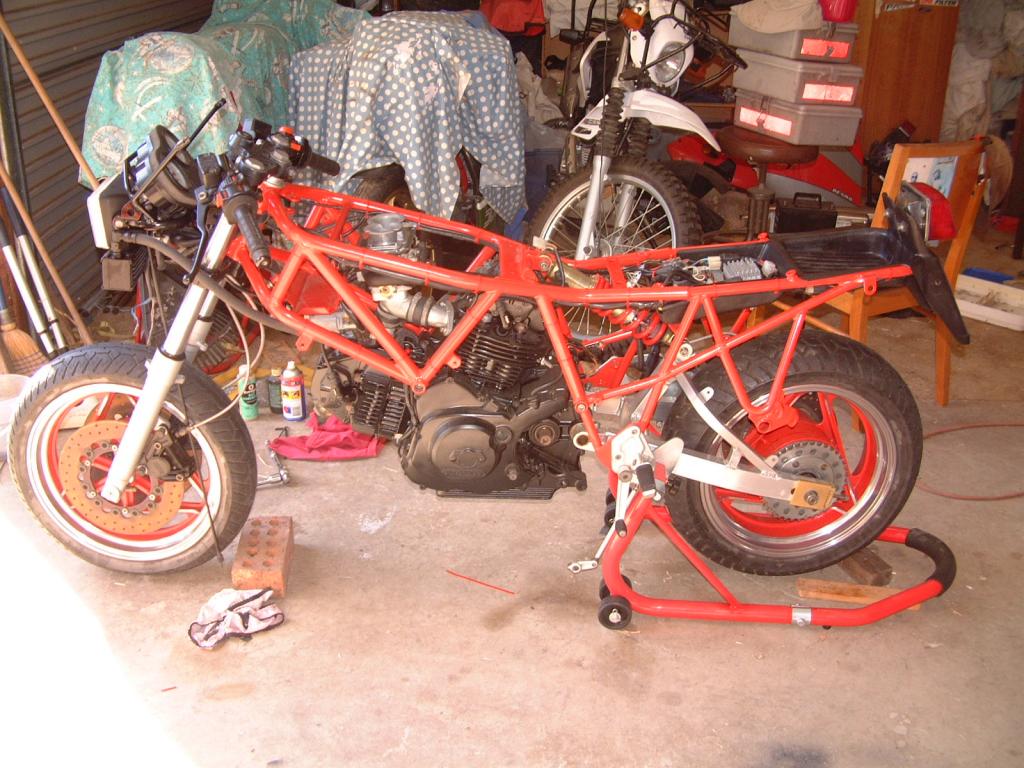
An empty space so lets fill it with a carby.
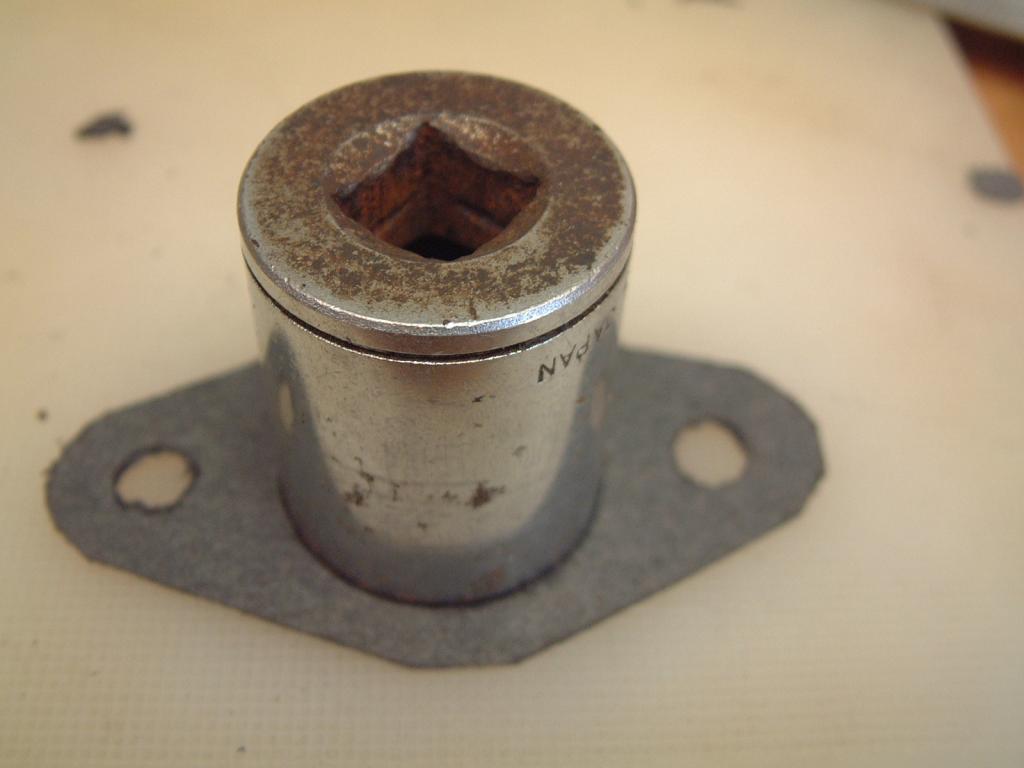
Clean these first.
Then put on a new gasket.
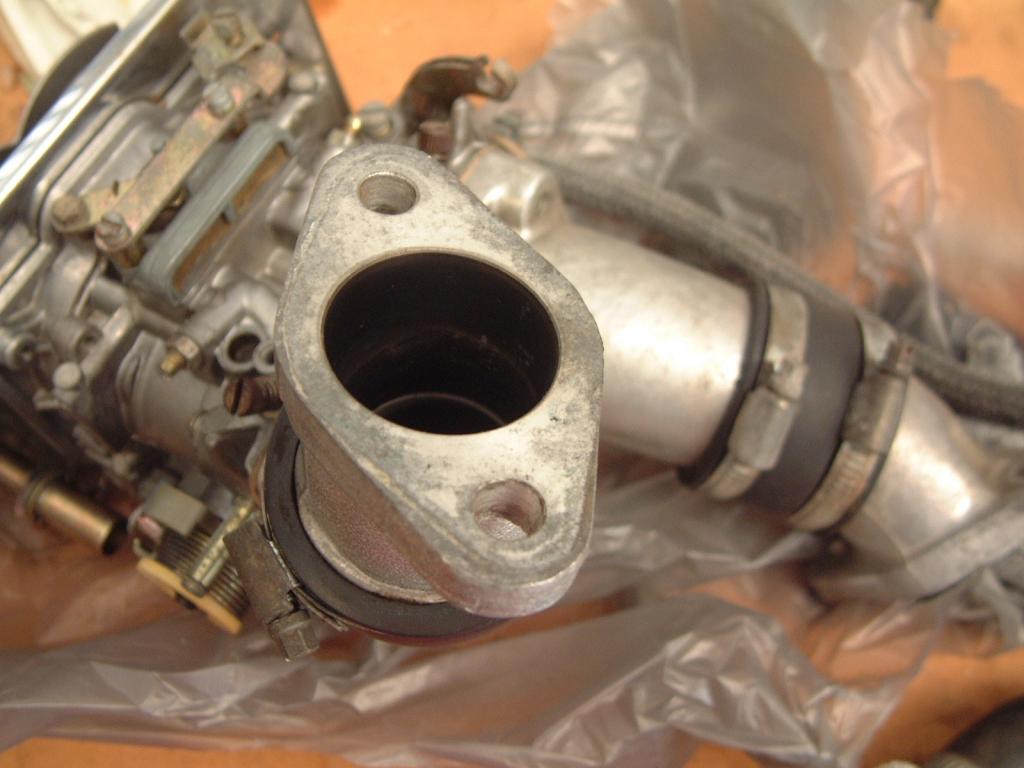
you would think I would have at least 1 gasket in this lot.
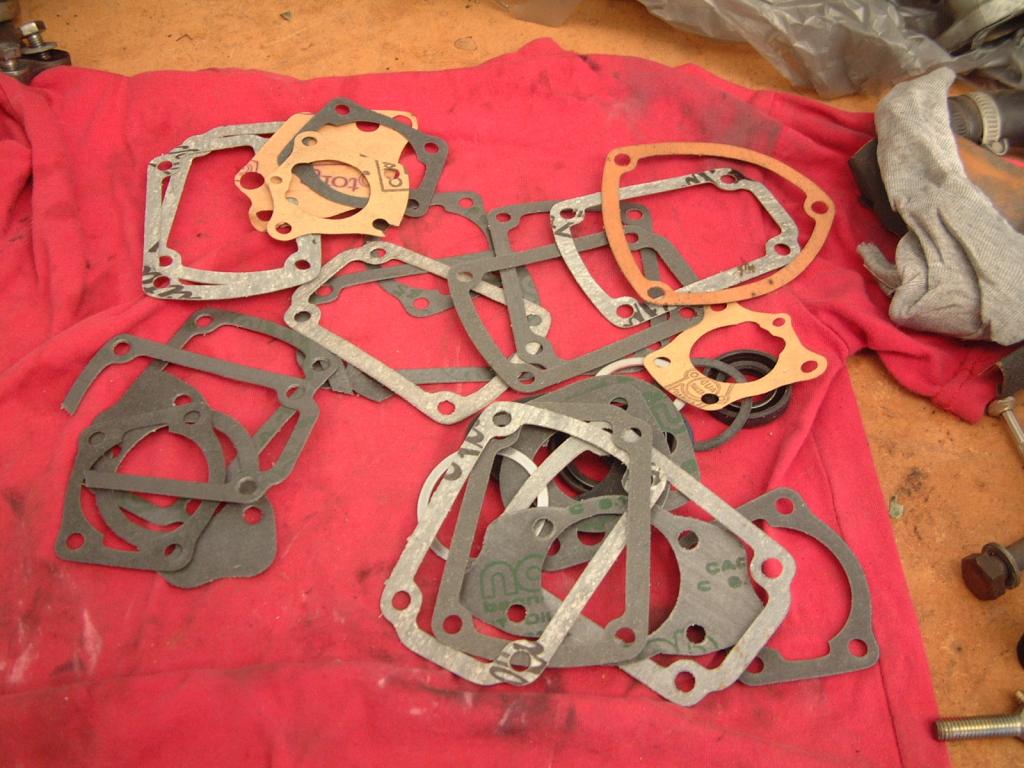
Nada

Sooooo,I want to make a couple of gaskets.Any suggestions on type of material,thickness etc?It's certainly a thin one.

Cheers
Andrew
Re: 750 Sport restoration project
Posted: Tue Aug 05, 2014 9:28 am
by lane1feathers
...I made one out of gasket card (traced around inlet base) and applied some gasket goo. Quite cheap from local auto shop

Re: 750 Sport restoration project
Posted: Tue Aug 05, 2014 10:01 am
by Andrew2
lane1feathers wrote:...I made one out of gasket card (traced around inlet base) and applied some gasket goo. Quite cheap from local auto shop
Thanks Lane,I'll cut a couple up tomorrow.
Cheers
Andrew
Re: 750 Sport restoration project
Posted: Wed Aug 06, 2014 8:20 am
by Andrew2
I got some 0.4mm gasket paper today.$3 a sheet.

Mark it out.

It was a bit hard getting the pen in the left bolt hole
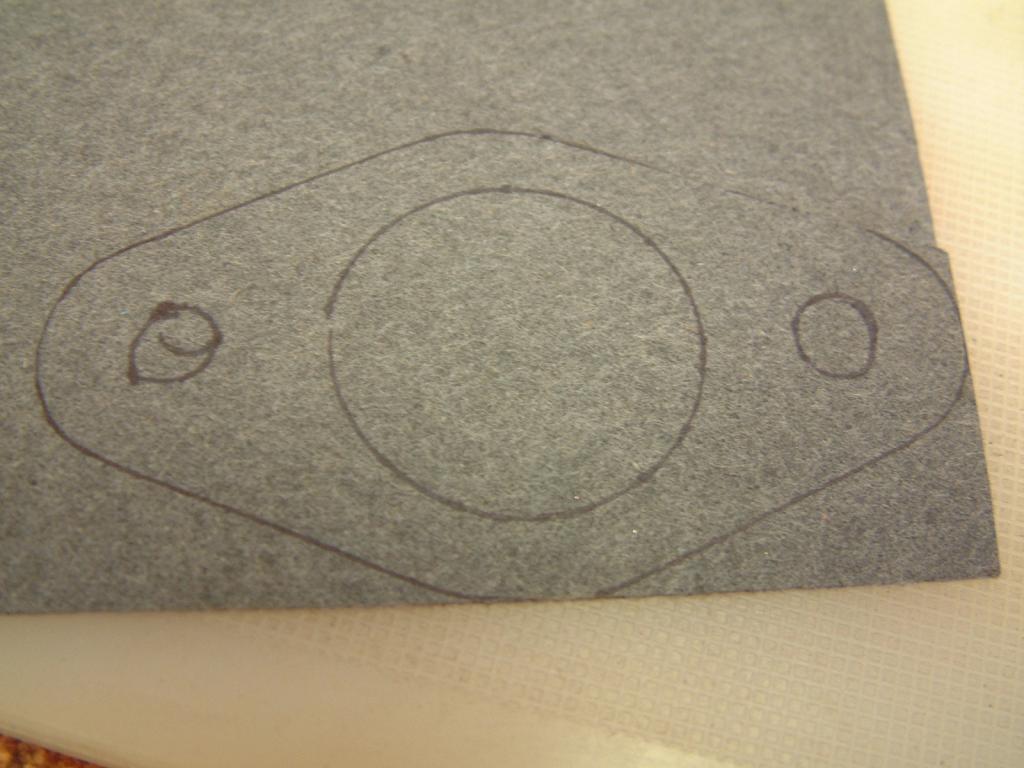
Find something to scribe around.
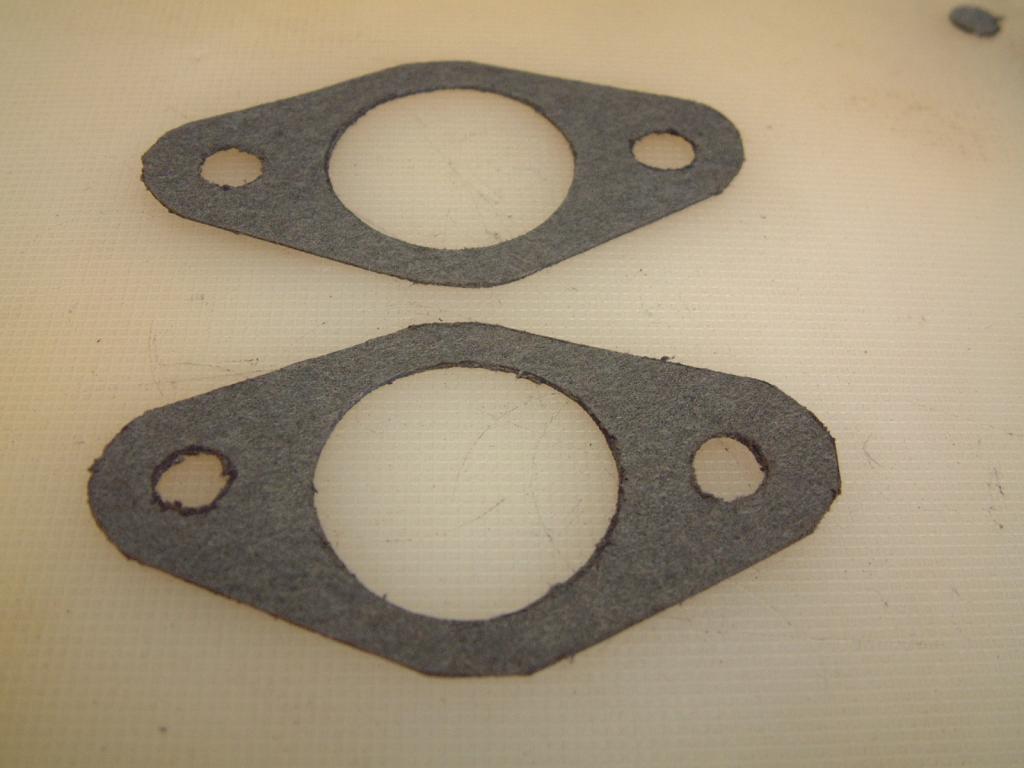
And Bob's your uncle.

And the other one.Lucky no one is going to see them

And on goes the carby.
I have to order some bits for the MHR so I'll be getting green fuel line at the same time.
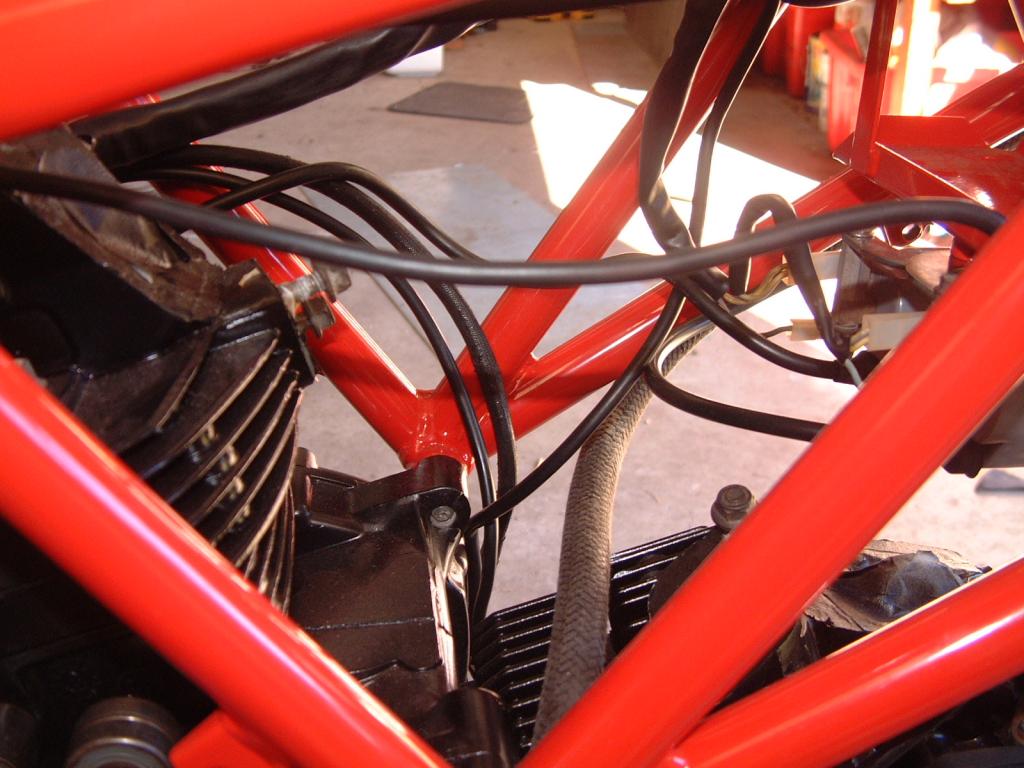
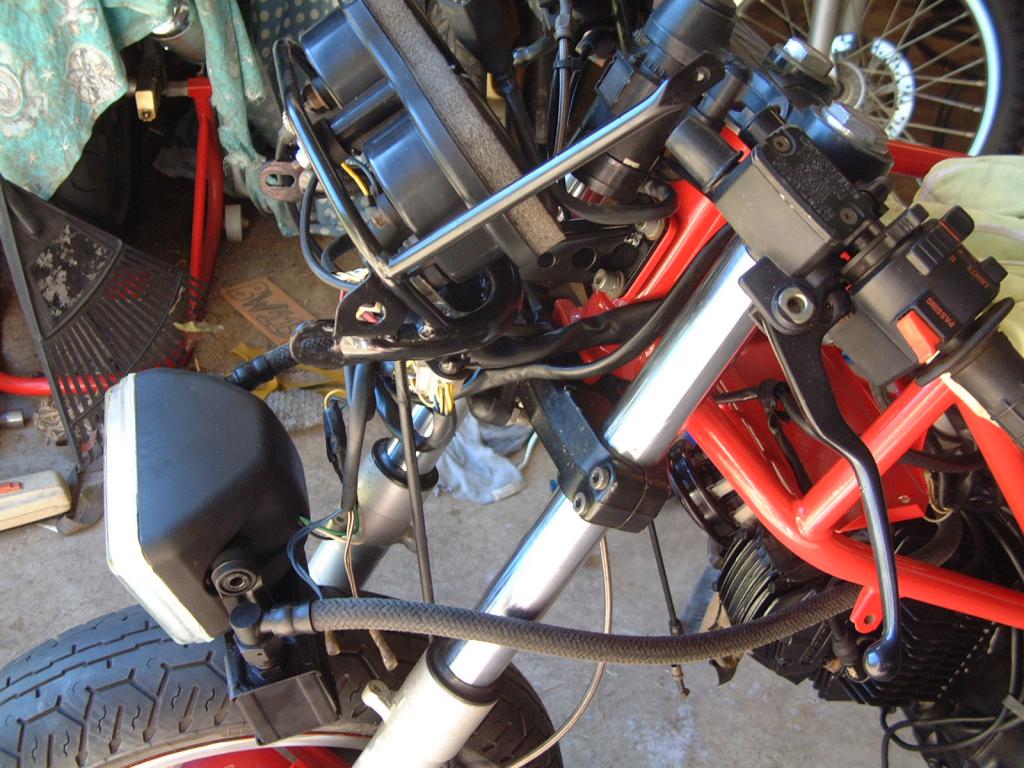
I had to reroute some wiring so off with the headlight/oil cooler "again"
.This is why I have'nt tightened anything up yet.I hope I don't miss anything when I do go over and tighten everything up

.
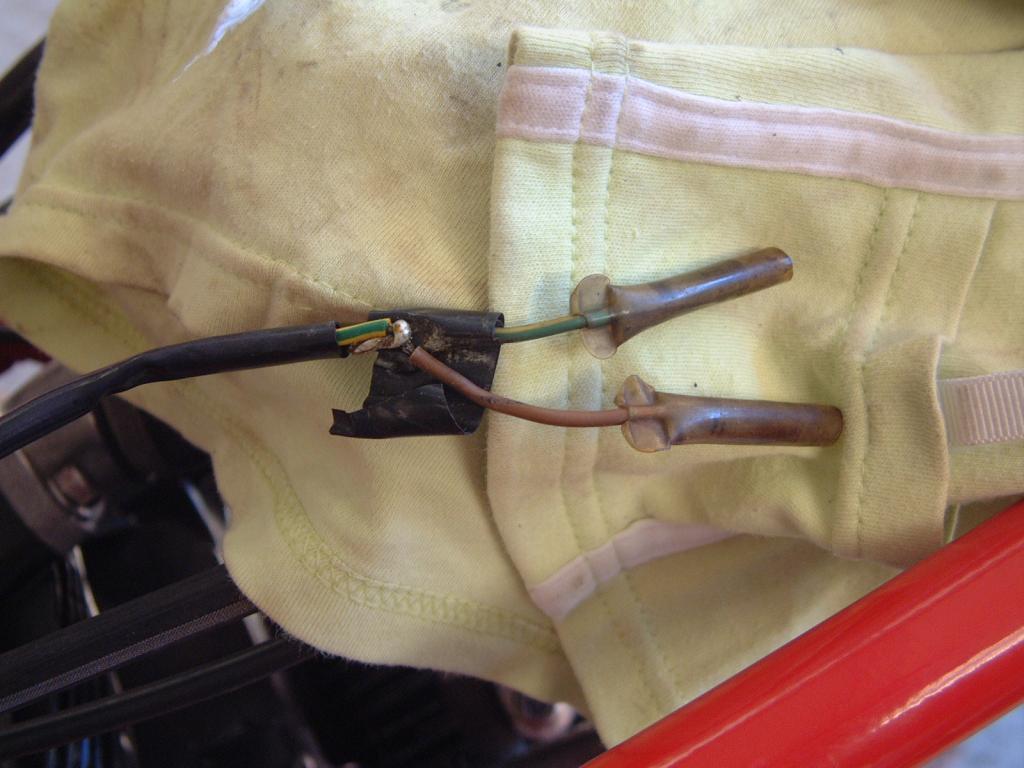
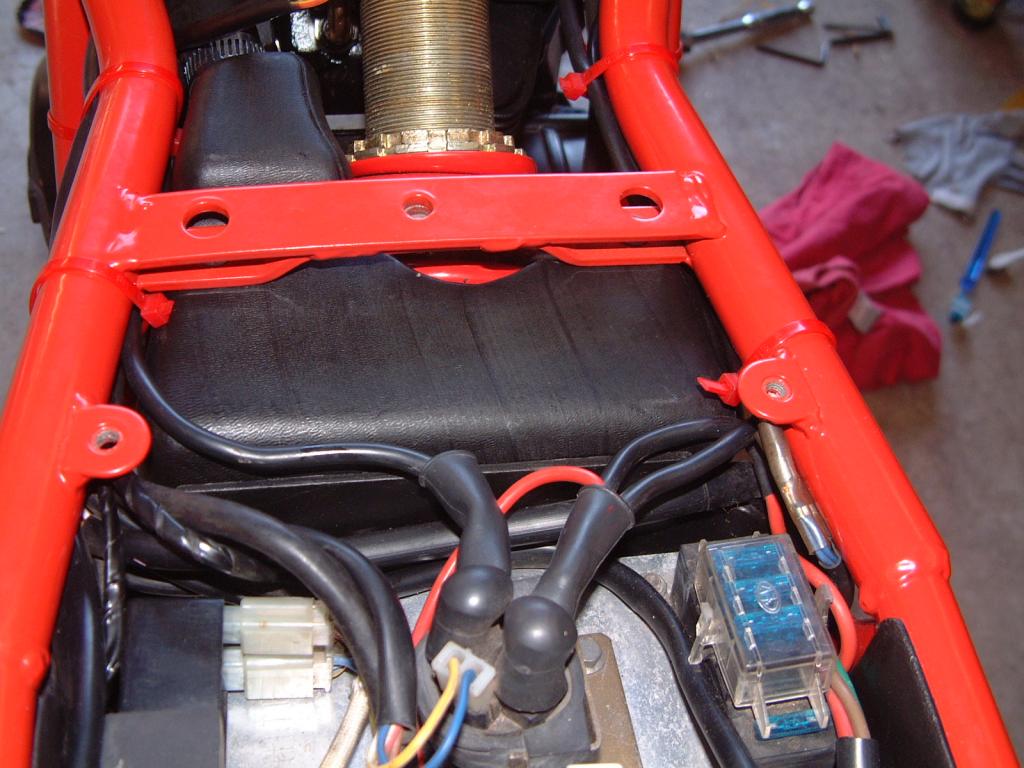
It seems the previous owner has extended the wiring to the neutral switch ( probably why it's a different colour to the wiring diagram G ).
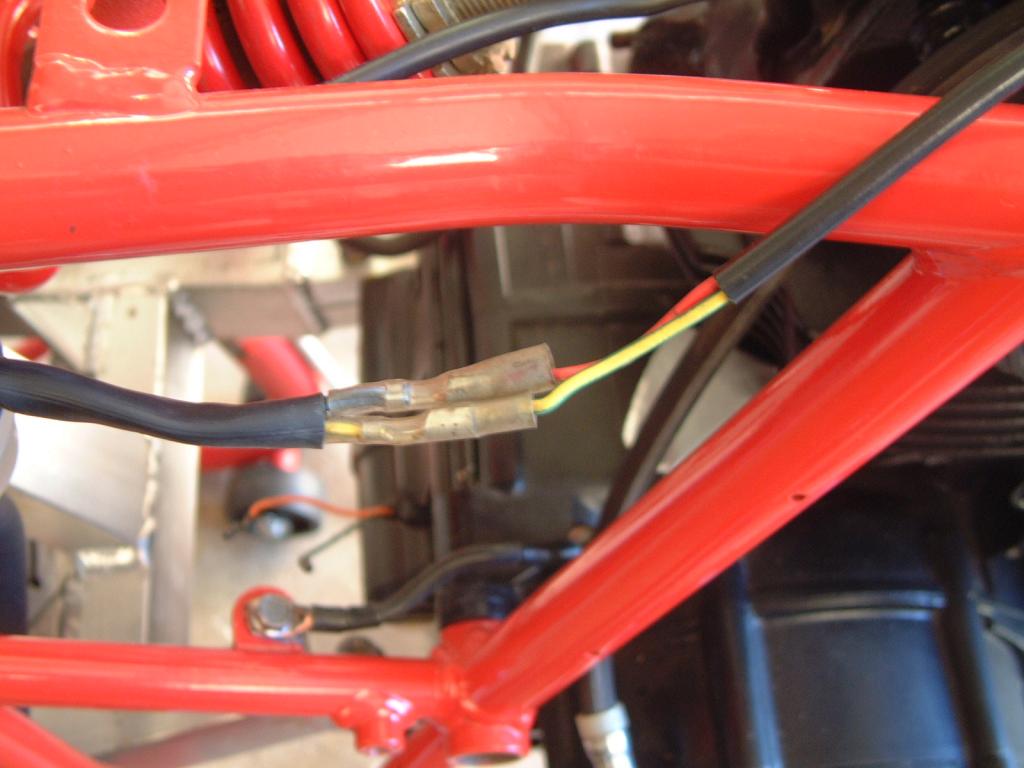
I tidied the wiring up before connecting it.
Most of the wiring has cable ties hanging loosely around them now so it's just a matter of double checking everything then zipping them up.

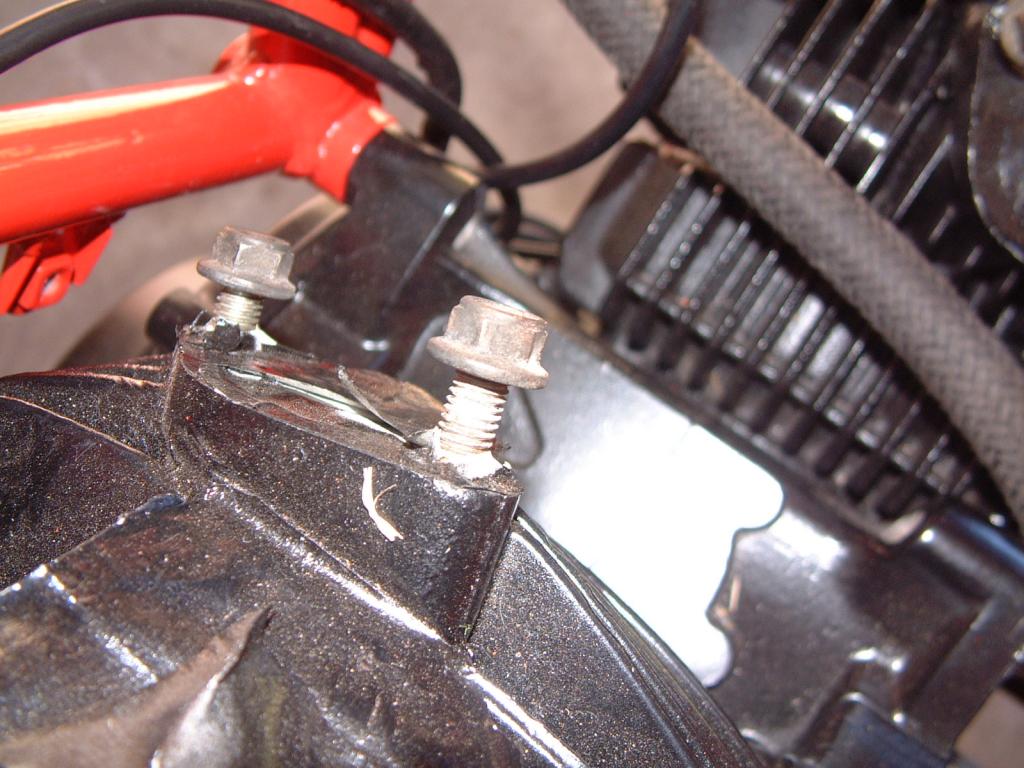
And a couple of new bolts for the triple clamps.
Tomorrows job.I might just get the buffing wheel out and see how it comes up.
That's about it for today....except for this.
Yeehaa...they'll be going on tomorrow.
Cheers
Andrew
Re: 750 Sport restoration project
Posted: Wed Aug 06, 2014 8:25 am
by Andrew2
Can someone please confirm the the lead from the nearest coil ( right side when sitting on the bike and longest lead ) goes to the rear cylinder.I'm pretty sure it does but did'nt get a good photo of it when I took them off.
Cheers
Andrew
Re: 750 Sport restoration project
Posted: Wed Aug 06, 2014 9:13 am
by paso750
that old wiring "repair" just demands for some cutting pliers or better soldering ...

I hate electrical tape - so much. Over time it will come off dry and all the sticky crap remains on the wiring and everytime you touch it you have it all over.
Did you have a peek inside the carbs float chamber or are you risking it ?
I just noticed that I have the habit to tie the cable ties differently than you. I like to have the lock on the lower inner side of the frame as I cut off the long ends and in the past for some reason ocassionally managed to cut myself on the sharp edges.

As for the coils it makes more sense to have the coil for the vertical cylinder on the left which is also what the owners manual shows. At the end it doesn`t matter as long as you connect them to the correct CDI unit
")
Re: 750 Sport restoration project
Posted: Wed Aug 06, 2014 1:27 pm
by bmw851
Now aren't you glad you went with the red ties, it's the little things..........

Personally I'd stick with or replace the braided fuel lines with new braided lines, found they last much longer than the green see thru stuff, Munich M/C in WA sell it by the 10 cm length not cheap but worth it I think, just a suggestion, no more or less.
This is looking fantastic, keep posting updates, I think everyone is viewing and following with great anticipation, and not necessarily commenting, just watching.
Cheers
Peter
Re: 750 Sport restoration project
Posted: Wed Aug 06, 2014 10:54 pm
by Andrew2
paso750 wrote: As for the coils it makes more sense to have the coil for the vertical cylinder on the left which is also what the owners manual shows. At the end it doesn`t matter as long as you connect them to the correct CDI unit
Thanks G.I have the right running to the back cylinder but will change them over.It's strange that the coil with the longest lead goes to the front though.Would it do any damage if they were the wrong way around?.
I doubt very much that the Weber will stay on when I have spare Dellortos so I did'nt bother opening it up in case I broke the gasket.
Cheers
Andrew
Re: 750 Sport restoration project
Posted: Wed Aug 06, 2014 10:55 pm
by Andrew2
bmw851 wrote:Now aren't you glad you went with the red ties, it's the little things..........
Personally I'd stick with or replace the braided fuel lines with new braided lines, found they last much longer than the green see thru stuff, Munich M/C in WA sell it by the 10 cm length not cheap but worth it I think, just a suggestion, no more or less.
This is looking fantastic, keep posting updates, I think everyone is viewing and following with great anticipation, and not necessarily commenting, just watching.
Cheers
Peter
Ummm....I guess so.To be honest I like the black ties on the red frame
.I think you might be right with the fuel lines as the green does go hard pretty quick,but it's so pretty

.
Thanks for the encouragement mate.I'll hopefully get some more done today.
Cheers
Andrew
Re: 750 Sport restoration project
Posted: Wed Aug 06, 2014 11:15 pm
by Andrew2
Hey Peter,
just out of curiosity,are braided fuel lines on the BM the same size as the Ducati 8x13mm.The Munich site does'nt give a measurement
Cheers
Andrew
Re: 750 Sport restoration project
Posted: Thu Aug 07, 2014 3:00 am
by bmw851
Andrew2 wrote:Hey Peter,
just out of curiosity,are braided fuel lines on the BM the same size as the Ducati 8x13mm.The Munich site does'nt give a measurement
Andrew2 wrote: Ummm....I guess so.To be honest I like the black ties on the red frame
Blasphemy
Just checked the lines, they 11 x 6 mm but they stretch well and should fit, that Green stuff has no give in it, and I reckon only takes a couple of months to go brittle, mind you the formula for the plastic has most likely changed a bit in 34 years, something about a Moto Guzzi 1000SP going up in flames on the Nth Sydney overpass at Neutral Bay over the Cahill Express Way
Cheers
Peter
Re: 750 Sport restoration project
Posted: Thu Aug 07, 2014 7:24 am
by Andrew2
I just went to Autobarn and they wanted $38/metre for braided fuel line.Nope,not getting it from them.I might just put normal black car line on until I decide if I'm going to keep the Weber.Post more later tonight.
Cheers
Andrew
Re: 750 Sport restoration project
Posted: Thu Aug 07, 2014 8:22 am
by Andrew2
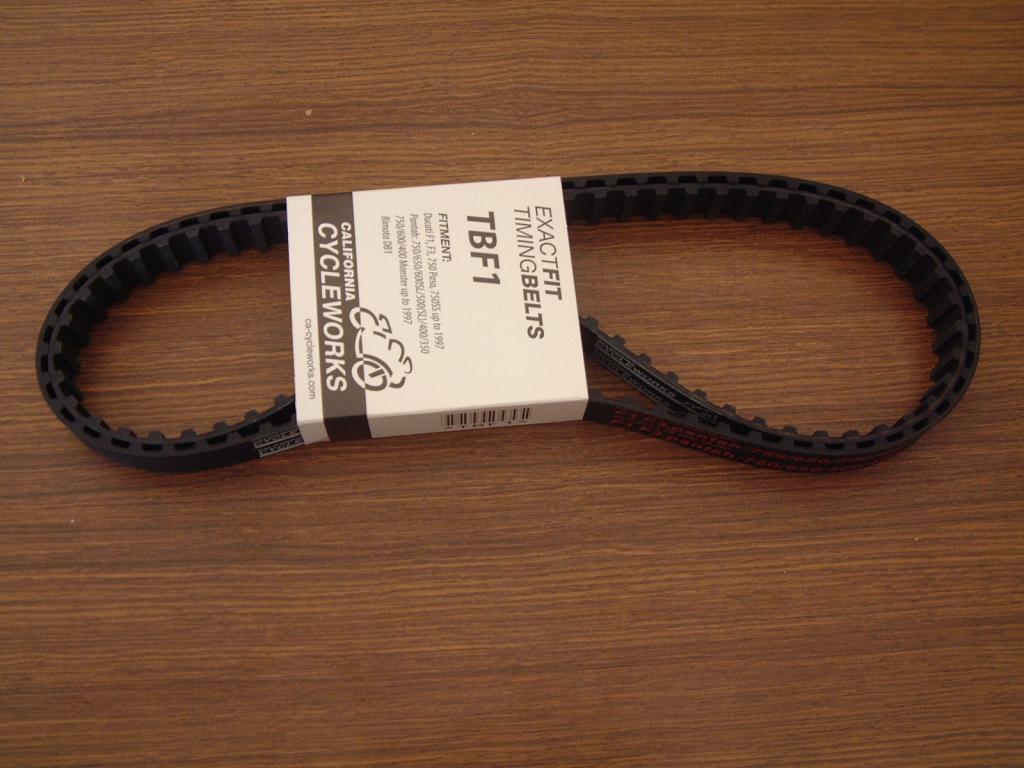
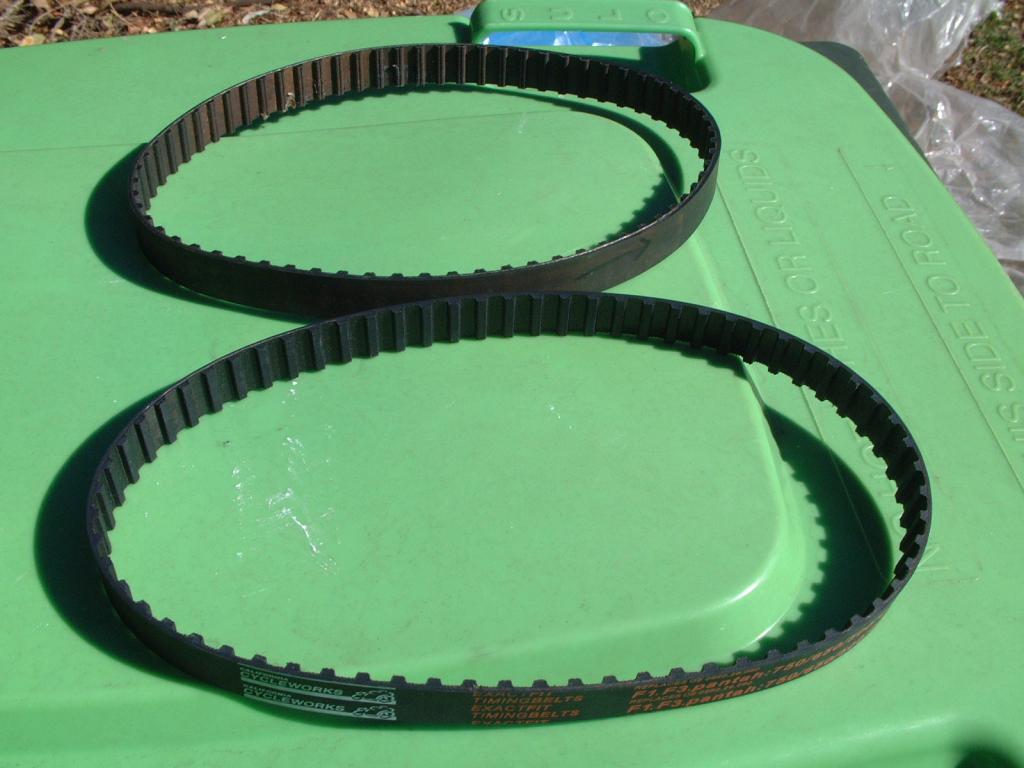
I got a fair bit done today.First I put the belts out in the sun for a while to maybe soften them up a bit...works on tyres
.Anyway it's winter here so it did'nt really work plus I put one of the old belts out by mistake
.
I put the back on first.Checked using the 5mm allen key method.
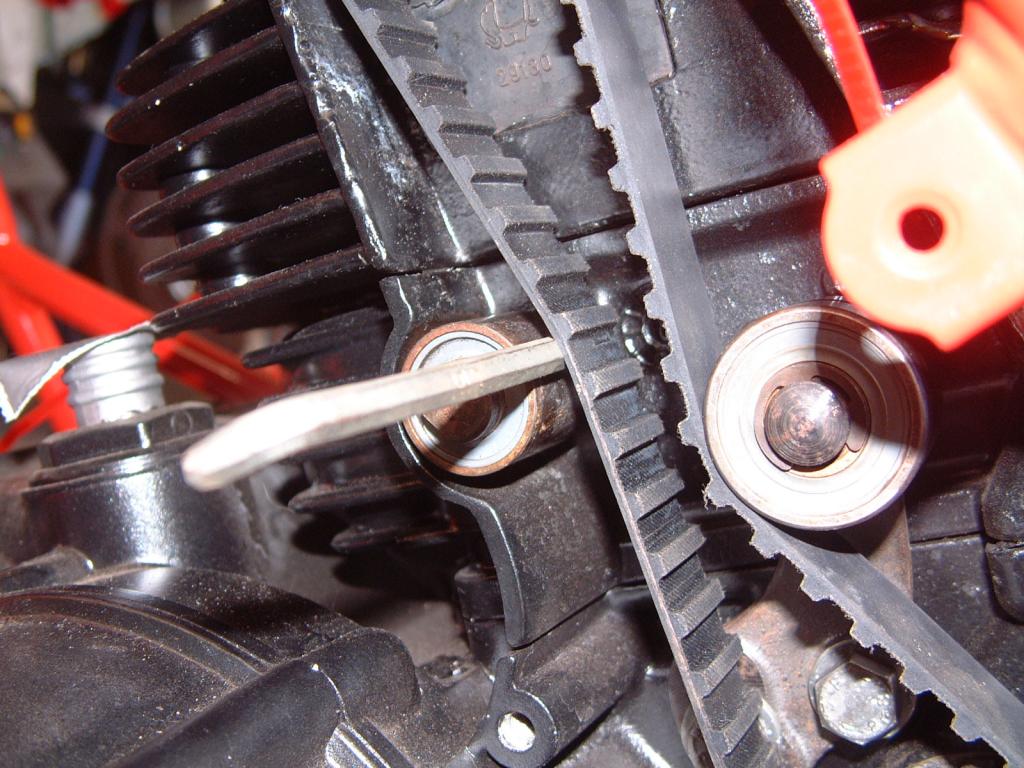
Followed by....yep,the front.I find it much easier to put the belts on with the cam adjuster removed.
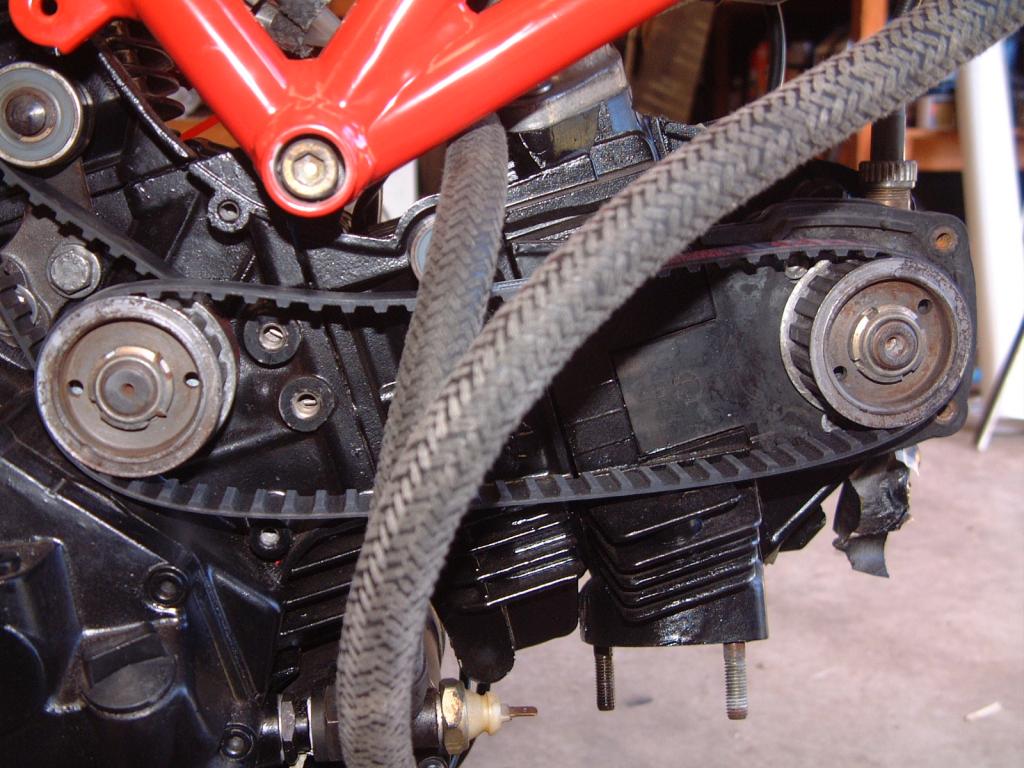
Then just bolt it in after.
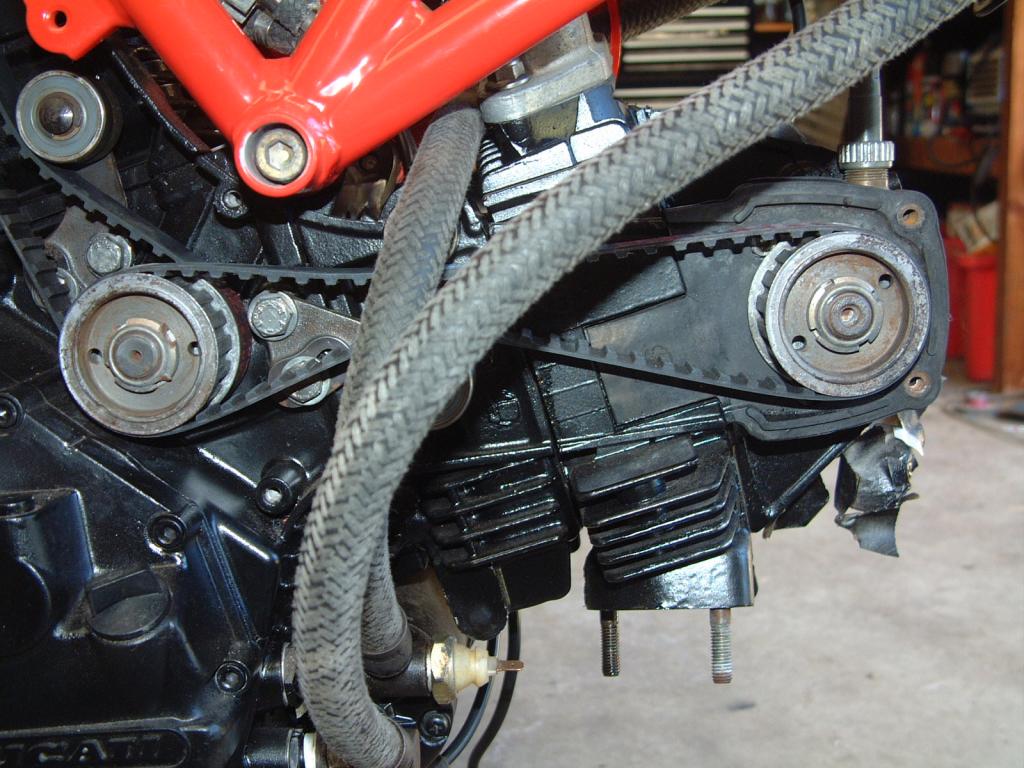
So it's now time to put the cam covers back on.Once these are on I'll be back to how I got the bike all those months ago
.But first more cleaning.
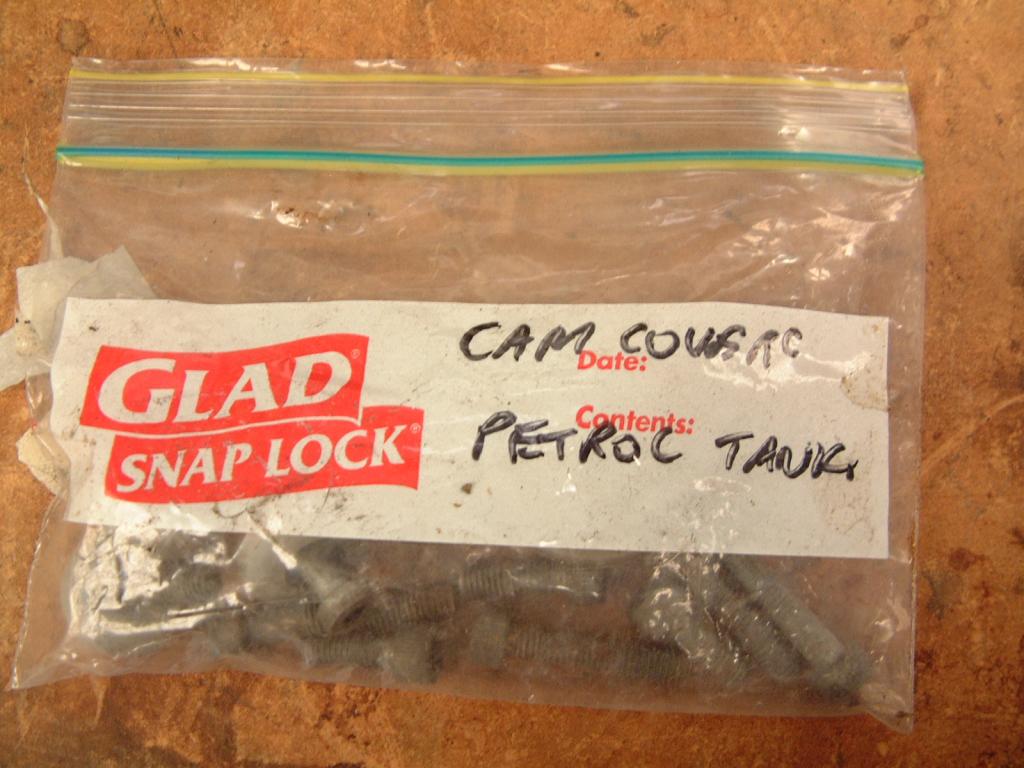
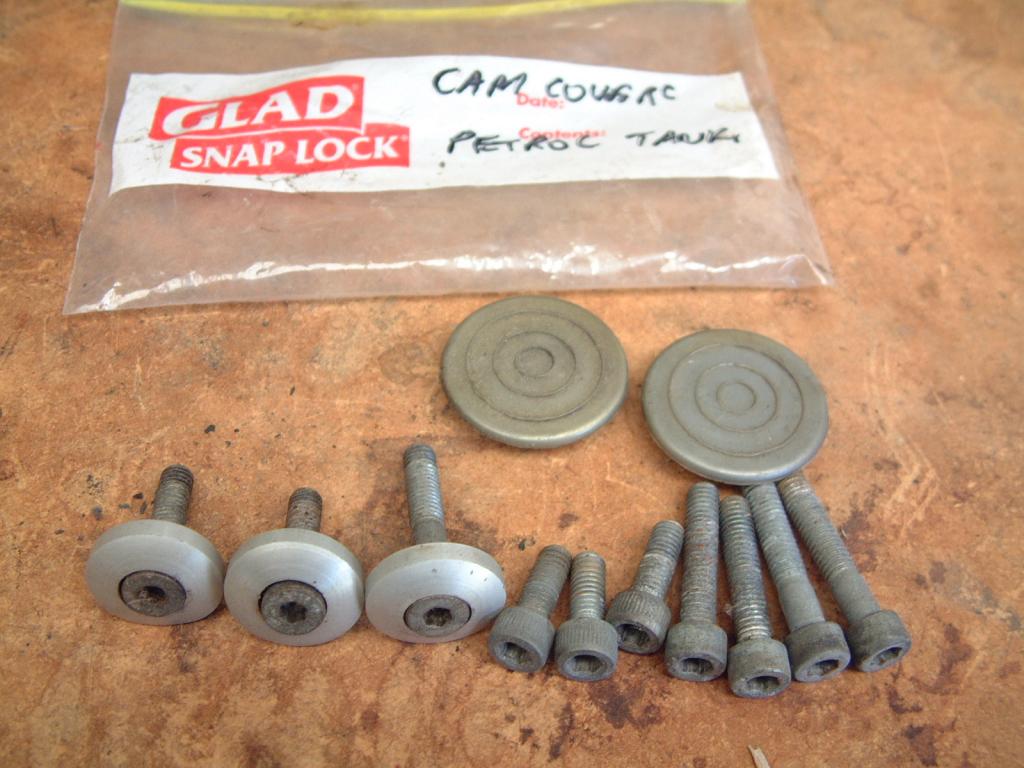

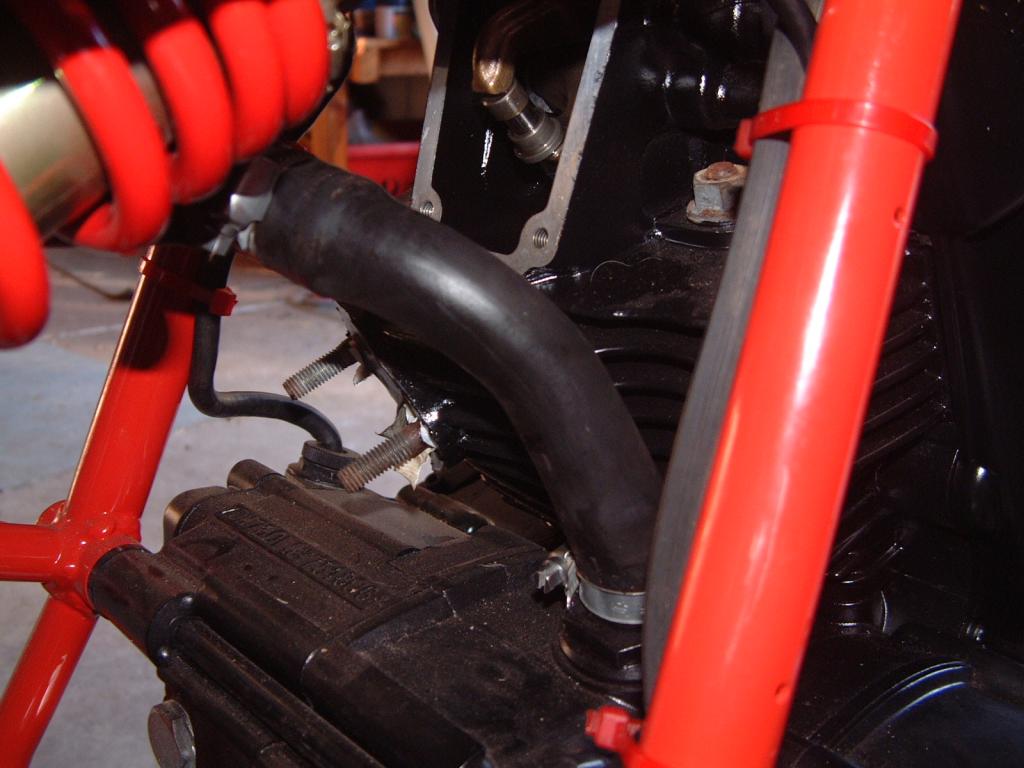
And finally the covers go on.
You can also see that everything has been tied up.
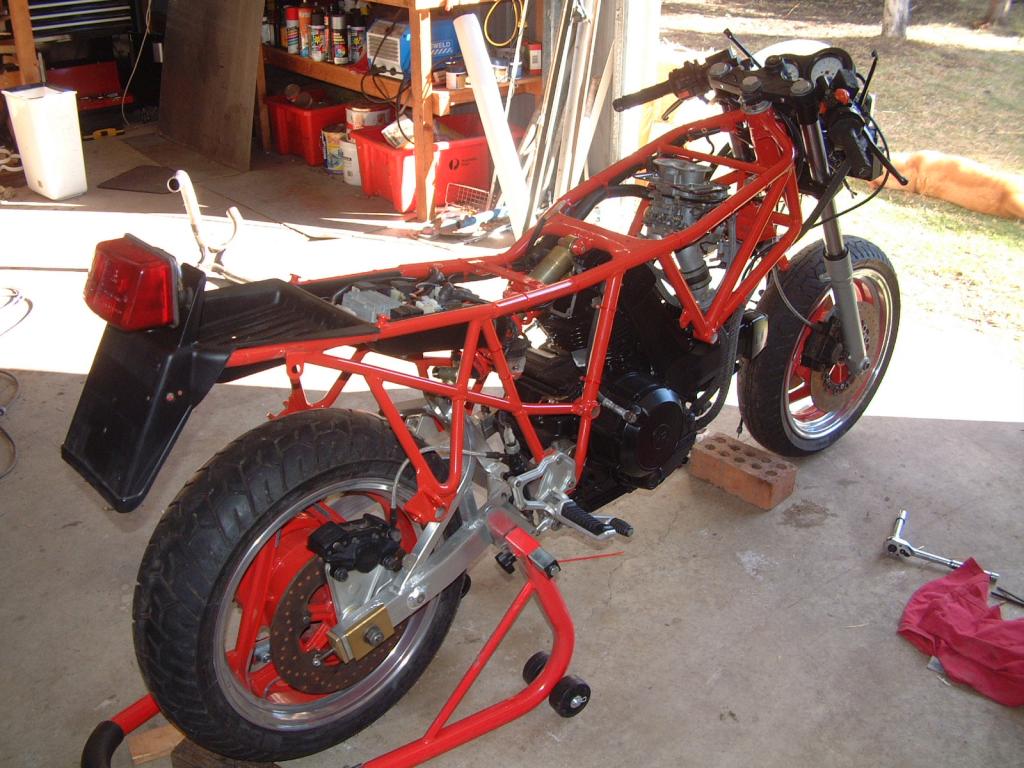
These things are what I usually take off a bike as soon as I get it as I like my bikes to look minimalist but seeing it's there I'll put it on....for the moment.
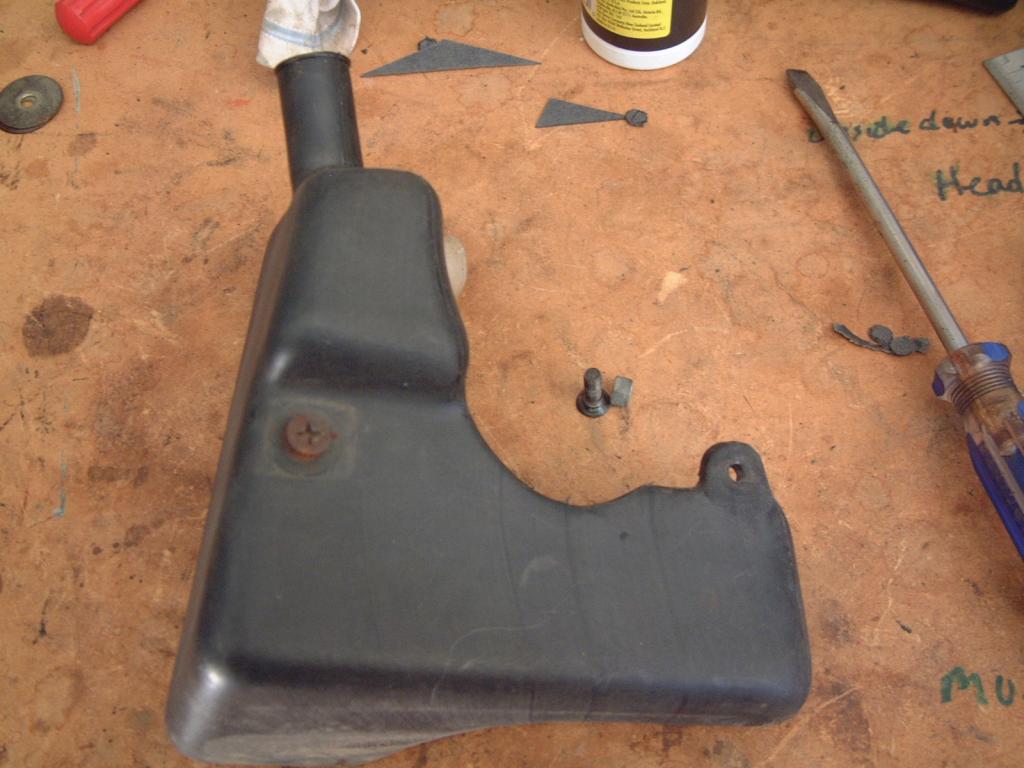
When I put the Dellortos on it'll be going.
Well that just about wraps it up for today.Tomorrow I'll tighten everything up to spec...my spec that is
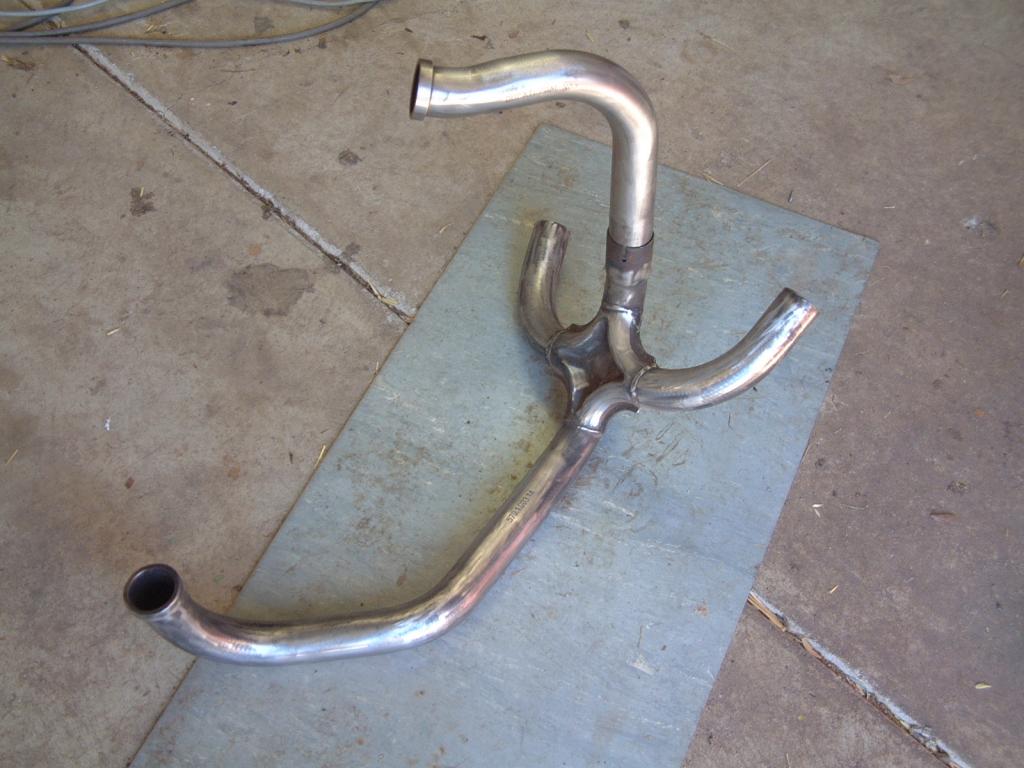
.I actually got a bit excited today seeing her almost finished.I've only got the exhaust and chain to go and then I can put the bodywork on
.I still not sure what I'm going to do with the exhaust.Probably just polish it I guess.
Cheers
Andrew