Page 3 of 4
Re: The story so far
Posted: Sat Aug 10, 2013 7:13 pm
by higgy
all grounds need to be bare metal, no paint, no rust bare metal new,old, bare metal and sealed after, silicone, paint anything to keep the moisture at bay

Bare metal to the frame or engine...engine assumes you have a good ground to the frame somewhere and to the battery negative terminal, frame and engine
Re: The story so far
Posted: Wed Oct 09, 2013 9:24 am
by lane1feathers
New digiplex.
Bike is running very well now.
Re: The story so far
Posted: Fri May 09, 2014 5:47 pm
by lane1feathers
Stripped bike down today and got busy with a few tasks still on the list.
Changed out coolant for Evans waterless coolant (works well) and will ditch overflow tank once I'm positive I don't need it anymore.
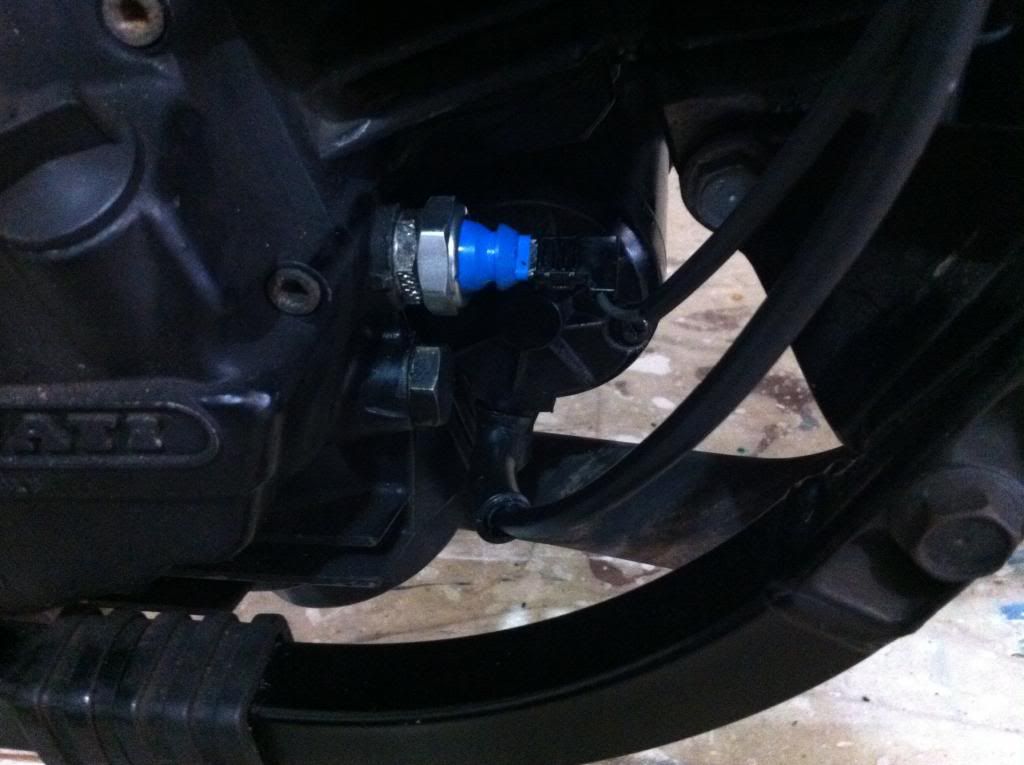
Replaced oil pressure switch with one from a TDi Disco. (Thanks Derek)
Replaced clutch and rear brake lines with braided lines. I was also going to do the front brake lines but the set I bought came from a 750 Paso and are too long for the 906 as they foul on the radiator.
I took the clutch cover off to inspect the bearing on the slave cylinder. I had replaced the original with one from a 900SS and used a rollerskate wheel bearing with modified mushroom pin. After 7500km's it looks like it did the day I put it in and spins freely...works a treat
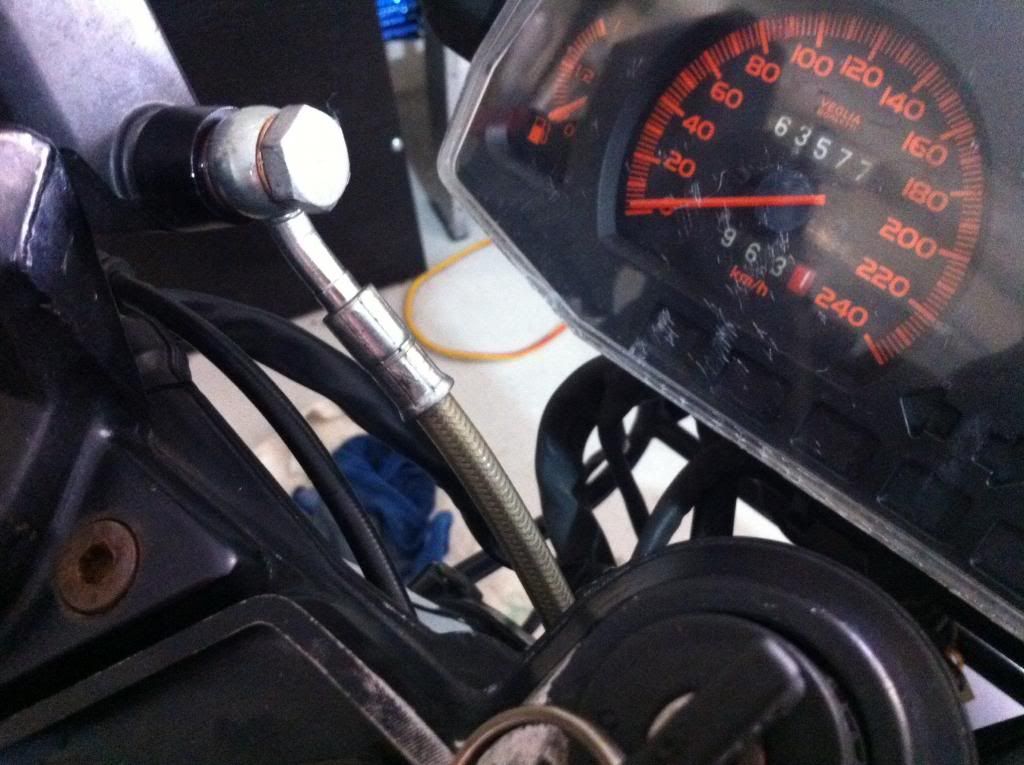
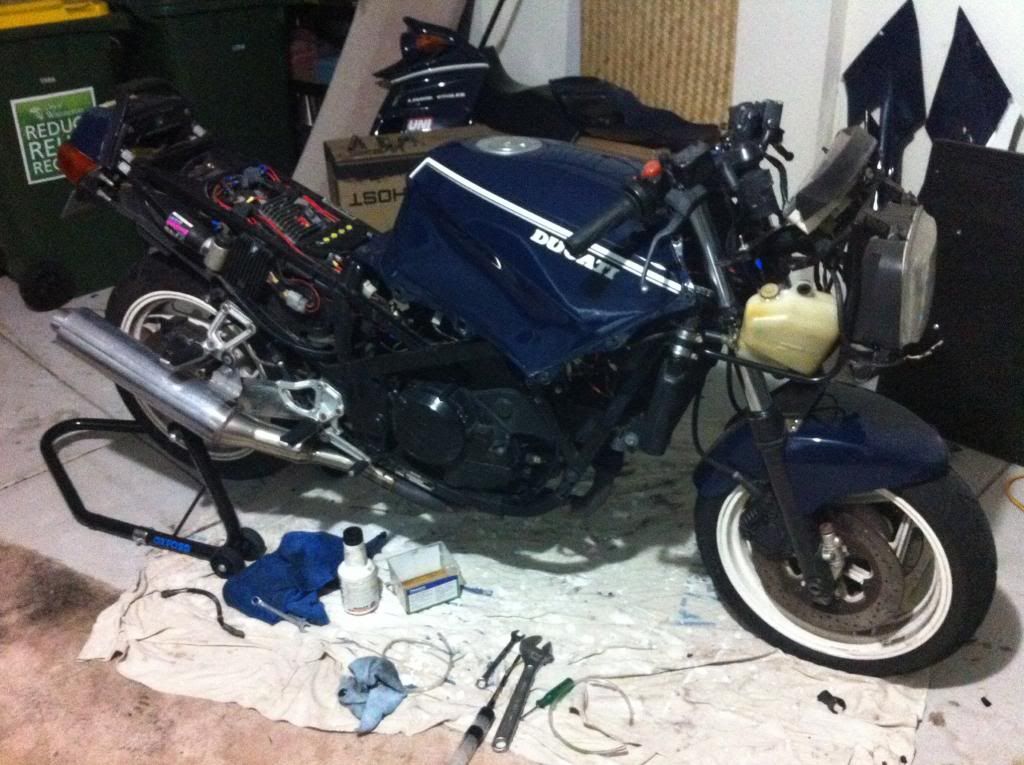
Then I took it out the front and degreased the f#<k out of it and gave it a good bath while the fairings were removed. This is the cleanest it's ever been so I thought I'd better take a snap of it coz I don't think it'll ever be this clean again

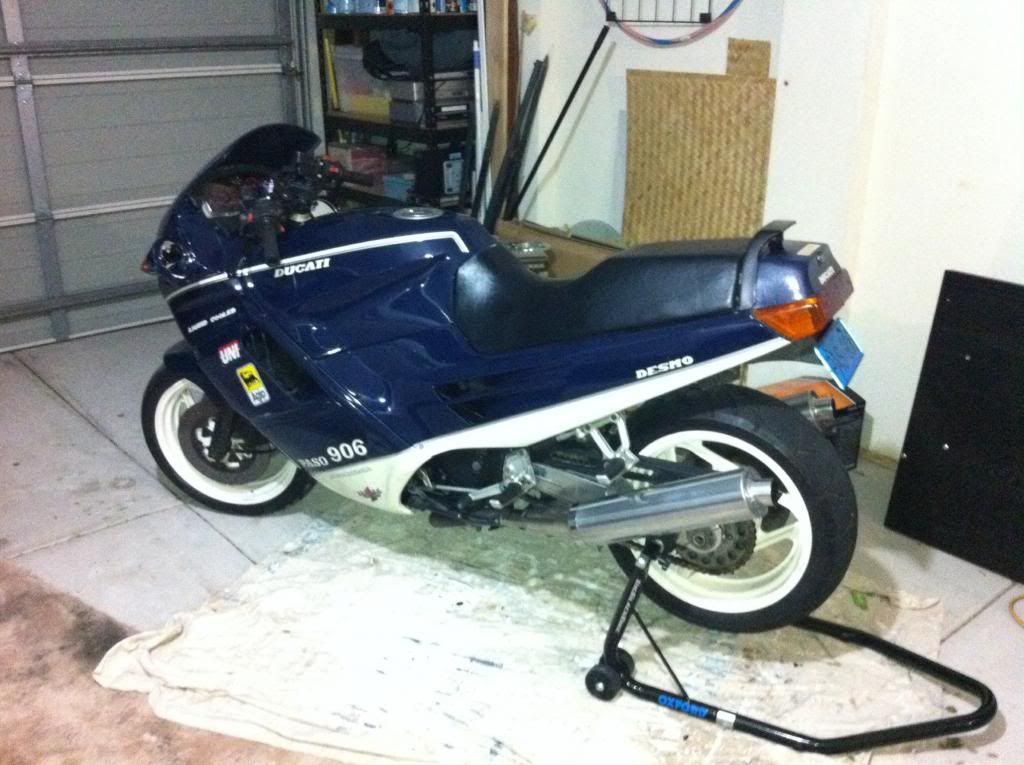
A couple of things still left on the wish list like floating discs but basically finished now.
Re: The story so far
Posted: Fri May 09, 2014 9:30 pm
by paso750
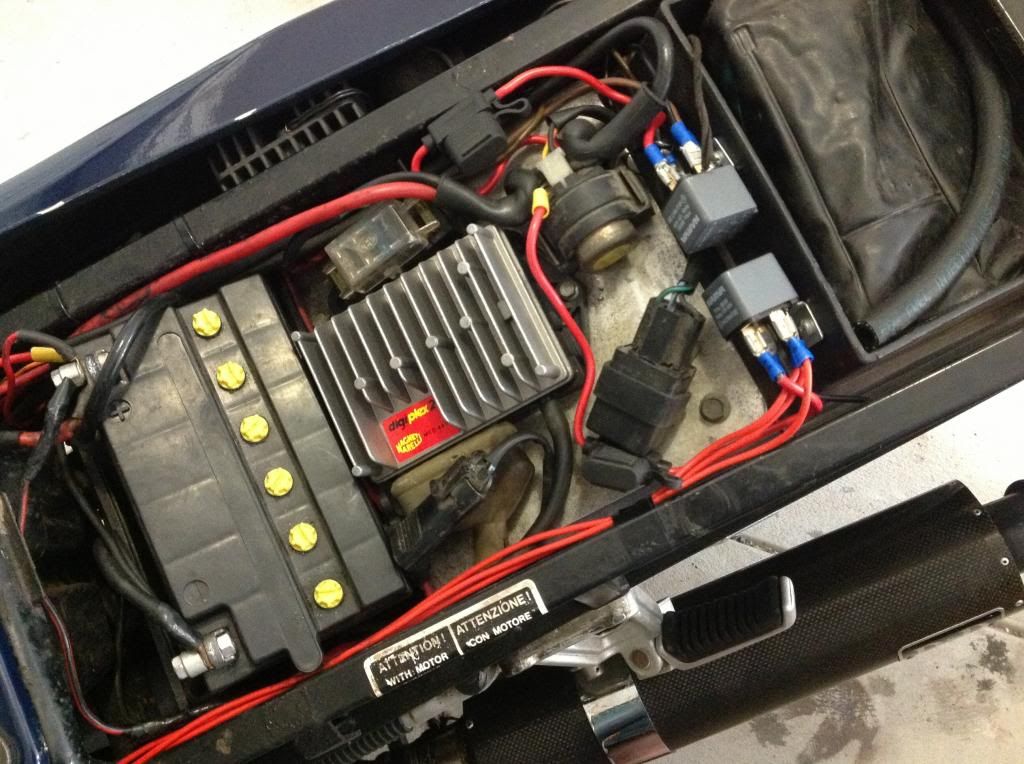
one must love your all red wiring
")
Do invest $30 in crimping pliers for non insulated terminals and some heat shrinking tube. Those plastic insulated terminals are usually only squashed and if you wiggle a wire it will come loose which also indicates the quality of the electrical connection
")
If you think you`re done you can start replacing rusty bolts, polish the instrument cluster cover...
Re: The story so far
Posted: Sat May 10, 2014 1:41 am
by lane1feathers
paso750 wrote:one must love your all red wiring
Do invest $30 in crimping pliers for non insulated terminals and some heat shrinking tube. Those plastic insulated terminals are usually only squashed and if you wiggle a wire it will come loose which also indicates the quality of the electrical connection
If you think you`re done you can start replacing rusty bolts, polish the instrument cluster cover...
Yeah G., that night I did the relays it got late and I'd ran out of brown and green so I went with the all red. It's pretty obvious where they all go when you remove the side cover
and Seeings as I'm the only one who ever works on the thing.....
Heat shrink and solder...damn...I forgot

I'll do that tomorrow.
Yes nuts and bolts will be replaced along the way including a full set of well nuts and bolts.
....damn.......I feel like I just left the headmasters office
Re: The story so far
Posted: Sat May 10, 2014 8:17 am
by paso750
... and I thought you might be colour blind

What do you want to solder ?
Re: The story so far
Posted: Sat May 10, 2014 8:59 am
by lane1feathers
The relay on the right of the bike has its wires soldered to the spade fittings but I used all my solder on them

so the one on the left has its fittings crimped. I was going to drip some solder down the neck of the spade fittings that are crimped so as to make sure they don't come loose. I'll do that before I add some heat shrink tubing.

Re: The story so far
Posted: Sat May 10, 2014 9:04 am
by lane1feathers
...went for a thrash to show it off while it's clean!
At the local garden centre....
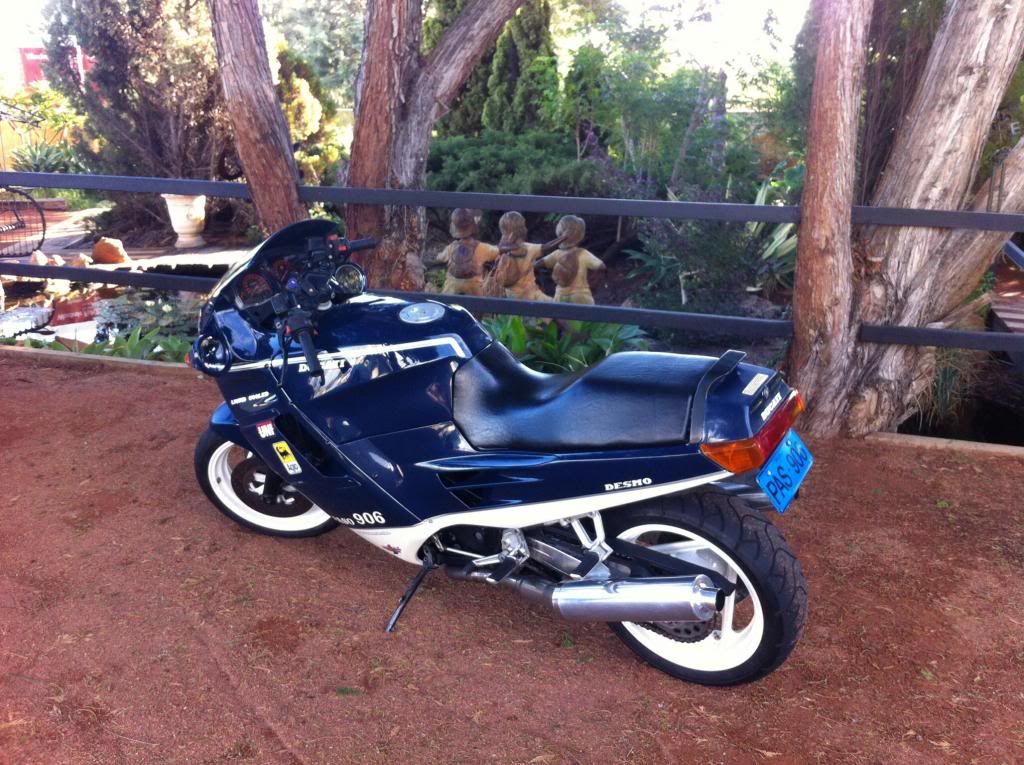
It's running real good and sounds awesome with the Cobra F1's...beer time

Re: The story so far
Posted: Mon May 12, 2014 2:12 pm
by Giscard
Very shiny well done. However, the 3 little girls in the picture were clearly unimpressed
Re: The story so far
Posted: Mon May 12, 2014 9:20 pm
by higgy
Upload some of those scenic poses for next years calender
Re: The story so far
Posted: Tue May 13, 2014 4:51 am
by lane1feathers
higgy wrote:Upload some of those scenic poses for next years calender
Mate, I have tried but can't seem to log in, either through my PB page or going on fresh and using your login. It doesn't recognize pasoorg as an email address and so doesn't let me go any further. If I go through the search function on my Photobucket it tells me that no matches are found for pasoorg
...maybe I'll just email em to you
Re: The story so far
Posted: Tue May 13, 2014 8:58 am
by bmw851
Re: The story so far
Posted: Tue Jun 24, 2014 5:15 am
by lane1feathers
Re: The story so far
Posted: Tue Jun 24, 2014 8:36 am
by paso750
looking good. Now you`re only missing the side reflectors to put on those small plates hanging from the rear inner fender.
Re: The story so far
Posted: Tue Jun 24, 2014 9:59 am
by lane1feathers
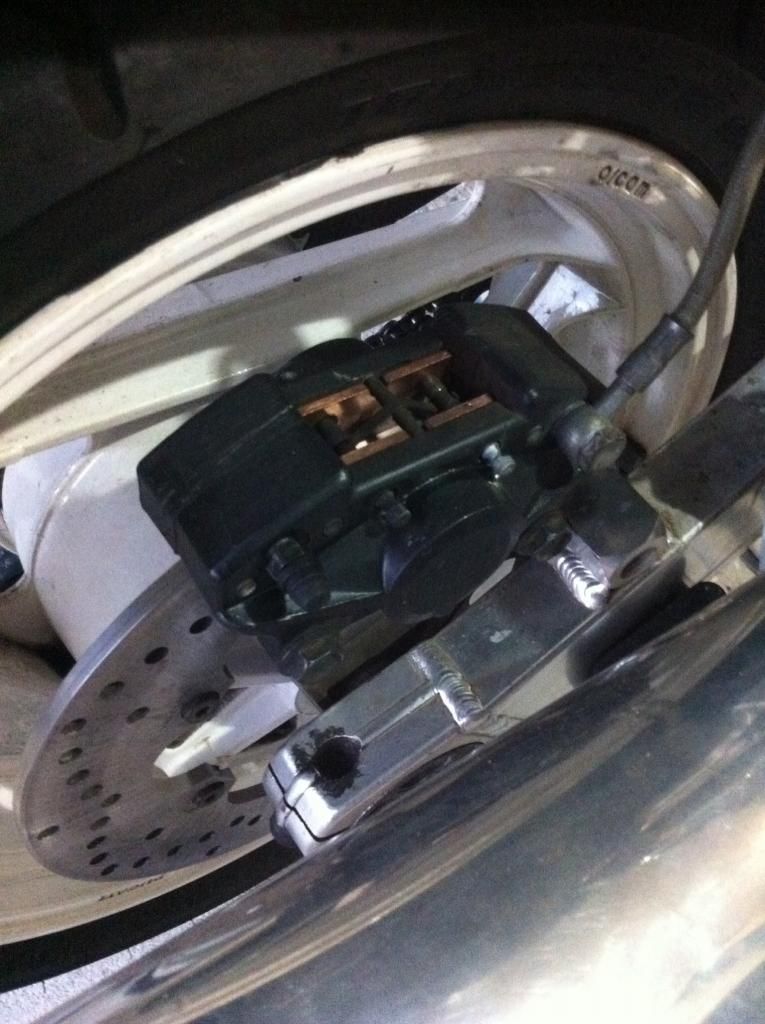
New brakes from metalgear (eBay) Went with stainless steel rotors as the rusty look wasn't working for me! Also got a set of sintered pads so now stopping in the rain won't be such a hit n miss affair. The quality is very good. The discs are nice and fat and heavy and not warped, which is always a good thing
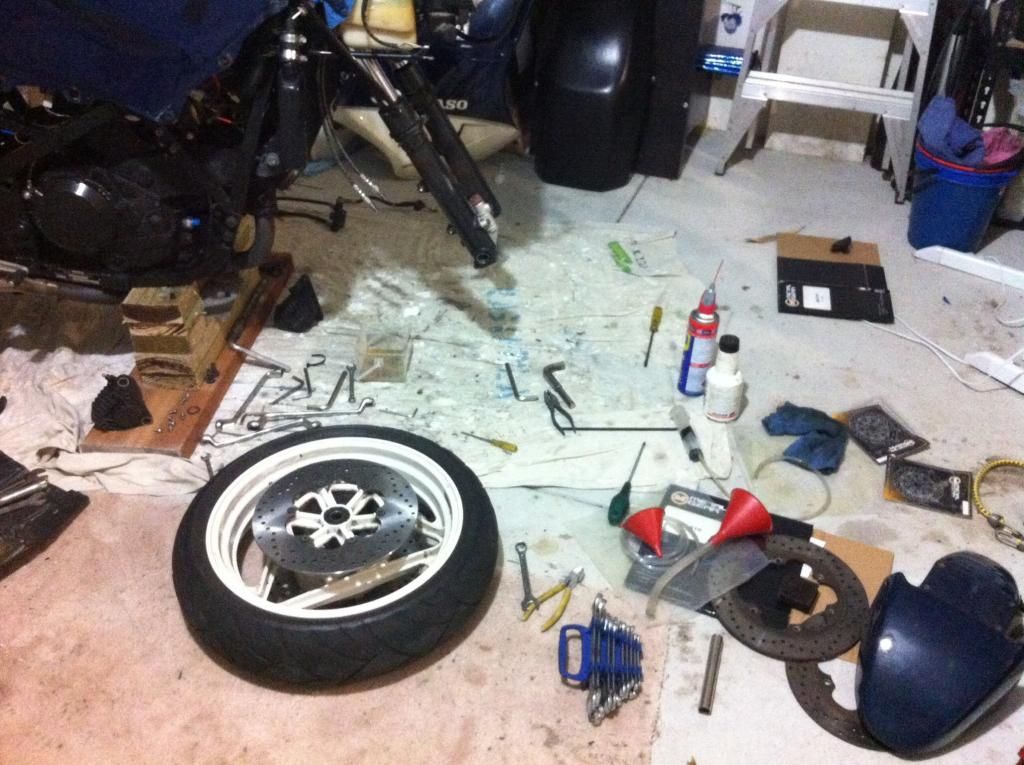
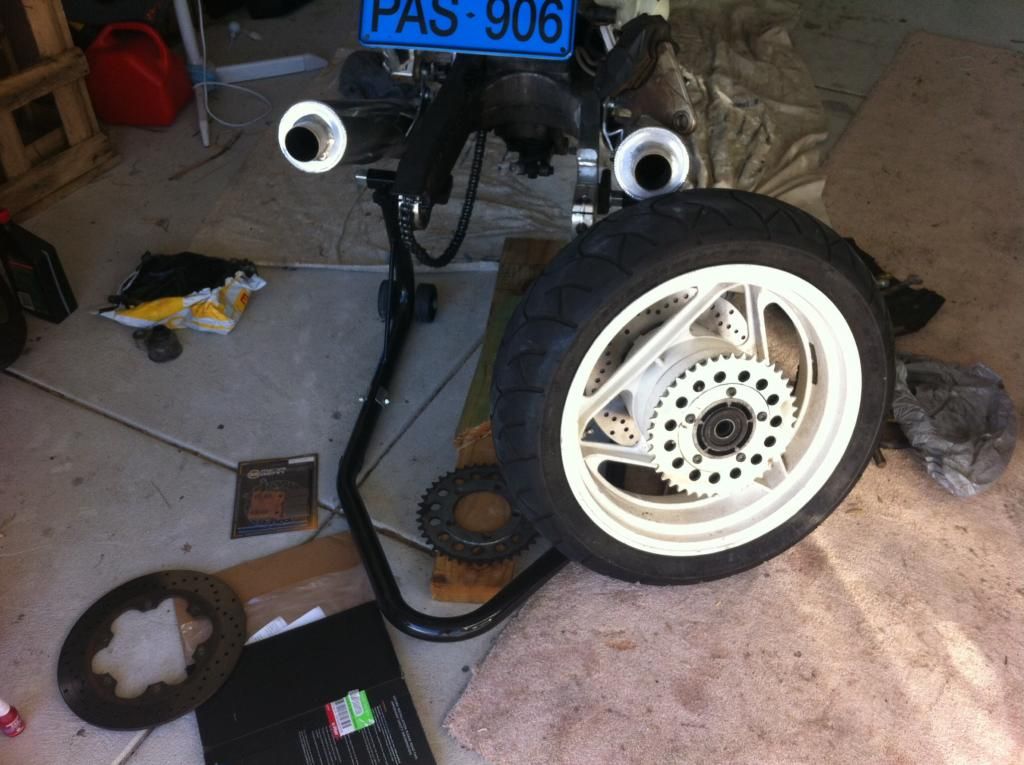
Also replaced the rear sprocket with 41 tooth from 40 tooth while wheel was off. This was meant to be done 8000kms ago when I did front sprocket and chain, but they sent the wrong sprocket. The rear wasn't that bad anyway.
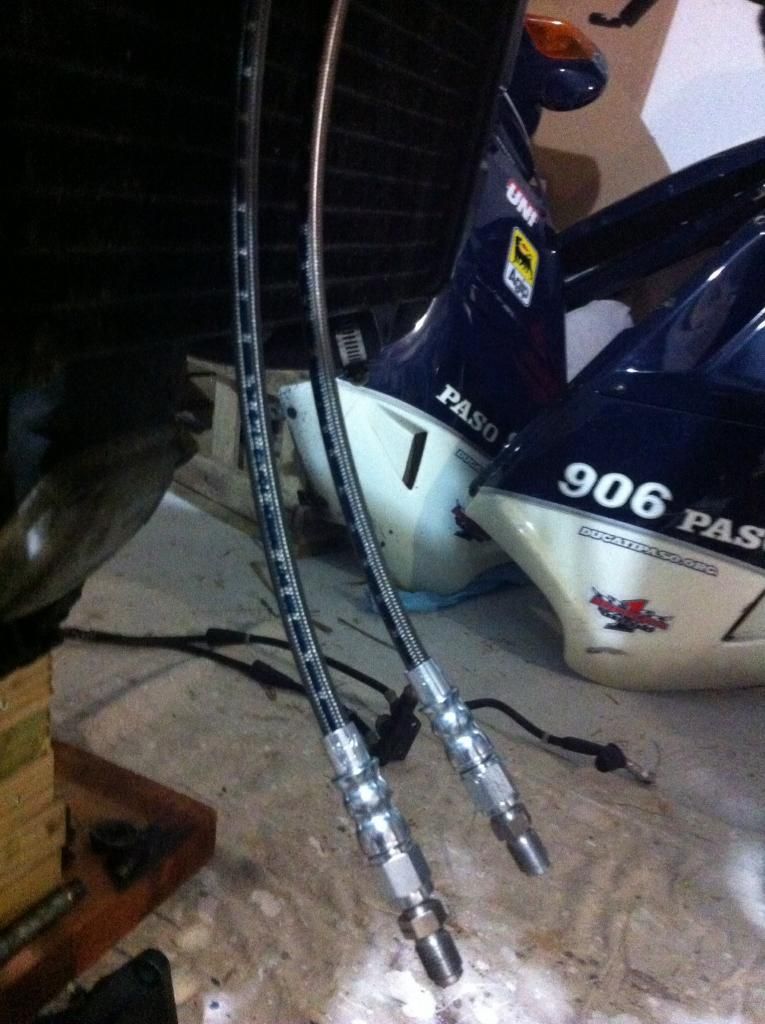
Finally got the lower legs of the front brake lines in braided hose. I had bought a set from a 750 but the lower legs are longer than the 906 as it doesn't have a radiator to get in the way. Got some shorter ones made from the next suburb and hooked them up.
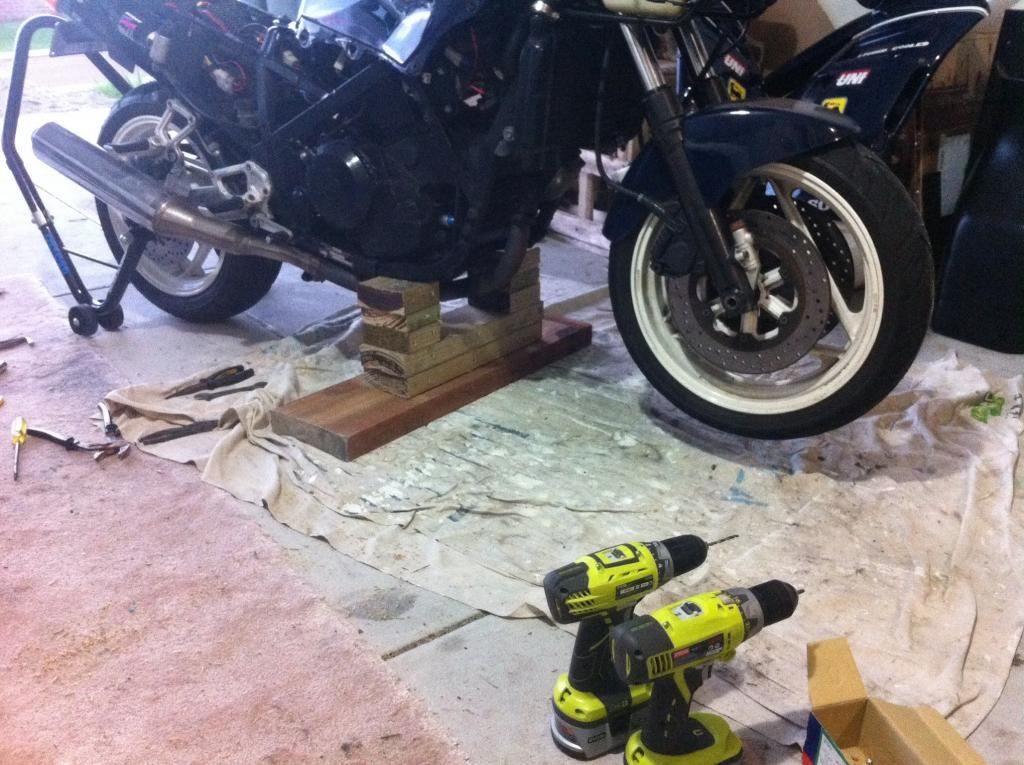
Made a garage stand from some timber I had lying around so I could get the front wheel off the ground. It's a couple of mm's lower in height than the underside of the frame when on rear paddock stand. When I lower the paddock stand the bike pivots on the stand and the front comes up. Works mint and cost nothing except for a few screws
it's all screwed together and is pretty solid.