my Paso - a never ending (love) story ...

discussions specific to the 750 Paso

Moderators: paso750, jcslocum

User avatar
paso750
paso grand pooh-bah
Posts: 5558
Joined: Sun Jul 18, 2004 12:00 am
model: 750 Paso
year: 1987
Location: southern Germany

Re: my Paso - a never ending (love) story ...

Post by paso750 »

I've been looking for the pieces & parts to put that on both my Paso and the Monster.
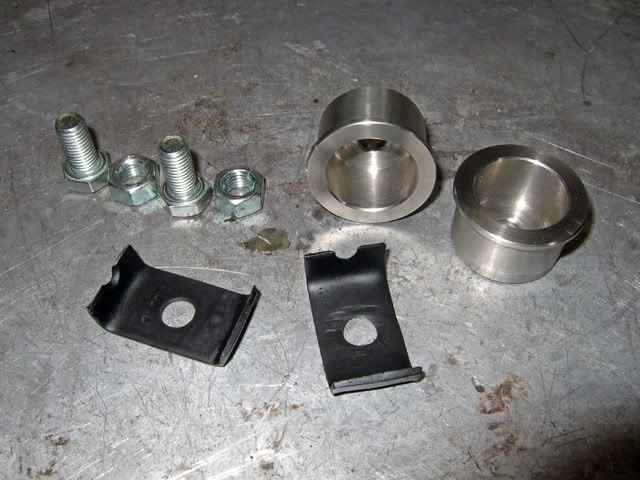
There`s no such thing you can buy for your Paso, you`ll have to make it. For the Monster I`m not sure. There`s a kit for the Superlight and one for the 888. The one of the SL needs minor mods to be fitted on an 888 (it needs to be narrowed by 4,6mm). No idea if one of those would fit on a Monster.

PS: I normally wouldn`t know that but I had got a set of an SL at first and then sold it to a friend with an 888 :)

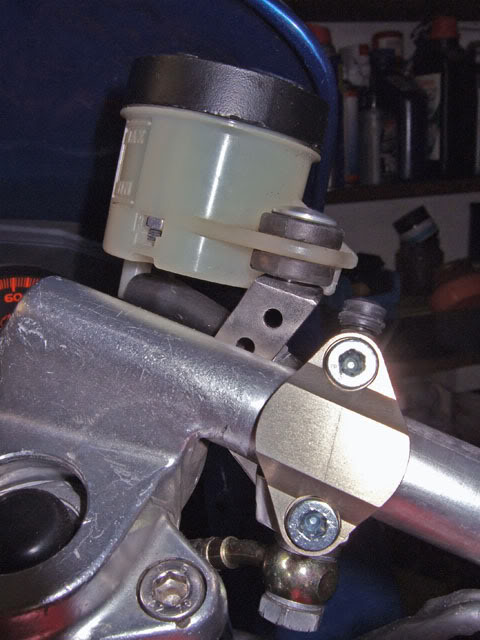
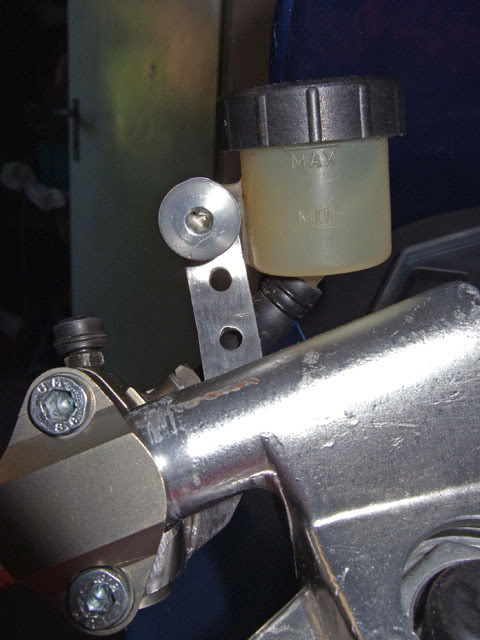
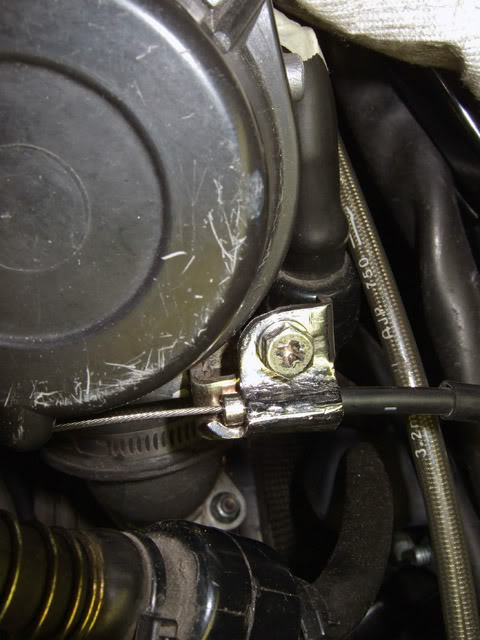
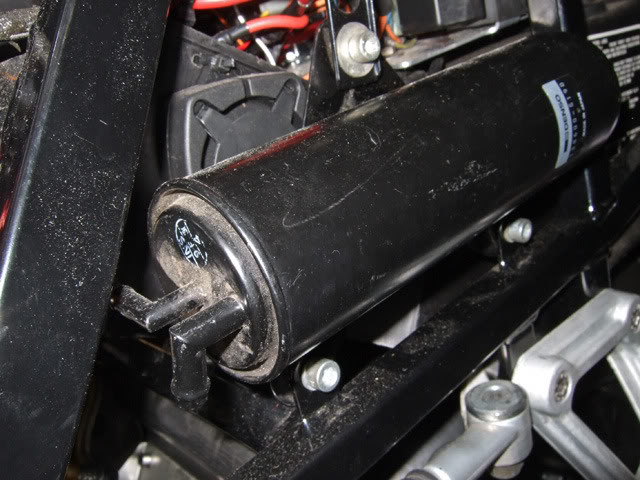
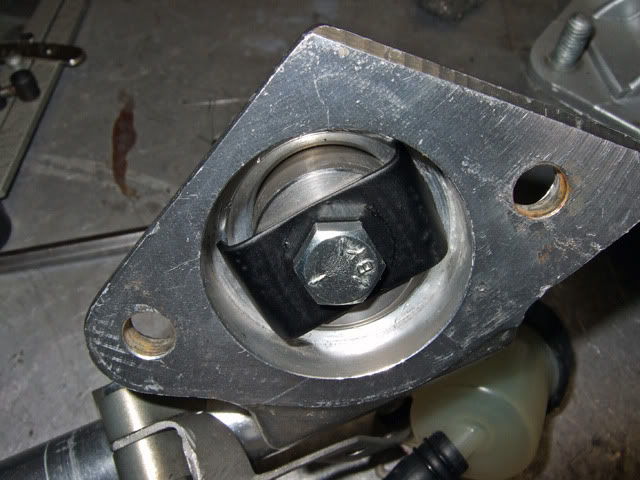
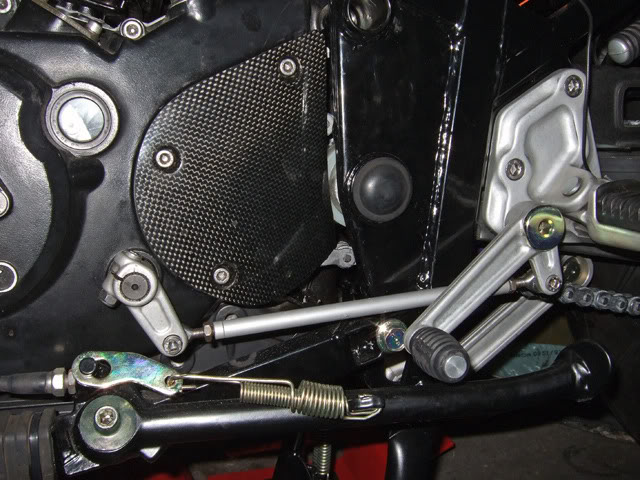
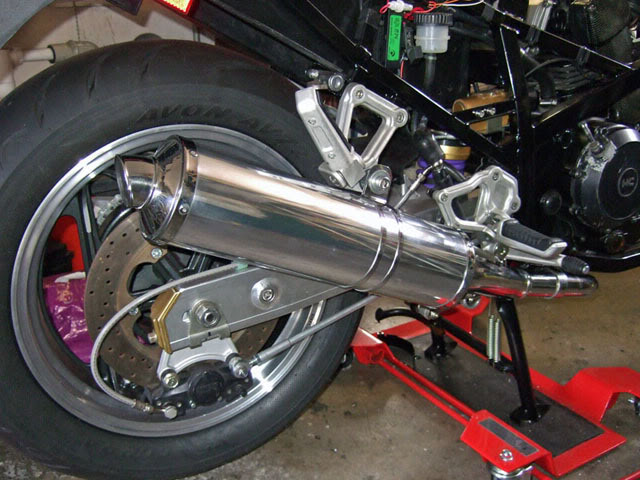
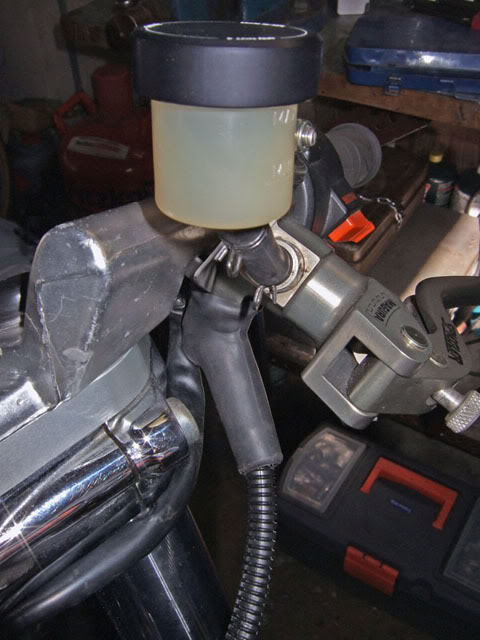
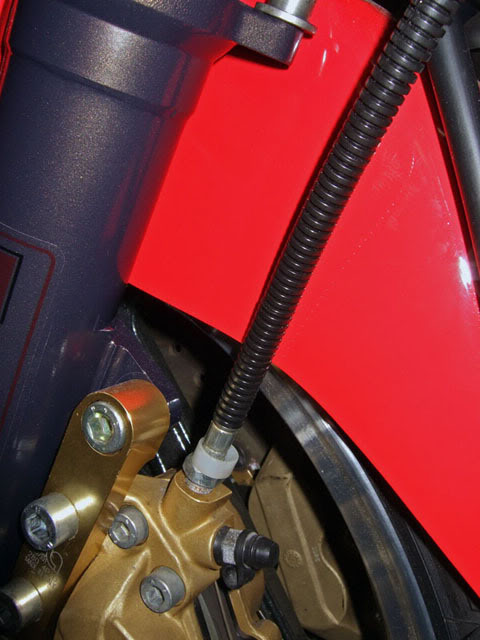
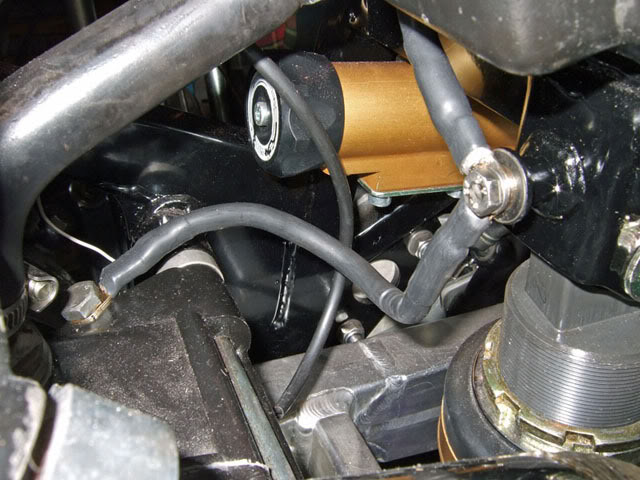
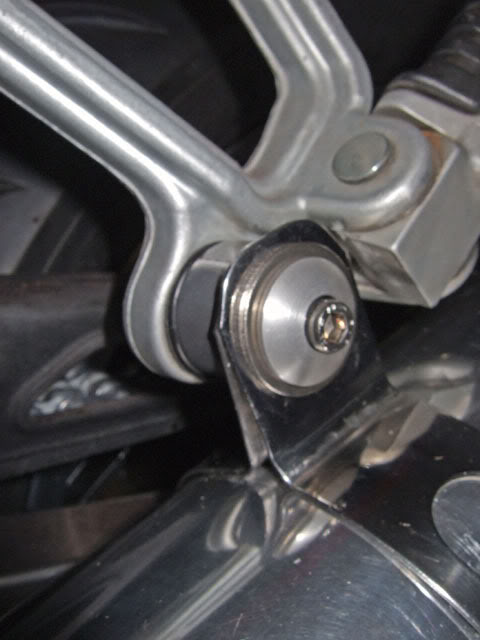
Theoretically a rear floating brake has an advantage compared to one that is fixed to the swingarm (no matter if mounted on top or below). While a brake mounted fix to a swingarm will compress the suspension under braking, making the rear lighter and the tire hop eventually (depending on how hard you hit the brake of course) a floating brake that is connected to the engine should do the opposite. As far as I heard though a floating rear brake sometimes has the tendency to become noisy over time. I have no experiences with this. It`s my first one and I haven`t ridden it yet. Next to wanting to try this it seemed to be the best & most simple solution for my tire/swingarm combo. Actually the only one.
davidhughrose

Re: my Paso - a never ending (love) story ...

Post by davidhughrose »

G - Great background info and of course bike! Your modifications and craftsmanship are definitely keeping the bar high for the rest of us Paso owners.
User avatar
paso750
paso grand pooh-bah
Posts: 5558
Joined: Sun Jul 18, 2004 12:00 am
model: 750 Paso
year: 1987
Location: southern Germany

Re: my Paso - a never ending (love) story ...

Post by paso750 »

Thanks.
Meanwhile some small progress. The headers are back from welding. They now also have the collet for the lambda sonde (the stainless steel collets with cap did cost €17,30ea. at the Duc dealer). The weld was cleaned and polished. As before the middle part of the rear tube was wrapped with exhaust tape to reduce the heat emission towards the shock. The lambda sonde is only for carb adjustment and will be replaced by a cap for most of the time. The caps are currently at the machine shop for drilling as I wanted holes for safety wire (a friend of mine already lost one of those, luckily it got stuck somewhere in the engine guard of his Cagiva Elefant)
Image

Brake and clutch pumps were replaced with radial pumps from Magura. Unluckily this set off a small chain reaction. The pumps have no place to mount the fluid container. The clutch pump has no choke lever and both pumps have the banjo bolt on the bottom so the throttle cables won`t go by.
Mounting brackets with mirror holder for those pumps cost crazy €65ea. so I made my own fluid container mounts. It took a few attemps as diagonal bends are tricky specially if there are two. Cardboard samples helped a bit.
The brackets are stainless steel which makes no difference in working with compared to other metals unless it comes to drilling. If the drill bit isn`t sharp or the drilling speed too high the drill bit will start to become red hot and ruined very fast. As drilling straight holes in a perfect straight line is also not so easy I drilled the holes first and then cut out the part from a big metal sheet. It took 3 attempts. After being finished the brackets were glasbead blasted to remove the shine. Being mat finished they are less noticable (no pics here). Between the lever adjuster and the instrument cluster cover there`re not more than 2-3mm :-P
Image
Image
Image
Image
Image
The pics show working status. The parts were not glasbead blasted yet and the bolt on the clutch fluid container was changed with a smaller one of course.
First of 3 problems solved. As next I looked for a solution for the choke. There are actually some nice ones like starter levers for offroad bikes which are part of the clutch pumps mounting bracket but the steering half would be to close to the tank so something like that wouldn`t fit. Other solutions were just too ugly. The only one I could find is a complete choke lever from a Yamaha TDM which btw also uses the Mikuni carb like later Supersport/Monsters. Its mounting bracket fits perfectly to the ignition lock mounts. Unless I find something nicer it will stay like this for now. The bracket was sandblasted and powdercoated like all the rest.
Strangely the choke cable had some tension on it so I had to make a new mounting bracket on the carb to move the cable a few millimeters to the center.

Image
old
Image
new
Image
In case anyone is confused. I`m finishing the bike as it was before taking it apart, meaning with the standard Mikuni carbs and will then switch to the TDMRs. It`s also easier as I have to present the bike to the technical inspection before getting it back on the road.
As last I got a throttle grip which I think came from a Ducati Multistrada as it has a longer throttle cable bend. The cables though still need to be modified as they are too long. The next small challenge as I`ve never done that before.
Image

Being lucky: as the fluid container brackets are low nothing hits the front screen not even if the bar risers are mounted. I got them off ebay years ago. They came black and I had the anodizing recently changed to clear. I must say the steering halves being a bit higher makes it really feel better. If I knew that I would`ve tried long before.
Image

What I don`t like is that the fork valve is so low now with the risers mounted. I`m currently having a fake cap made to correct the looks. If the machine shops still has some material it should be done by mid next week.
Image

As another small detail side reflectors were added as US models had them. The part of the bracket for the turn signal was cut off; the rest was cut to perfectly fit the reflectors. With other parts they went off to sandblasting and powdercoating.
Image

Now here`s my question. My bike came with a filter for fuel gases. I guess this was standard on the Califoria models. It connects to the breather tube of the tank, the inlet manifolds and the engine.
My question is what jets are in the two lines connected to the carb manifolds, where to the engine is the filter connected to and what is that valve before the tank ?
Image
Image
Image
Image

G.
User avatar
RADDUCK
Posts: 51
Joined: Sat Jul 07, 2007 12:00 am
model: 750 Paso
year: 1987
Location: San Francisco, CA
Contact:

Re: my Paso - a never ending (love) story ...

Post by RADDUCK »

Enjoyed reading this G. You are understaedly talented in your persuit of ther perfect ride. I'm headed to the Monterey Grand Prix at Laguna Seca next weekend and will park my Park my Paso Proudly on Ducati Island
RADDUCK

02 Honda RC51 SP2
87 Paso 750 - Dropped but ride-able
03 Triumph Bonneville - Basket case (resto in the works)
88 Porsche 911 Carrera
04 Subaru STI
User avatar
scimmione
Posts: 65
Joined: Sun Jul 18, 2010 1:56 am
model: 750 Paso
year: 1987
Location: East Bay, SF Bay Area

Re: my Paso - a never ending (love) story ...

Post by scimmione »

Hello everyone, long time lurker; 1st time poster.

Fantastic job, paso750, my head spins at the work you've put into your Paso!

Did you make that windscreen spoiler or is that an aftermarket accessory?

Thanks
Wish I'd bought the 990 years ago
User avatar
paso750
paso grand pooh-bah
Posts: 5558
Joined: Sun Jul 18, 2004 12:00 am
model: 750 Paso
year: 1987
Location: southern Germany

Re: my Paso - a never ending (love) story ...

Post by paso750 »

the windscreen spoiler must have been an aftermarket part from that era. I`ve seen that on one or two other bikes on the net.

G.
User avatar
paso750
paso grand pooh-bah
Posts: 5558
Joined: Sun Jul 18, 2004 12:00 am
model: 750 Paso
year: 1987
Location: southern Germany

Re: my Paso - a never ending (love) story ...

Post by paso750 »

very little time and progress lately. At least I got the fake caps for the steering halves made to correct the look with the mounted bar risers.

Image
Image
Image
Image
Image
Image

G.
User avatar
streetsurfer
Posts: 217
Joined: Sun Jul 30, 2006 12:00 am
model: 750 Paso
year: 1988
Location: Chicago-NW Suburb

Re: my Paso - a never ending (love) story ...

Post by streetsurfer »

paso750 wrote:Image
I don't mean to nit pick, but you have the sidestand springs flipped end for end. Reverse them from how they are and you'll see they will not rub on the stand as much when it is lowered. I think they may even stand a chance of being accidentally forced off of the hook in that position.
[Edited-Sorry for this following part, but I missed you last post with the new inserts featured....I'll leave the tip in case it can benefit others] Also for your risers, there is a rubber grommet that will fit the top hole perfectly. Then the rubber valve stem caps will fit just inside the grommet with light interference. Valve stem extensions can be used to raise the caps to the right height then.
User avatar
paso750
paso grand pooh-bah
Posts: 5558
Joined: Sun Jul 18, 2004 12:00 am
model: 750 Paso
year: 1987
Location: southern Germany

Re: my Paso - a never ending (love) story ...

Post by paso750 »

Great that some of you look so close. The spring actually didn`t hit the stand, but I reversed it, thanks.

I didn`t find any rubber grommet, so I had those caps made. They also look better. That I have to remove 2 bolts to get to the valves doesn`t bother me as they will be used only every couple of years.

G.
User avatar
907pasonut
paso grand pooh-bah
Posts: 604
Joined: Tue Jul 20, 2010 9:27 am
model: 907 I.E.
year: 1992
Location: Melbourne Australia

Re: my Paso - a never ending (love) story ...

Post by 907pasonut »

great post G !! :thumbup: :thumbup: :thumbup:
I felt for you when you stacked the bike, that would of been a sad time :,( :,(
you put a lot of dedication in your work and completely rebuild it from the ground up, this project deserves a medal :thumbup: :thumbup: keep up the good work and looking forward to see your progress...and more pics.
Claude
Cheers Claude.

...long live the square framed duc!

'92 907...numero 2046
'92 851...in progress
User avatar
paso750
paso grand pooh-bah
Posts: 5558
Joined: Sun Jul 18, 2004 12:00 am
model: 750 Paso
year: 1987
Location: southern Germany

Re: my Paso - a never ending (love) story ...

Post by paso750 »

I finally got to work a little on the bike again.
Wanted to make a case saver from a 1,5 or 2mm sheet of stainless steel, but there`s not enough clearance between front sprocket and engine housing due to the additional offset of the sprocket. There`s more clearance when it`s at its original position.
Pity, but one less thing to do.
So I could take care about some small things like mounting the exhaust.
I do have much nicer cans, but unluckily they need to be road legal :-P
Image
Why can`t they make cans that run parallel to the bike ? :banghead: Another thing to correct in the future.
Image

As the original exhaust to footpeg mounts have a very nice design I don`t like this at all. Guess I will have to get something made that hides the big bolt a bit and looks slightly more like the original setup. This looks cheap. (... yes, I know what you`re thinking). That on the footpeg hinge is grease, not rust btw :lol:
Image

Today my new (used) ss brake line arrived so I could tighten all connections, bleed brakes and clutch (love the bleeding valve on the pumps) and change the fluid container covers by some aftermarket ones. The longer line (rear brake line of an Aprilia Pegaso, 107cm) was required due to the clutch pump having the connection on the bottom, not at the front end of the pump. Except to the rear brake line all ss lines on the bike have no heatshrink tube cover. Without it the mesh of the lines catches all the dirt so they were covered with a slotted flexible tube. This should also prevent the lines from scratching the paint or frame. Brake lines without heatshrink tube cover can work like a rasp.
Does anyone know btw if the banjo bolt on the clutch cover also has a rubber boot like the brake/clutch pump ? (Anyone have a spare?)
Image
Image
Image

After the discussion about thicker starter and battery cables some months ago I had made my own in 16mm² just to see if there is a difference. I used 8mm² wires before for years (which from electrical standpoint are sufficiant. It`s less changing the cables with thicker ones than replacing the old oxidized cables and connectors with new and properly made ones ... yes, I`m stubborn :mrgreen: ). I have to say I never had a problem starting. At the very beginning only. After going through the wiring, doing the relais mod, getting Mikunis and stronger coils the bike would always start at the first rev. Actually it started better than my neighbours Transalp. It hardly ever turned more than twice to start even after standing longer time or at colder temperatures. This may sound like an exaggeration, but it`s not. Therefore my skepticism towards this. IMHO if one has to crank several times to start the bike getting more juice to the starter won`t make the bike start much faster. The starter will turn stronger and faster, yes. But proper ignition and carburation are more important at this point. (btw. considering everything is fine and there`re still starting problems specially with a cold engine the pick-up clearance can be reduced by 0,2-0,3mm. If the problems are in the high revv range you can increase the gap by the same amount. Standard clearance should be 0,7-0,8mm. When cranking the pick-ups should output 0,5-0,6V and at idle 1,6-1,9V if anyone needs this info)
Back to the cables. They were properly crimped (not squashed) with goldened connectors. The tips are soldered to seal the ends. After adding a strain relief the cables were covered with heatshrink tube. If you want to make some yourself and don`t have the crimping pliers just go to a car stereo shop with your old cables and have them make new ones. It won`t cost much. (beware the cables may be a little bit longer, but shouldn`t be any shorter!)
Image
Image
Image
The good, old Silent Hektik regulator. Meanwhile there are cheaper options on the market...
Image

G.
User avatar
907pasonut
paso grand pooh-bah
Posts: 604
Joined: Tue Jul 20, 2010 9:27 am
model: 907 I.E.
year: 1992
Location: Melbourne Australia

Re: my Paso - a never ending (love) story ...

Post by 907pasonut »

great work there G, youre a real motorhead! :thumbup: ...but I disagree with you on one thing, the cans on the paso definitely look better angled outward slightly (as per pic), if they run parallel to the bike it just wouldnt look as good (it has to do with the visual streamlining of the bike) thats my opinion anyway...keep up the good work :thumbup: :thumbup:
Cheers Claude.

...long live the square framed duc!

'92 907...numero 2046
'92 851...in progress
User avatar
paso750
paso grand pooh-bah
Posts: 5558
Joined: Sun Jul 18, 2004 12:00 am
model: 750 Paso
year: 1987
Location: southern Germany

Re: my Paso - a never ending (love) story ...

Post by paso750 »

nah, silencers that are angled outwards are so 70s :)
I`d like them parallel and if they would be higher and oval instead round shaped then maybe even angled slightly inwards like on the Honda VTR 1000 SP.

This looks better (and like less work than it actually was)
Image

The relays for the lights
Image

Handy little bits
Image

Time to continue with this (bike alarm and emergency flasher). The most is already done. - tomorrows job (if I still have enough heatshrinking tube)
Image

Of course with every work there comes some damage :mad:
I opened the brandnew instrument cluster (the plastic of the cover is so brittle that 2 clips slightly cracked but that`s ok) to implement an LED for the alarm. The black cover slipped my hand and got twisted in the column drill, hitting the drill chuck - sh*t !
Luckily I still had the old one. Drilling through the instrument cluster bottom needs some care as one wouldn`t want to drill through a circuit path.
Image
Image
Image

Before I forget, if your instrument cluster vibration dampers often break check if the speedometer cable is long enough. There seem to be some with different lengths. My new one was obviously too short and pulled on the instrument cluster when steering from side to side so 2 of the new vibration dampers were already broken. The new speedo cable is in fact a bit longer.
An indicator for a too short speedo cable is if there`s tension on the rubber ring that holds the cable to the fender.

G.

PS: http://www.youtube.com/watch?v=kCbvkVsiLx8 :D
User avatar
micklm
Posts: 103
Joined: Fri Jun 05, 2009 8:53 pm
model: 906 Paso
year: 1989
Location: Taranaki, New Zealand

Re: my Paso - a never ending (love) story ...

Post by micklm »

G,

I've still got the OE clutch line on by the looks of it and there is no rubber cover on the banjo bolt at the clutch cover.

I've still got the rubber cover on the clutch line at the master cylinder though and was planning on removing it when I upgrade the clutch line - you can have it then if it is any use to you.

cheers,

Mick
906 Paso 1989 w/ 17in wheels :)
User avatar
paso750
paso grand pooh-bah
Posts: 5558
Joined: Sun Jul 18, 2004 12:00 am
model: 750 Paso
year: 1987
Location: southern Germany

Re: my Paso - a never ending (love) story ...

Post by paso750 »

Mick, if you don`t need it that`ll be great.
It won`t fit if you have the original clutch line, but when using a ss line with a smaller fitting it will.

Does anyone have the problem that the center stand will move hard or not at all if the bolts are tightened. With the bushings this shouldn`t be possible. :huh:
I may have to remove the powdercoating at these points.
Post Reply